3-14
Installation and Configuration
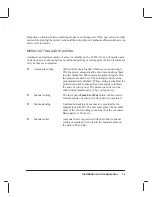
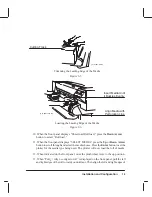
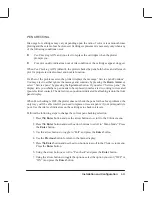
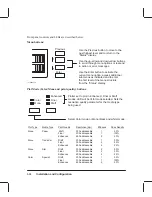
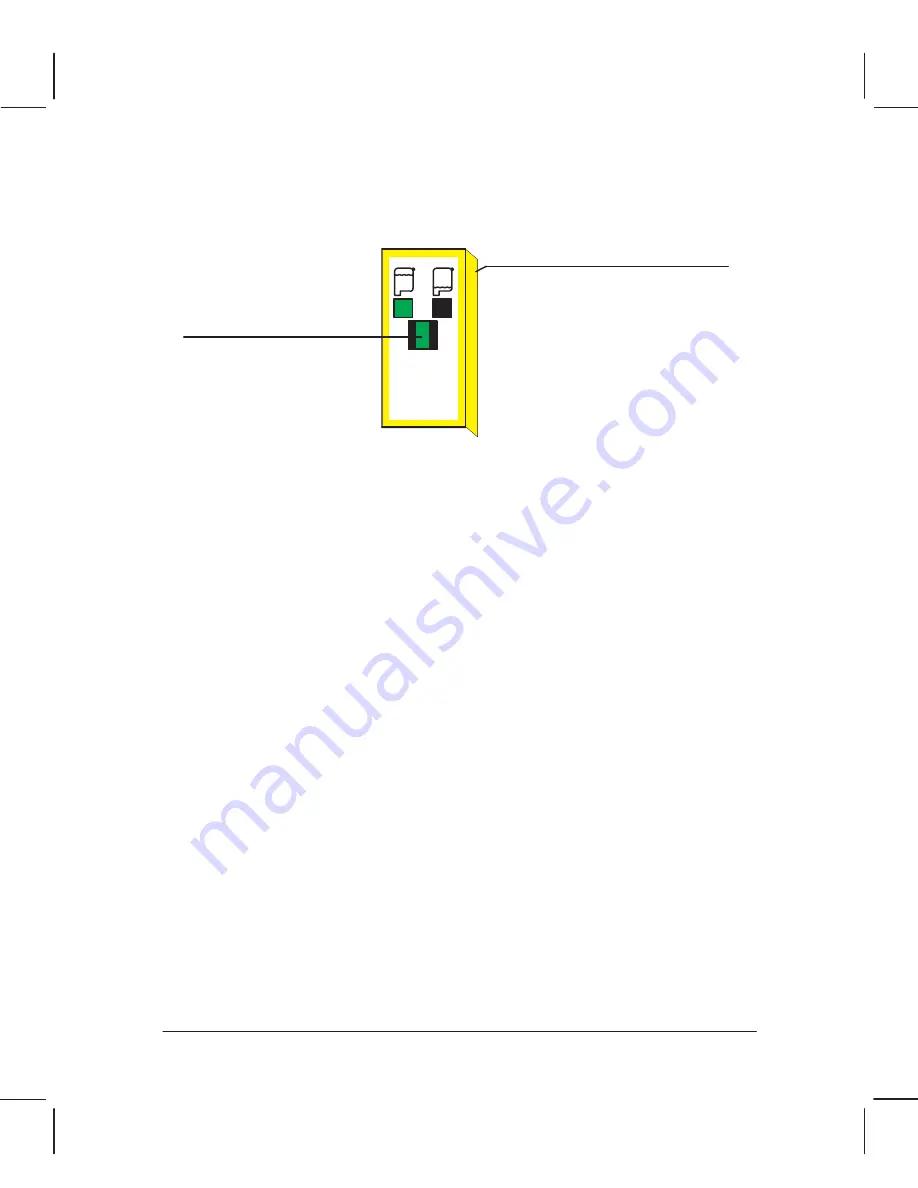
Figure 3-9 shows you how to visually check the ink level in a cartridge.
Green area will diminish as
ink is dispensed.
Label color indicates ink color.
Figure 3-9.
Checking the Ink Level
Replace pen when area is
all black.
ACCESSING PENS
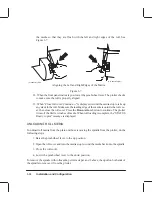
Press the Access Pens button to access the pen carriage when you need to replace, reseat, or
clean pens. The pen carriage will move into the platen area to allow easy access to the pens.
Each time the pen carriage moves out from its service station so that you can access the pens,
the pen nozzles are exposed to the air. If the pen nozzles are exposed to the air (except during
plotting) for more than a few minutes at a time, they are susceptible to clogging and drying.
Each time you remove a pen from its slot and then put it back, the plotter performs the pen
alignment procedure automatically.
REPLACING PENS
The pens should be replaced in response to a Pen Checking prompt or poor plot quality. Four
high-capacity ink cartridges are used in the plotter. Pen life expectancy is dependent on the
type of media and plotting mode used.
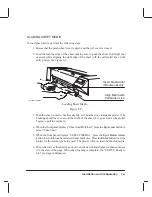
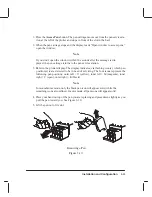
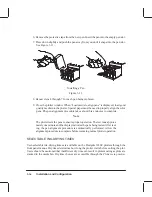
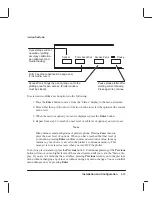
To replace the pens, perform the following steps:
Note
The four pens must be loaded in their designated pen slots in the carriage.
Use the color label on the cartridges and color dots on the carriage to match
positions. The plotter should be powered on when changing pens. If you se-
lected “Service pens” from the display, skip step 1.
Summary of Contents for C2858A
Page 125: ...7 10 Adjustments Calibrations Notes ...
Page 155: ...9 4 Product History Notes ...
Page 164: ...10 9 Parts and Diagrams Illustrated Parts Breakdown C2859A Electronics Enclosure C C2858 3 1 ...
Page 166: ...10 11 Parts and Diagrams Illustrated Parts Breakdown C2858A Electronics Enclosure C C2858 4 1 ...
Page 182: ...10 27 Parts and Diagrams Illustrated Parts Breakdown Paper Drive Assemblies C C2858 12 1 ...
Page 198: ... ...

