[3]
3.
General Assembly Instructions
Assembling the Hardrock-500 amplifier kit should be an enjoyable and rewarding experience. If at any time you feel
frustrated or are having difficulty, take a break, ask questions on the forum or email, and remember that if you are
having a problem with something there’s a good chance that someone else has had the same issue. We have a “no
questions asked” replacement part policy, so if you lose a part or need an extra length of wire or find something missing
an email is all it will take to get you a replacement. Contact
if you need any help.
The assembly is organized into the following subassemblies:
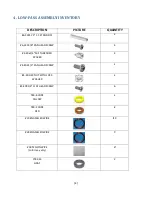
Low-pass Filter assembly
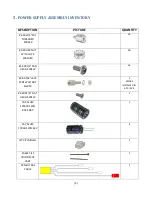
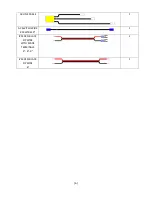
Power Supply Assembly
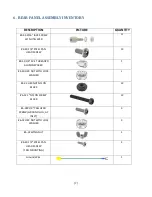
Rear Panel Assembly
Front Panel Assembly
Amplifier Deck
Final Assembly
Setting the Bias
There are a few required tools:
Soldering iron – A small temperature controlled unit is the best.
Solder – Rosin core, fairly thin
Screwdrivers –All of the screws in the kit are Philips
Tweezers – For holding small parts and reaching tight areas
Wire Stripper – For making the coax jumpers
Long-nose pliers – For general mechanical assembly
¼” Nutdriver– Not essential but helps with panel assembly. If only metric tools are available use pliers or an
adjustable wrench.
Toothpick – For unbraiding coax
Adjustment tool or small flat blade screwdriver – Turning pots
Thread locker – Loc-Tite 242 or similar to prevent screws from loosening (optional)
Digital Multimeter – Doing resistance checks
QRP Transceiver – The reason you bought the amp in the first place
In a production environment, an assembly station would also include an anti-static mat and all work would be
performed while wearing an anti-static wrist strap. If you are equipped with these, I encourage you to use them. If you
don’t have these items, use caution when handling the PCBs and touch a grounded surface before picking up the device.
AC Line Cord
Due to the worldwide variations in AC connections, we do not supply a AC line cord for the Hardrock-500. The amp has a
IEC320-C13 power connector. Make sure to use a cord made with #16 AWG or larger wire and only connect the amplifier
directly to a wall output. Do not use a power strip. The performance of the unit will be compromised by an inferior AC
line connection.


