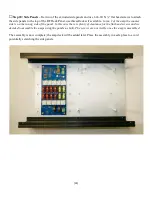
[28]
□
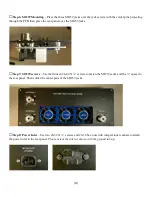
Step 6: Meanwell Power Supplies
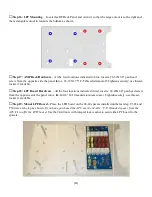
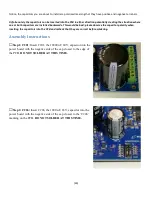
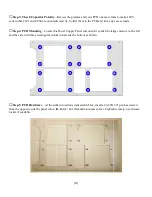
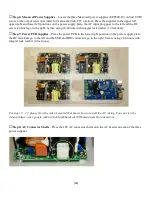
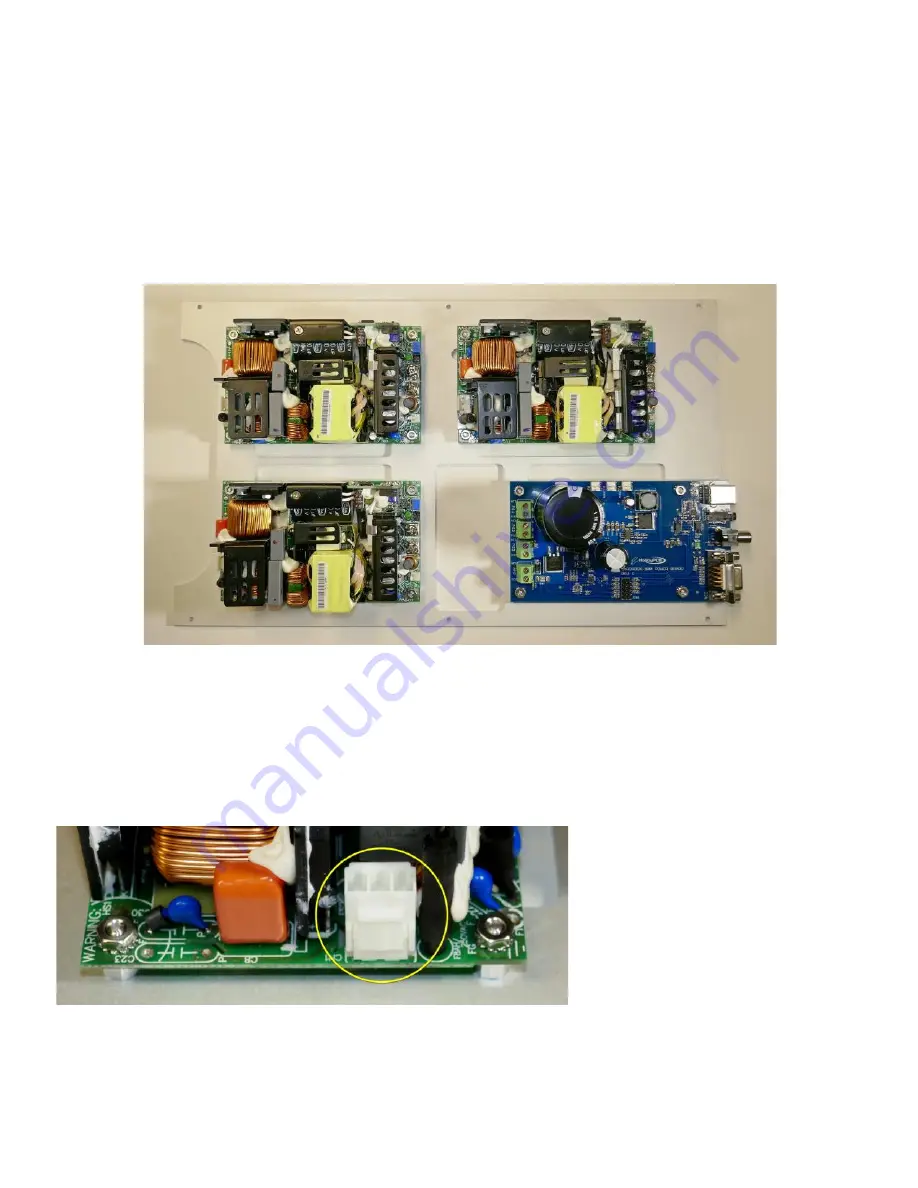
– Locate the three Meanwell power supplies (EPP400-18). Adjust SVR1
(close to the output screw terminals) for maximum (fully CW rotation). Place the supplies in the upper left,
upper right and lower left positions on the power supply plate, the AC input plug goes to the left and the DC
screw terminals go to the right. Secure using #4-40 nuts with integral lock washer (12 locations).
□
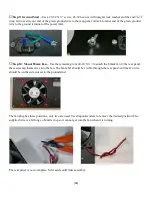
Step 7: Power PCB Supplies
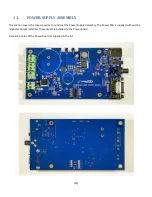
– Place the power PCB in the lower right position on the power supply plate,
the DC terminals go to the left and the USB and DB9 connectors go to the right. Secure using #4-40 nuts with
integral lock washer (4 locations).
For steps 8 – 12, please view the video I created that shows how to install the AC wiring. You can view the
video at https://sites.google.com/site/hobbypcbhardrock500/home/assembly-instructions.
□
Step 8: AC Connector Shells
– Place the JST AC connector shells onto the AC header on each of the three
power supplies.

