Network Camera User Manual
111
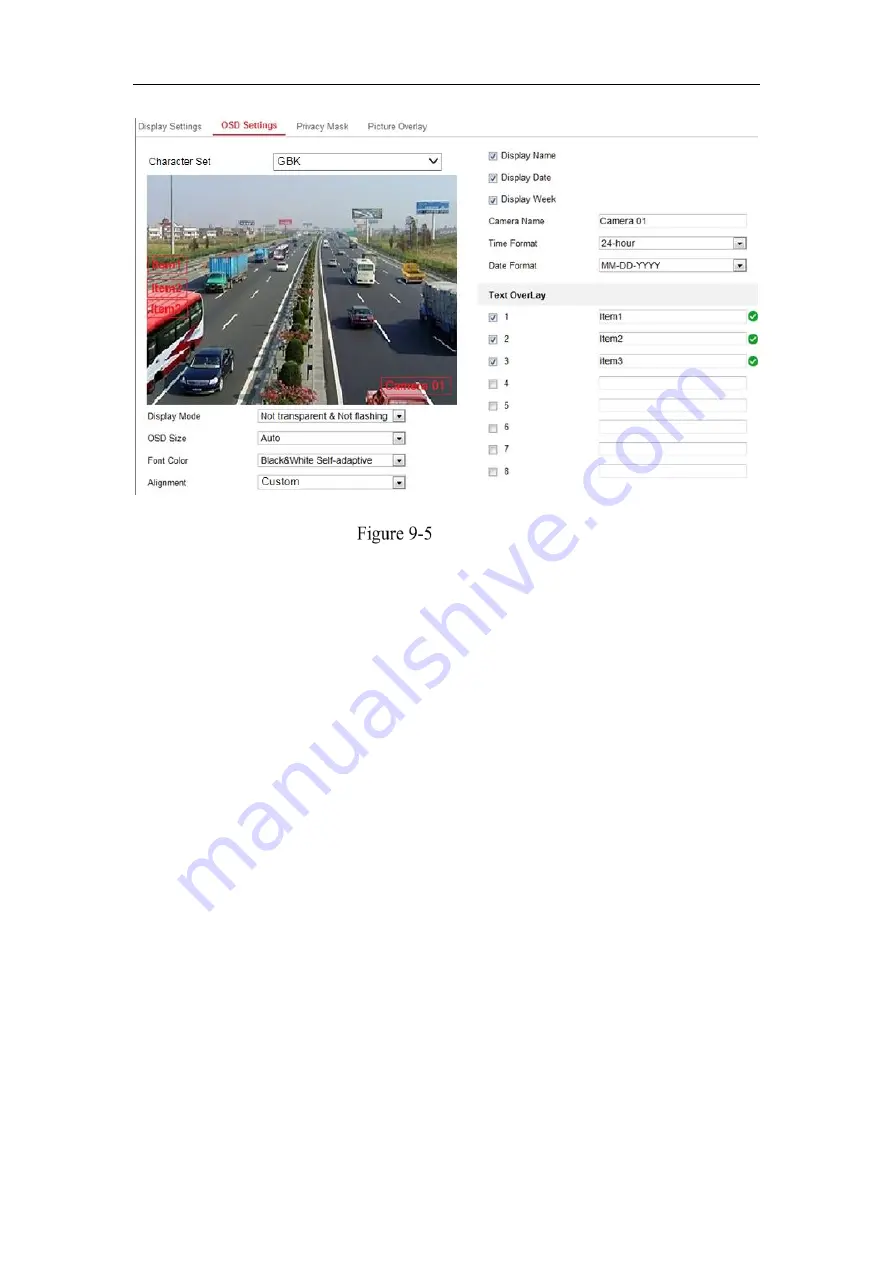
OSD Settings
Steps:
1.
Enter the OSD Settings interface:
Configuration > Image > OSD Settings
.
2.
Select the desired character set.
3.
Check the corresponding checkbox to select the display of camera name, date or
week if required.
4.
Edit the camera name in the text field of
Camera Name
.
5.
Select from the drop-down list to set the time format and date format.
6.
Select from the drop-down list to set the time format, date format, display mode,
OSD size and OSD color.
7.
Configure the text overlay settings.
(1)
Check the checkbox in front of the textbox to enable the on-screen display.
(2)
Input the characters in the textbox.
Note:
Up to 8 text overlays are configurable.
8.
Adjust the OSD position and alignment.
9.
Character align right, character align left, all align right, all align left and custom
are selectable. If you select character align right, character align left, all align left
or all align right, you can set the left and right margins and up and down margins.
Summary of Contents for HiWatch HWI-B120H-U
Page 1: ...Network Camera User Manual 0 User Manual UD19347B B Network Camera ...
Page 29: ...Network Camera User Manual 28 iVMS 4200 Control Panel iVMS 4200 Main View ...
Page 71: ...Network Camera User Manual 70 View the Online Users ...
Page 190: ...Network Camera User Manual 189 Figure A 1 2 Modify Network Parameters ...
Page 193: ...Network Camera User Manual 192 ...


