Network Video Recorder User Manual
62
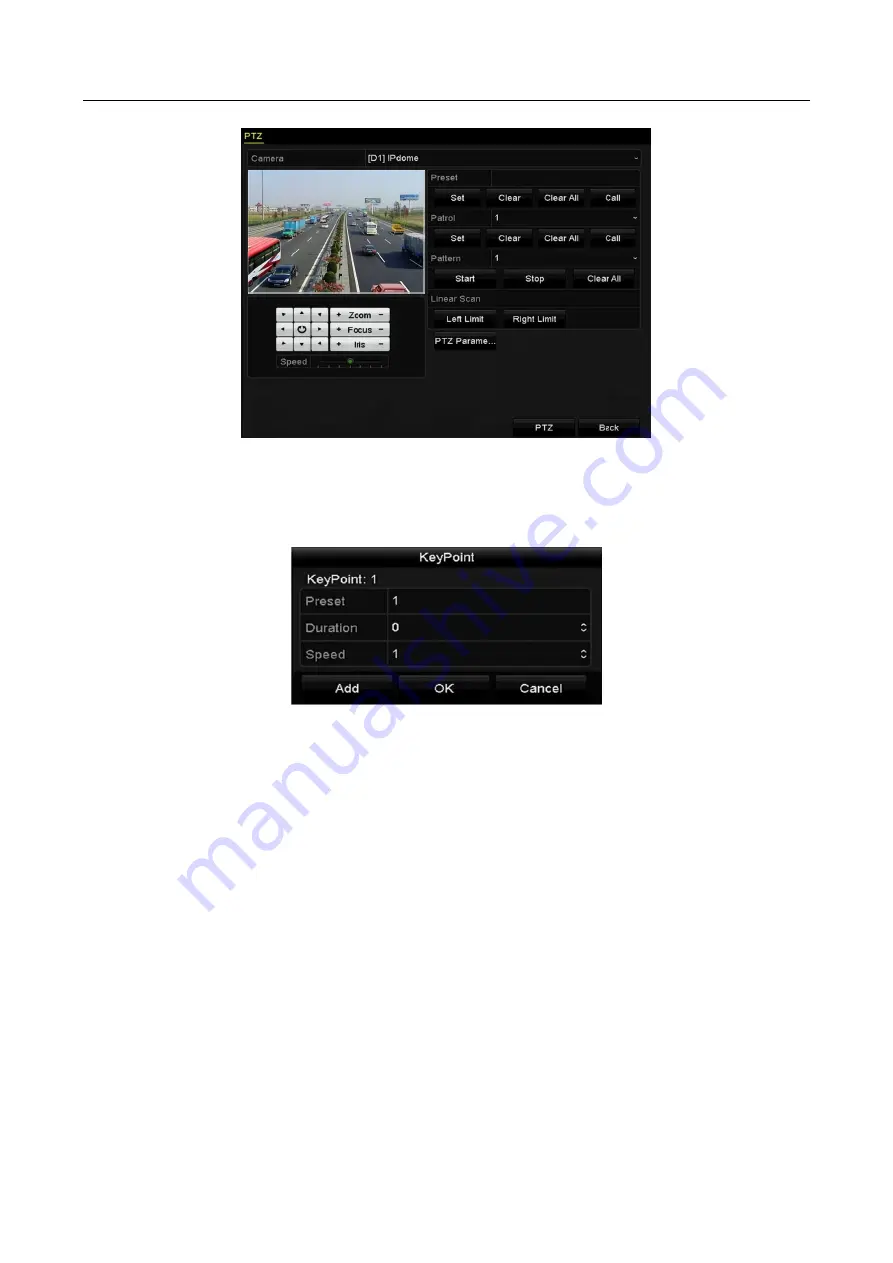
Figure 4-5
PTZ Settings
Step 2
Select patrol No. in the drop-down list of patrol.
Step 3
Click the Set button to add key points for the patrol.
Figure 4-6
Key point Configuration
Step 4
Configure key point parameters, such as the key point No., duration of staying for one key
point and speed of patrol. The key point is corresponding to the preset. The Key Point No.
determines the order at which the PTZ will follow while cycling through the patrol. The
Duration refers to the time span to stay at the corresponding key point. The Speed defines
the speed at which the PTZ will move from one key point to the next.
Step 5
Click the Add button to add the next key point to the patrol, or you can click the OK button
to save the key point to the patrol.
You can delete all the key points by clicking the Clear button for the selected patrol, or click
the Clear All button to delete all the key pints for all patrols.
4.2.4 Calling Patrols
Purpose:
Calling a patrol makes the PTZ to move according the predefined patrol path.
Step 1
Click the button PTZ in the lower-right corner of the PTZ setting interface;
Summary of Contents for DS-7600NI-K1/W Series
Page 1: ...Network Video Recorder User Manual UD06041B ...
Page 49: ...Network Video Recorder User Manual 48 Figure 2 40 Bind IP Camera Step 5 Click OK ...
Page 54: ...Network Video Recorder User Manual 53 Figure 3 6 Information ...
Page 96: ...Network Video Recorder User Manual 95 Figure 6 8 Smart Settings ...
Page 127: ...Network Video Recorder User Manual 126 Figure 8 18 Copy Settings of Alarm Output ...
Page 193: ...Network Video Recorder User Manual 192 Step 4 Click the Apply button to save the settings ...


