


© Hikvision
2.
Use the PTZ control buttons to move the lens to the desired position.
• Zoom in or out.
• Refocus the lens.
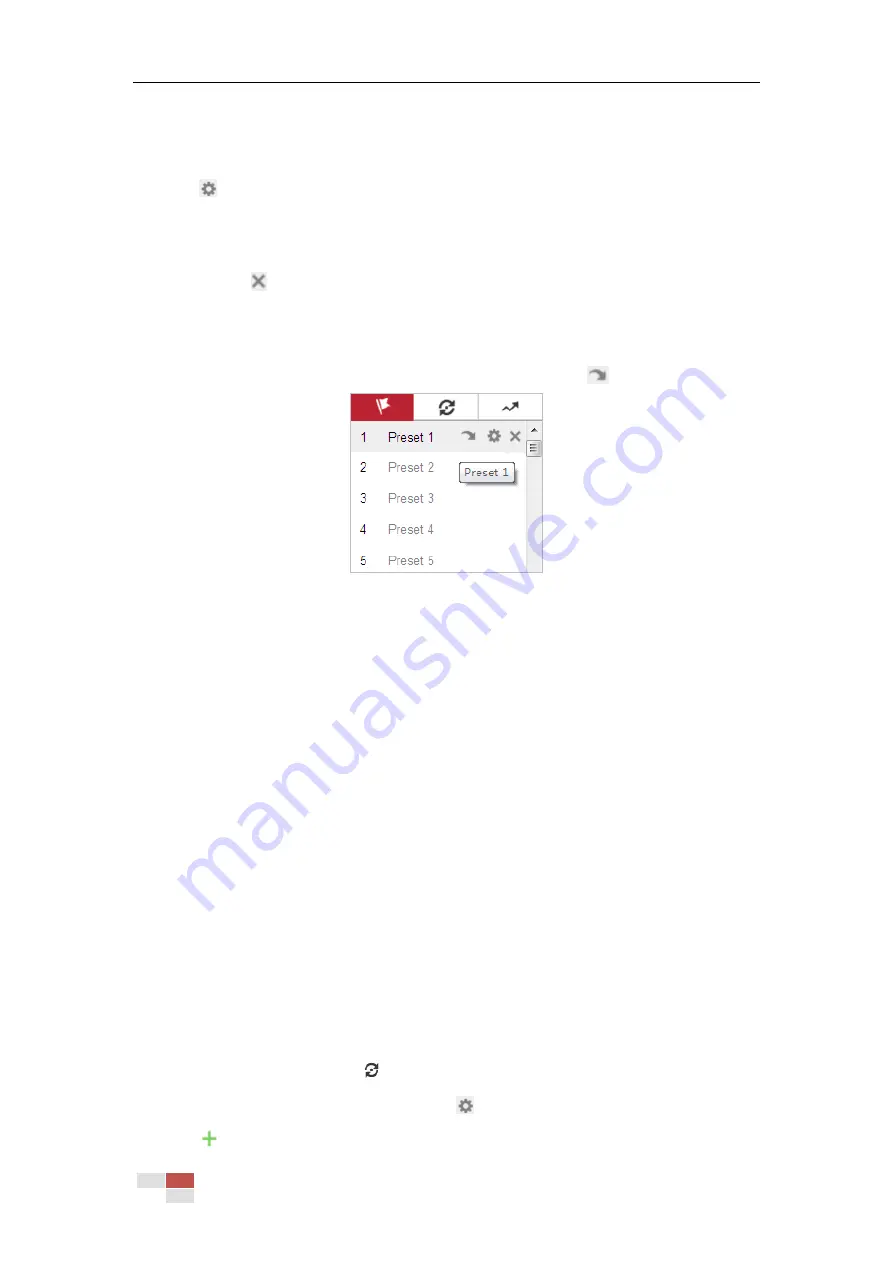
3.
Click
to finish the setting of the current preset.
4.
Edit a preset name by double clicking on the default name such as preset 1. (The pre-defined
presets are named already but not configurable. Refer to the user manual for detailed
function description.)
5.
You can click
to delete the preset.
Note:
You can configure up to 254 presets.
Calling a Preset:
In the PTZ control panel, select a defined preset from the list and click
to call the preset.
Figure 4-7
Calling a Preset
For convenient preset selection, refer to the following steps to navigate to the preset you want.
Steps:
1.
Select any preset from the list.
2.
Click the preset number you need on the keyboard.
Notes:
Preset 49 is predefined with Memory Time. You can only call it but not configure it.
Pattern
function
varies depending on different camera models
.
4.5.4
Setting/Calling a Patrol
Purpose:
A patrol is a memorized series of preset function. It can be configured and called on the patrol
settings interface. There are up to 8 patrols for customizing. A patrol can be configured with 32
presets.
Before you start:
Make sure that the presets you want to add into a patrol have been defined.
Setting a Patrol:
Steps:
1.
In the PTZ control panel, click
to enter the patrol settings interface.
2.
Select a patrol number from the list and click
.
3.
Click
to enter the adding interface of preset, as shown in Figure 4-8.


