SECTION 1
GETTING ACQUAINTED
3
7
8
1
2
3
4
5
6
Rear View
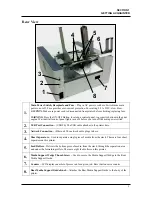
1.
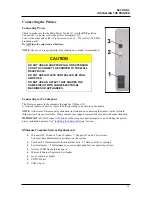
Main Power Switch, Receptacle and Fuse –
Plug in AC power cord here. Switch turns main
power on or off. Fuse provides over-current protection. Fuse rating: 2.5A, 250V, slow blow.
CAUTION
: Make sure power cord is disconnected from printer before checking/replacing fuse.
WARNING
: Press the ON/OFF Button, located on control panel, to properly shut-down the print
engine. Wait until all control panel lights turn off, before you turn off the main power switch.
2.
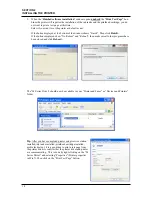
USB Port Connection –
(USB 2.0) The USB cable attaches to the printer here.
3.
Network Connection –
(Ethernet) The network cable plugs in here.
4.
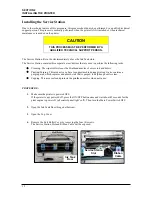
Sheet Separators –
Used to separate a single piece of media from the stack. There are four sheet
separators on this printer.
5.
Feed Rollers –
Delivers the bottom piece of media, from the stack, through the separation area
and under the forwarding rollers. There are eight feed rollers on this printer.
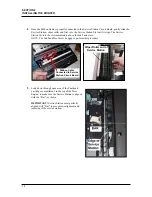
6.
Media Support Wedge Thumb Screw –
Used to secure the Media Support Wedge to the Rear
Media Support Guide.
7.
Counter –
LCD displays number of pieces run for a given job. Reset button zeros counter.
8.
Rear Media Support Guide Knob –
Attaches the Rear Media Support Guide to the body of the
printer.


