SECTION 2
INSTALLING THE PRINTER
17
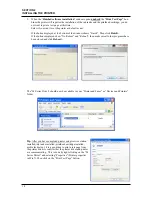
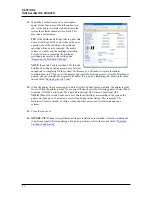
5.
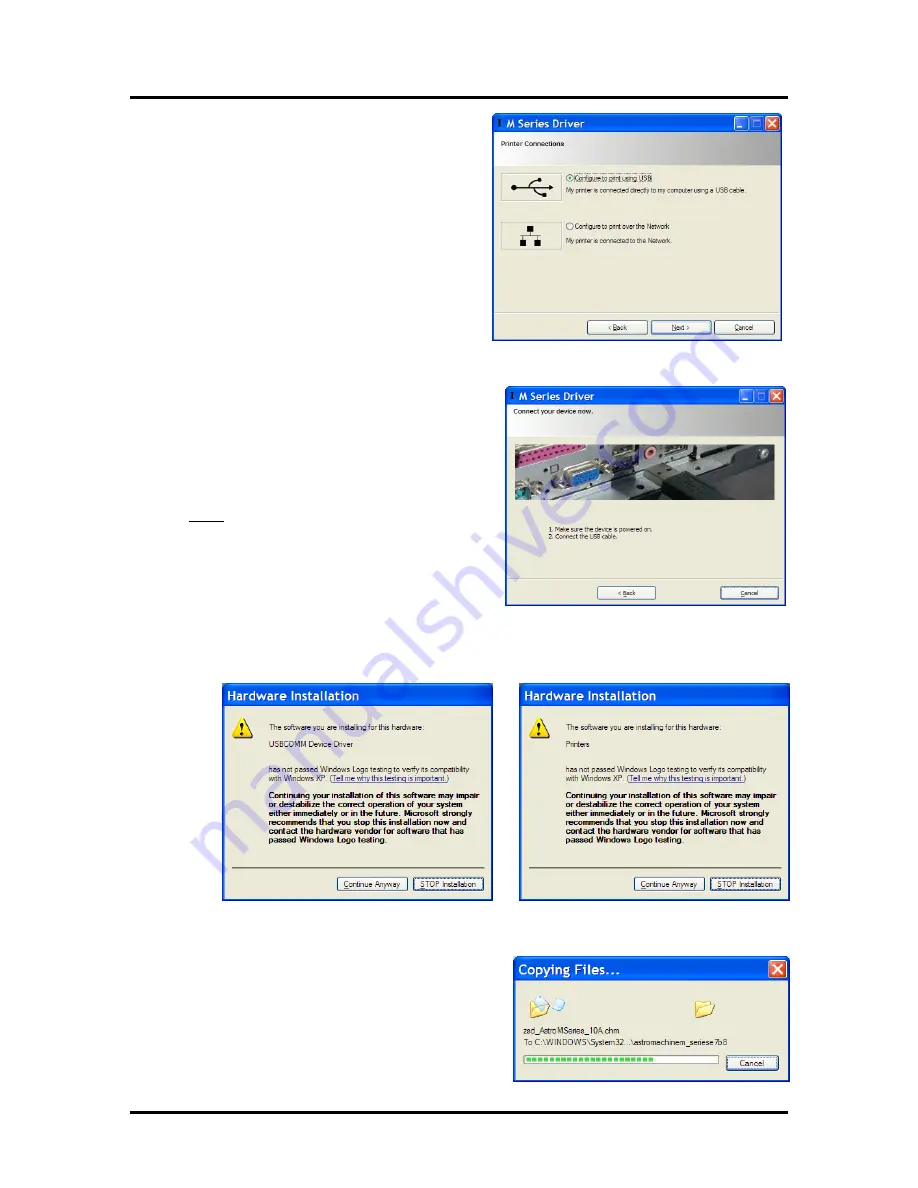
When the
Printer Connections
window opens.
Select the
USB
choice and then click
Next>
.
NOTE:
At the time of this manuals
publication, information on connecting the
printer via the Network (Ethernet) port was not
available. Please contact your support
representative for network connection help.
NOTE
: If you receive a Windows security or
authorization warning, click on “YES” or
“Continue Anyway”.
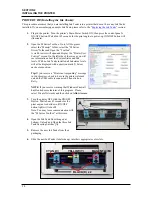
6.
After a few moments the “
Connect your device
now
” window will appear.
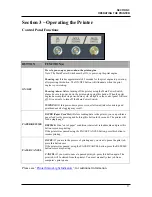
Turn the printer’s Main Power Switch ON; then
press the control panel’s ON/OFF button. Wait
about 45 seconds for the Print Engine to power-
up (ON/OFF button will illuminate). Then
connect the USB cable.
Don’t click on the <Back or Cancel buttons. The
software will automatically begin installing, once
it recognizes that the printer has been connected.
7.
You may receive two Windows security warnings during the software installation process. One for
the “USBCOMM Device Driver” and one for “Printers”. Be sure to click on
Continue Anyway
.
8.
The necessary files will be copied to your
computer system.

