25
ODROID C1 USER MANUAL
images with “C1” in their names. You will see a highlighted list as
shown in the screenshot above.
Each of the entries in the list is also a link. Click on the link that
corresponds to the latest relevant C1 image and download it. You
will need to uncompress this file before flashing it to the boot media.
To do so, you will need a specialized utility to uncompress the down-
loaded file. A reliable utility to uncompress such files is the 7-zip pro-
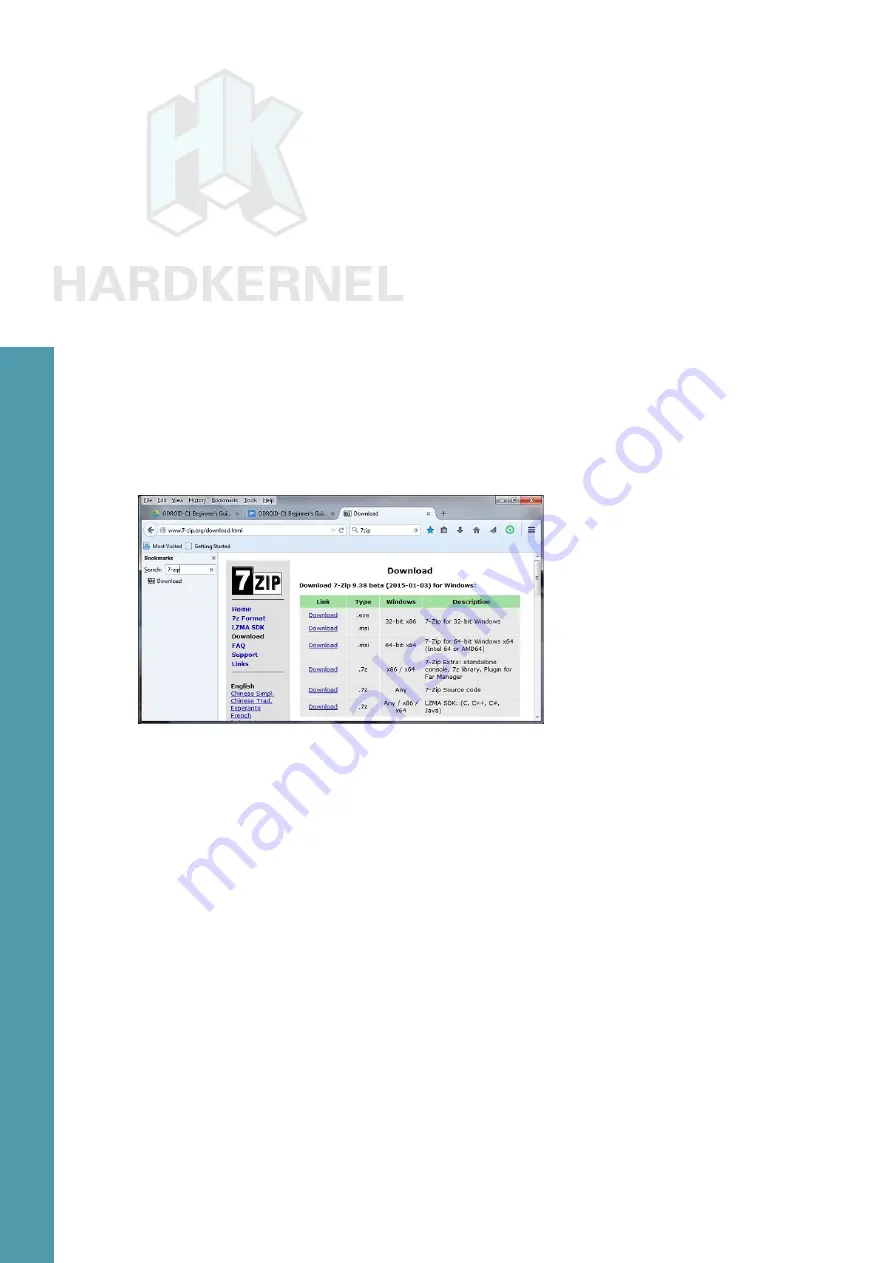
gram. Launch a web-browser such as firefox and navigate to http://
www.7-zip.org/download.html, which will list all of the available instal-
lation files for this utility. Click on a link that corresponds to your host
computer’s OS. Details of your OS can be found by running either the
msinfo32.exe or systeminfo.exe command in a command window.
The Windows OS used for this guide is a 64-bit type. Click the
download link that corresponds to the 64-bit Windows OS, in this case,
List of 7-zip installation files
After the file is downloaded, run it and select the default options,
and wait for 7-zip to finish installing. Next, launch the Windows Explor-
er application and browse the download directory. Select the down-
loaded compressed image file and right-click the file with the mouse.
Select the 7-zip menu option and under that select the Extract Here
option. After the uncompress process, it will result in the image file
that can be flashed. In this example, it will be ubuntu-14.04.1lts-lubun-
Another essential utility is one that will be used to flash the un-
compressed image file, such as the Win32DiskImager utility. Hard-
kernel has an updated version of it that adds a useful step to the flash
process, which clears the boot media prior to writing the image. This
version of Win32DiskImager.exe can be downloaded from the follow-
ing URL:
http://dn.odroid.com/DiskImager_ODROID/Win32DiskImager-odroid-v1.3.zip
Chapter 2


