26
Hangar 9 Christen Eagle II 90 ARF
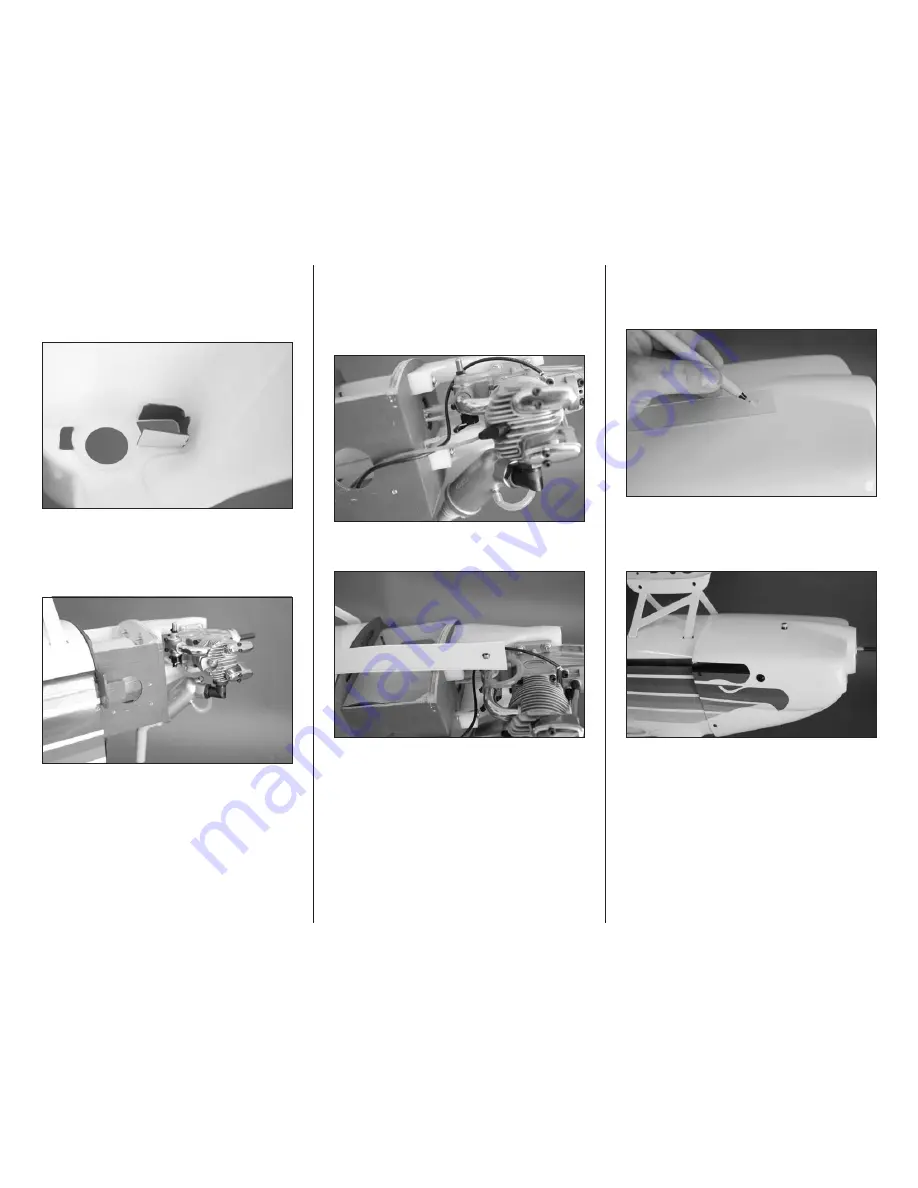
9. Use silicone adhesive to glue the baffle into the
cowling to direct air over the head of the engine. Allow the
adhesive to fully cure before proceeding. The top and bottom
of the baffle should be aligned parallel with the upper and
lower edges of the cowl opening.
10. Attach the muffler to the engine using a 90 degree
exhaust adapter. We also added an exhaust diverter to direct
the exhaust out of the bottom of the cowl. Connect the line
from the vent to the muffler, and the line from the clunk to
the carburetor.
11. At this time you will need to decide if you will be
cutting a hole in the cowling for glow plug access, or use a
remote adapter so it can be accessed remotely. The adapter
is shown here, eliminating the need for a hole in the cowling
for the glow plug. The additional weight of the adapter may
require tail weight to achieve the desired center of gravity.
12. Use card stock to locate any items that may need to
be accessed from the outside of the cowl.
13. Slide the cowl on the fuselage and use the four M3 x
8 self-tapping screws and a #1 Phillips screwdriver to attach
the cowl. Use a felt-tip pen to mark the locations for the
items indicated in the previous step.
14. Remove the cowl and cut out any areas that were
marked in the previous step. Mount the fuel filler dot on the
cowl where it can be easily accessed. Place the cowl back on
the fuselage and secure it as instructed in the previous step.


