29
Hangar 9 Christen Eagle II 90 ARF
REMOvING ThE WING PANELS
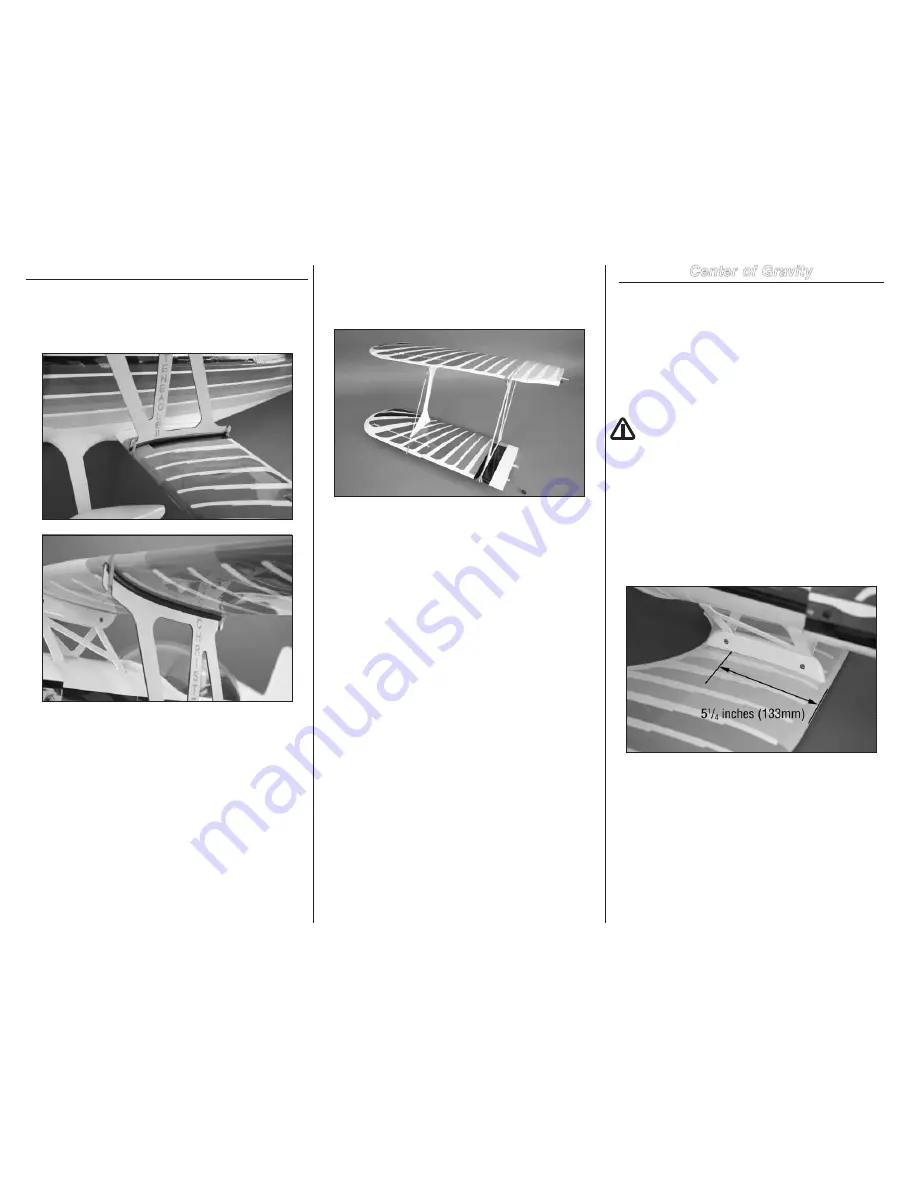
12. Locate the wing transport frames and rubber
bands. Slide the frames between the top and bottom wing as
shown. Use a rubber band to hold the frame to the top and
bottom wing.
13. Use a 2.5mm hex wrench to remove the three
M3 screws that attach the panels to the fuselage and center
section. Slide the panels from the tubes and disconnect the
servo lead for the aileron servo.
Using the transport frames allow the
removal of the wings without the need to
remove the aileron linkage and the interplane
strut between the top and bottom wings.
14. Repeat Steps 12 and 13 to remove the remaining
wing panels from the fuselage.
To reattach the wings, simply perform
Steps 12 through 14 in reverse order.
Center of Gravity
Required Parts
Top wing assembly
Bottom wing assembly
Fuselage assembly
An important part of preparing the aircraft for flight is
properly balancing the model.
CAUTION: Do not inadvertently skip this step!
1. Attach the wings to the fuselage using the M3
hardware as described in the section “Wing Installation.”
Make sure to connect the leads from the aileron to the
appropriate leads from the receiver.
2. The recommended Center of Gravity (CG) location
for your model is 5
1
/
4
inches (133mm) back from the
leading edge of the top wing at the center. Mark the
location of the CG on the bottom of the wing with a felt-
tipped pen.


