Page 8
CONFIGURING HLC DEVICES
Before configuring HLC Dimmers and Switches, 6-Button Room Controllers, and 8-Button House Controllers, you should have
thoroughly reviewed Appendix A “Understanding HLC” and have completed the worksheet(s) in Appendix B “HLC Planner”.
When configuring HLC devices using the Lumina keypad, you can configure the device by selecting the name of the device from the
list of named units, or by entering the Unit Number of the device followed by the ' # ' key.
Note:
The following steps will guide you through configuring all named devices first. Then, it will guide you through configuring
unnamed devices.
Using the worksheet(s) in Appendix B, configure each device as follows:
STEP 1
On the Lumina keypad, from the top-level display, press 6 (STATUS), and then press 1 (CTRL). The first named unit is displayed:
Living Room
STATUS: OFF
STEP 2
Configuring Room Controllers
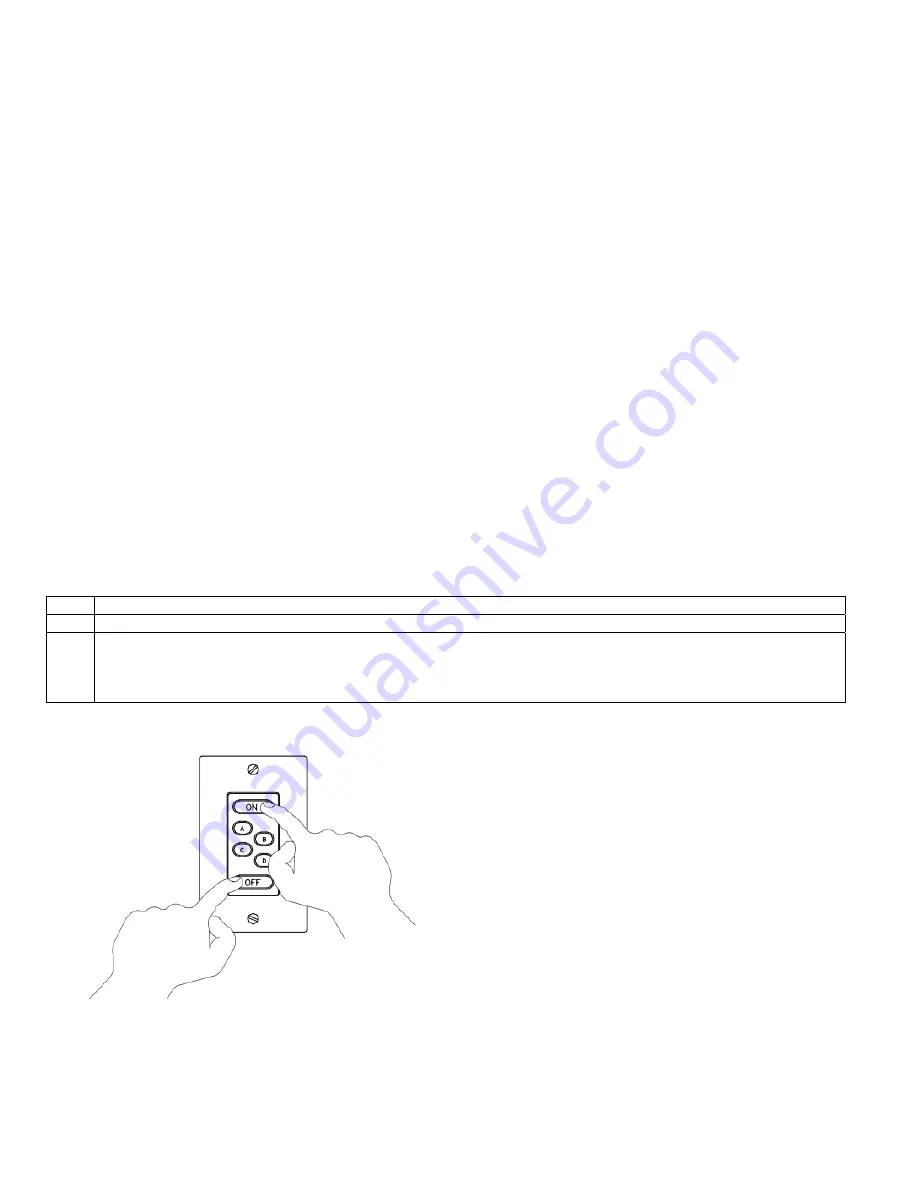
If the named unit is a Room Controller, go to the specified HAI UPB™ 6-Button Room Controller and put it in Setup mode as
follows:
Room Controller Setup
Step Operation
1
Press and hold the “ON” and “OFF” pushbuttons simultaneously for at least 3 seconds.
2
All of the LED indicators will blink to indicate that the HAI UPB™ 6-Button Room Controller is in Setup Mode.
Note:
The HAI 6-Button Room Controller will automatically exit Setup mode after 5 minutes. To manually exit Setup
mode, press and hold the “ON” and “OFF” pushbuttons simultaneously for at least 3 seconds.
Back at the Lumina keypad, press ' # # '. The display shows:
CONFIGURE Living Room
STARTING


