7
GVI Security
3. OSD
Operation
Prior to operating the DVR, setup the general configuration. The following subsections introduce the function
keys located on the front panel and the general configuration of the DVR.
The regular displayed OSD information and its displayed positions are shown in the following figure. The title
of the channel displays on the top-left corner of the window either in full-screen mode or in multiple channel
modes. The current date/time information displays at the bottom-right corner of the screen. The operation
status displays in the functional status bar. Move the cursor to any status icon and its description displays.
CH1 CH2 CH3
CH4
CH5 CH6 CH7
CH8
CH9 CH10 CH11
CH12
CH13 CH14 CH15
CH16
2011.01.19 04:31:22 AM
3.1
Front Panel Introduction
The controls on the front panel enable users to control the unit and preset the programmable functions.
3.1.1 LED
Definition
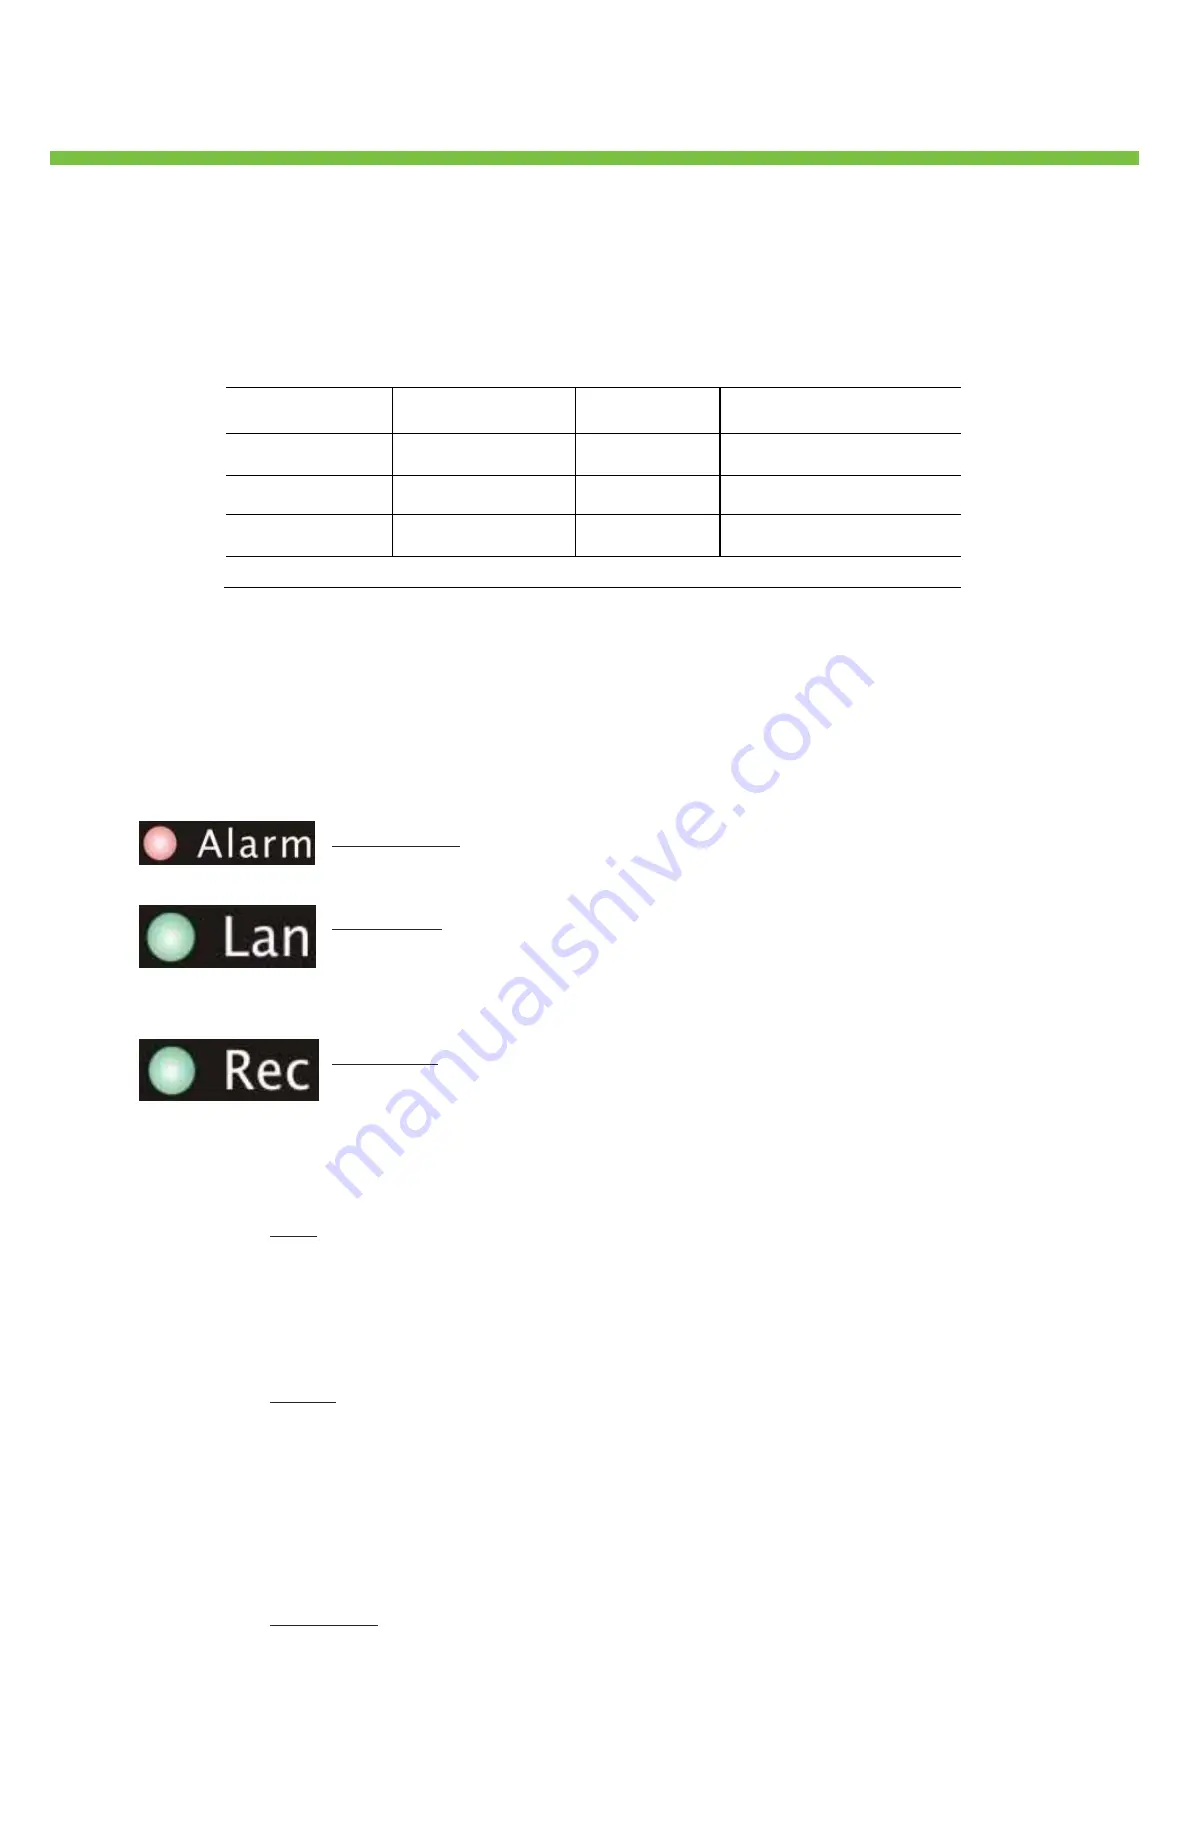
The LEDs on the front panel of the DVR are described as follow.
Alarm LED
The LED lights up when an alarm event triggers.
LAN LED
The LED lights up when the DVR is connected to a network and blinks when
the data is being transferred.
REC LED
The LED blinks while the DVR is recording.
3.1.2 Function
Keys
This section describes the functional keys on the front panel of the DVR.
Play
Press Play once to begin playing recorded video. Press Play again to exit.
Note:
According to the record setting, part of the latest video cannot be played back
because the video is still saved in the buffer.
Pause
Press Pause to freeze live video. The date/time information shown on the monitor
continues updating in this mode. Press PAUSE again to return to live mode.
Press Pause while playing the recorded video and the playback video pauses. Press
LEFT/RIGHT to move the recorded video reverse/forward. Press Pause again to return
to the live viewing mode.
Sequence
Press Sequence to start an automatic sequence display of video from all installed
cameras.


