UtilityScan Quick Start Guide
Page 26
No matter which method you use, you will
still need to collect a file of data and place
the backup cursor on the target.
1
Move the UtilityScan backward to
place the backup cursor on the target.
Then use your finger or a stylus to
place the horizontal cursor on the
target.
2
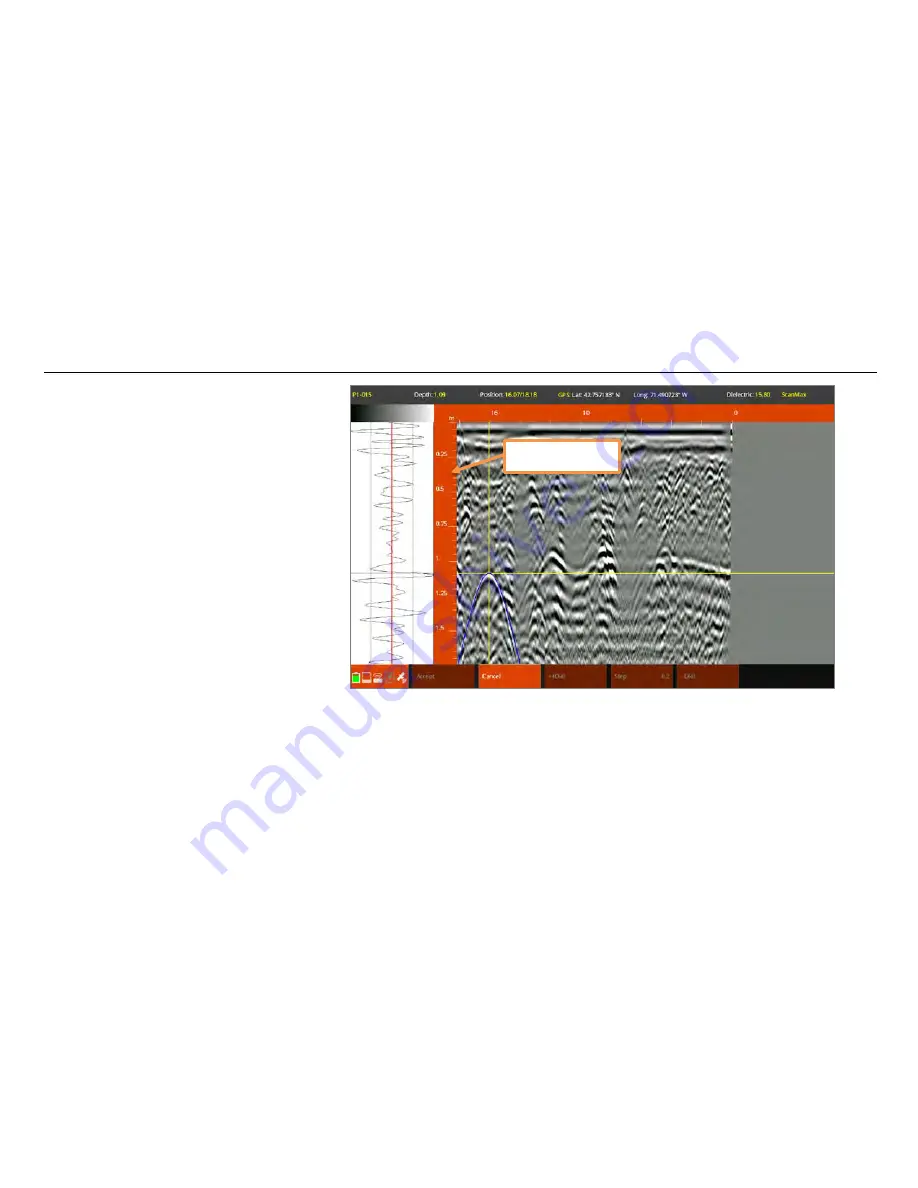
Tap Calibrate from the Menu
Carousel.
3
Choose your calibration method.
•
For
Set Depth
, choose Set Depth
and move your finger or a stylus
up and down along the left scale
bar until the correct depth shows in the info bar at the top of the screen. Alternatively, you can use
the +/- Depth buttons in the Menu Carousel to change the value. Tap Accept when done.
•
For
Set Dielectric
, choose Set Dielectric. You will see a blue, hyperbola-shaped border appear on the screen.
Using your finger or a stylus, slide up and down on the left scale bar to match the blue hyperbola as close as
possible to the shape of the real hyperbola in the data. Alternatively, you can use the +/- Diel buttons.
Tap Accept when done.
Left Scale Bar
Summary of Contents for UtilityScan
Page 1: ...UtilityScan Quick Start Guide MN71 292 Rev C ...
Page 4: ......
Page 6: ......
Page 10: ...UtilityScan Quick Start Guide Page 4 UtilityScan Transport Configurations ...
Page 53: ...Notes ...
Page 54: ......
Page 55: ......
Page 56: ......


