UtilityScan Quick Start Guide
Page 7
Connecting to the UtilityScan via Ethernet
1
Make sure that both the tablet and the UtilityScan antenna are powered Off.
2
Unscrew the protective cap covering the antenna Ethernet connector and connect the Ethernet cable to the antenna.
Connect the other end of the Ethernet cable to the tablet. Note that you may need to use the included adapter cable
depending on your tablet.
3
Power on the antenna
first
and wait for the blue light around the antenna power button to flash before turning on the
tablet.
4
Power on the tablet and note the Ethernet symbol <…> in the top-right corner of the Android desktop. If you do not
see it wait for it to appear before going on to the next step.
5
Tap the UtilityScan app icon. The system is now communicating over Ethernet and the WiFi radio on the UtilityScan
antenna will automatically turn off after 15-20 minutes.
Note that the WiFi radio on your tablet will remain on. If you are in an environment where WiFi is not permitted, you can
turn it off by following these steps:
1
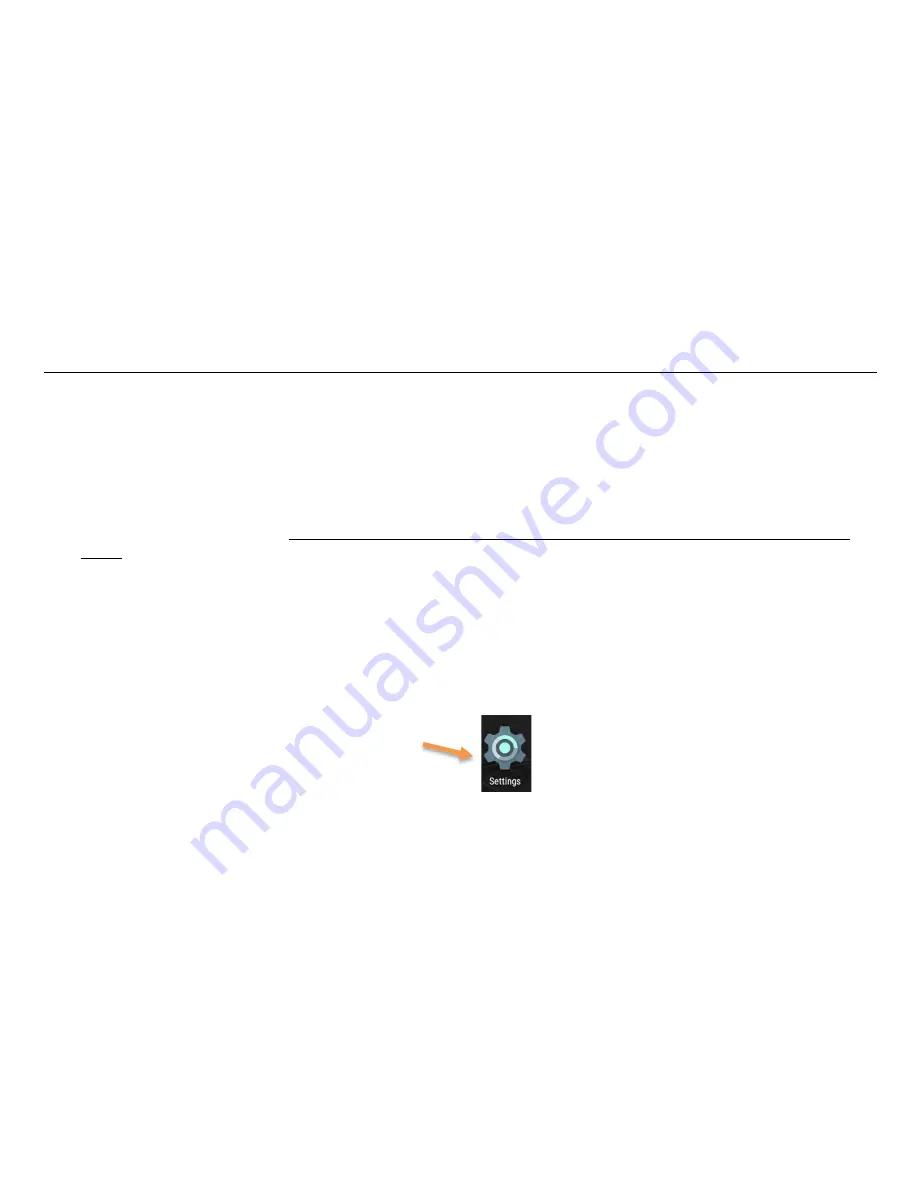
From the Android tablet desktop, tap Settings:
2
Tap Wi-Fi from the Wireless & Networks section
at the top.
3
Tap the slider toggle on the top right to turn WiFi off. Remember to turn it on again to use WiFi in the future.
Summary of Contents for UtilityScan
Page 1: ...UtilityScan Quick Start Guide MN71 292 Rev C ...
Page 4: ......
Page 6: ......
Page 10: ...UtilityScan Quick Start Guide Page 4 UtilityScan Transport Configurations ...
Page 53: ...Notes ...
Page 54: ......
Page 55: ......
Page 56: ......


