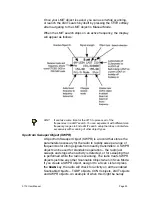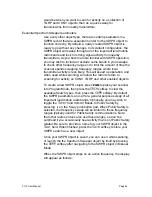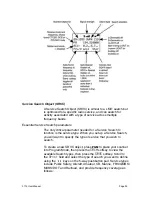
Attach the antenna
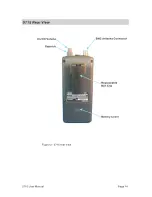
Remove the antenna from its protective plastic wrapper. Align the
slots on the antenna
!
s BNC male connector with the posts on the
radio
!
s BNC female connector and slide the antenna in place,
then rotate the antenna
!
s BNC connector 1/4 turn clockwise until
it snaps in place.
Turn the radio on
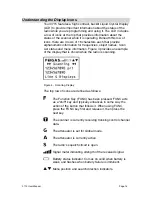
Rotate the top knob of the VOLUME/SQUELCH control
clockwise to turn the radio on. Set both the VOLUME and
SQUELCH knobs at their mid-point (12 o
!
clock) position.
NOTE:
While 12 o!
clock is a good squelch setting to start with, it may cause
your radio to miss some calls with weak signals. You will probably
want to optimize the squelch setting to set it close to threshold. To
optimize the squelch setting to be close to the best threshold, press
TUNE
, then rotate the squelch control counterclockwise until a
rushing sound is heard from the speaker. Rotate the squelch control
clockwise just past the point where the rushing sound stops. The
squelch is now set to the optimum point. Please note the position of
the squelch control for future reference. Once the squelch setting is
complete, you may press
PGM
to exit TUNE mode.
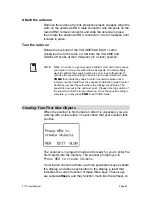
Creating Your First New Objects
When the scanner is first turned on after it is unpacked, you are
working with a clean slate. You will notice that your scanner tells
you this:
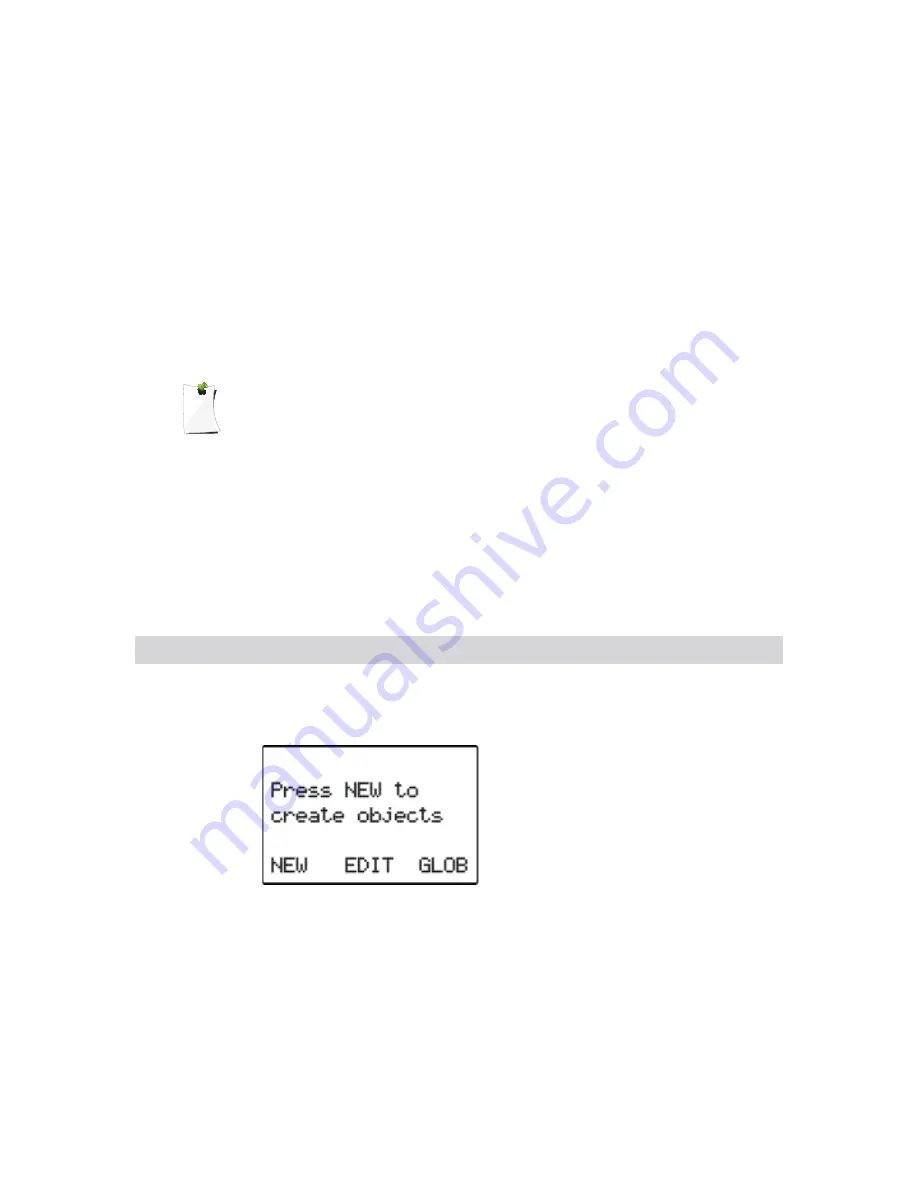
The scanner is in program mode and is ready for you to enter the
first Objects into the memory. The scanner prompts you to
Press NEW to create objects
.
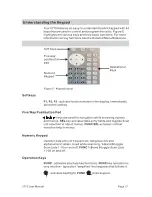
You will also notice that there are three pushbutton keys beneath
the display, and above each button in the display, a label that
indicates the current function of these three keys. These keys
are called
softkeys
, and they function much like the softkeys on
0715 User Manual
Page 20

