142
Zodiak Installation and Service Manual
Section 4 — Maintenance
Fuse Replacement
1.
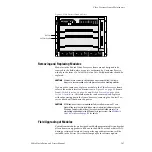
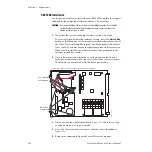
Check fuse status. LEDs located on the front of the Control Panel
Processor board (
) indicate fuse status. A red
LED indicates that a fuse needs to be replaced.
2.
To replace a fuse, power down the panel and remove the front three
screws securing the Control Panel Processor board’s metal cover,
remove the enclosure, and replace the fuse.
Note
A fuse rating is label is adjacent to each fuse.
3.
Replace the metal cover and screws. Turn power back on to the panel.
A green LED indicates that the fuse is working properly.
Button LED Replacement
The large and small buttons on the Main panel use long-life Light Emitting
Diodes (LEDs) which make lamp failure unlikely. If an LED fails to illumi-
nate, it should be replaced.
To remove and install an LED:
1.
Turn off the Main panel power supplies (
2.
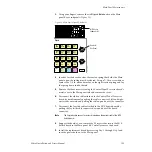
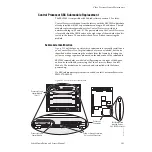
Using your fingers or adjustable jaw pliers, pull the keycap up and out
of the panel (
Figure 95. LED Replacement
Keycap
LED
Switch
Insert keycap with
notches on front
and back sides.
8125_00_21_r1
Rear of panel
Insert LED with flat
side oriented as shown.


