MDE-5387D Hybrid Card Reader S (HCRS) Kit Installation Instructions · May 2020
Page 11
Installing the HCRS Kit
3
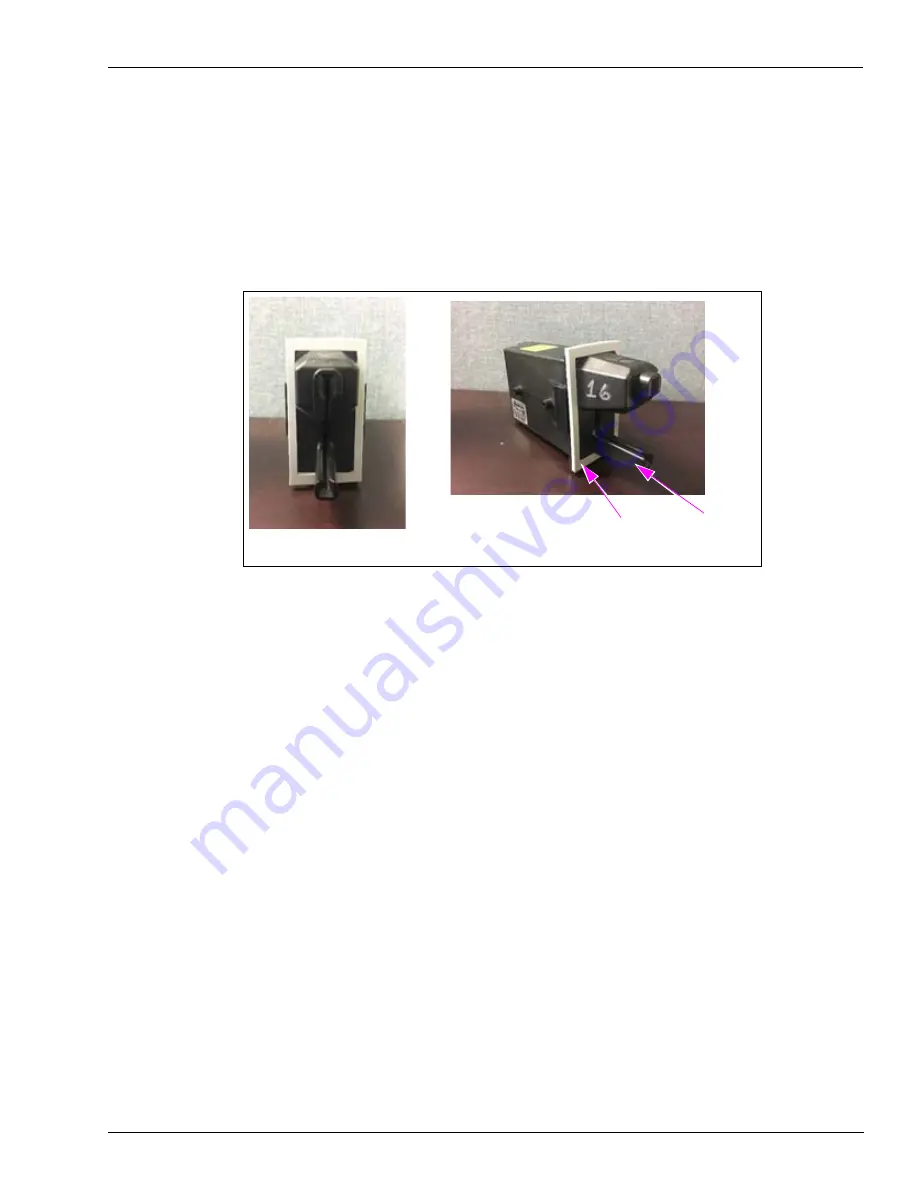
Place the non-adhesive gasket over the front of the card reader making sure the gasket is
seated on the flange and covers the dismount buttons as shown in
.
Note: Installing this non-adhesive gasket is different from previous gasket installation. It is
laid over the card reader snout first, then the card reader is inserted into the card
reader opening on the door. In this application, the card reader becomes your insertion
tool.
Figure 3: HCRS Card Reader
(i)
Front View
(ii)
Side View
Gasket
Card Reader
4
From the rear of the main door, position the HCRS card reader and then the card reader
bracket on the door so that the opening on the bracket is positioned at the top. Loosely secure
the card reader bracket and HCRS card reader to the main door using the four screws as
determined in
on
Note: When installing the card reader bracket onto the HCRS card reader, the lip on the
bottom of the card reader bracket must face toward you [toward the data/power
connector (see
5
Align the HCRS card reader and card reader bracket. Securely tighten the four mounting
screws in stages in a diagonal pattern using a torque wrench driver to ensure correct seating of
the card reader (see
on
Do not overtighten the screws
. Overtightening of
the screws can strip or break the card reader bosses.
The following are the torque settings for the different door types:
• Self-threading (plastic boss) doors: 18-20 inch-lbs
• Threaded (metal insert) doors: 12 inch-lbs
6
Check the gasket from outside of the door to ensure no gasket material is visible around the
card reader bezel.


