7
Initial configuration
Gigaset T300 PRO / Gigaset T500 PRO / EN Master / A31008-M2212-R102-1y-7619 / admin_configuration.fm / 02.12.2010
V
e
rsion 2, 06.0
8
.2010
Initial configuration
Your Gigaset T300 PRO / Gigaset T500 PRO PABX is supplied with a web user interface and
can be configured using an Internet browser on the computer of your choice.
Prerequisite:
You have connected your PABX to your local network, as described in the
short user guide provided.
Gigaset T300 PRO / Gigaset T500 PRO should already be assigned a fixed IP address or
should have received an IP address automatically generated via DHCP. This IP address is
shown on the computer's start display on completion of the booting process.
You can copy the IP address on to a USB stick:
¤
Insert a USB stick into the USB port on the server. The IP address is automatically saved
in a text file
pbxurl.txt
on the USB stick.
¤
Remove the USB stick and insert it into the workstation computer on which you wish
to configure Gigaset T300 PRO / Gigaset T500 PRO.
¤
Open the text file
pbxurl.txt
using any text editor and copy the IP address to the clip-
board.
To configure Gigaset T300 PRO / Gigaset T500 PRO, enter the IP address into the web
browser's address bar as shown in the following example:
Example:
http://192.168.100.123/
With 192.168.100.123 representing the IP address to be entered.
The configuration menu opens in the browser.
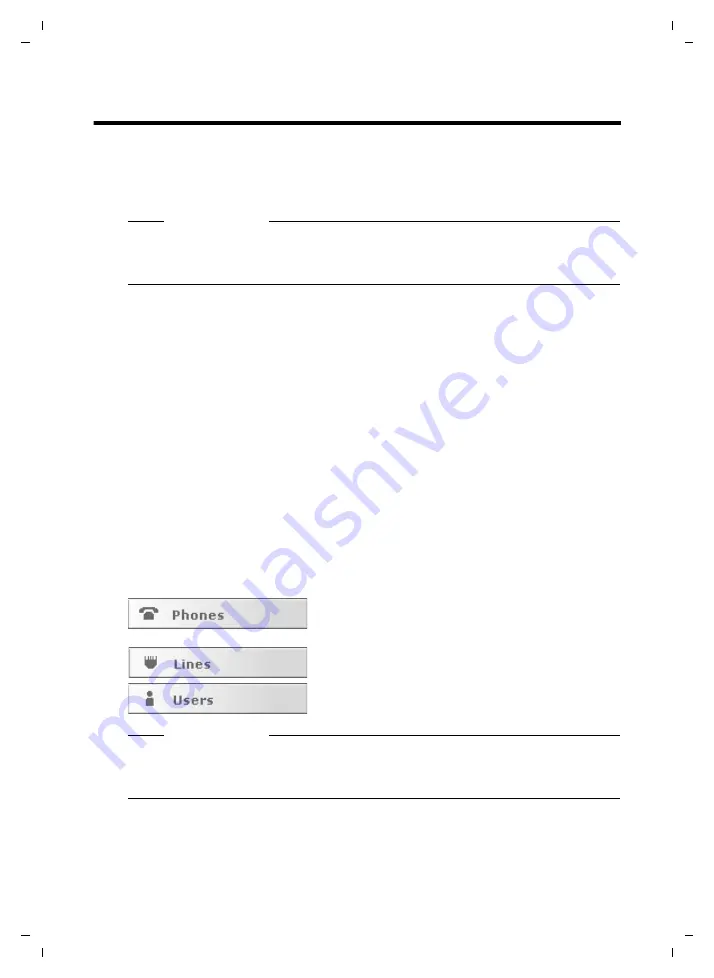
The initial configuration comprises three steps:
¤
Click on
Next
, to start the initial configuration.
Please note
There are extension modules available to connect analogue and ISDN phones for
Gigaset T300 PRO / Gigaset T500 PRO. If you wish to use these modules, install the
cards in your PABX before starting the configuration.
Locating and configuring the phones and adapters
in the network that are to communication via the
Gigaset T300 PRO / Gigaset T500 PRO PABX.
Configuring the lines to be used by the PABX to
establish connections in the phone network.
Creating the administrator account
Please note
With the exception of specifying internal phone numbers in Step 2 and creating an
administrator account in Step 3, the settings from the initial configuration can be car-
ried out at a later stage.


