Genelec Loudspeaker Manager (GLM) 4 - System Operating Manual
page 45 of 87
Before running the absolute SPL listening level calibration, the in-room frequency response
compensation for each monitor and subwoofer and alignment of the playback levels and times of
flight for audio between monitors in the system should be completed first by running GLM AutoCal.
Note: We recommend the use of digital audio inputs to reduce uncertainty and tolerances in setting
the signal levels.
Before SPL calibration, first run GLM AutoCal calibration to compensate the frequency
responses, times of flight for audio, and level difference between channels and the to align
the subwoofer phase. You typically do this when creating a new ‘Group’, using the ‘Group
Preset’ menu item ‘Add’ Group command; or by re-calibrating an existing Group, using the
‘Group Preset’ menu item ‘Calibrate’.
If you require a frequency response different than flat, for instance a HF roll-off such as x-
curve, now make those adjustments. To edit all channels at once, consider using the Sound
Character Profiler. For editing per channel, select and edit individual monitor settings.
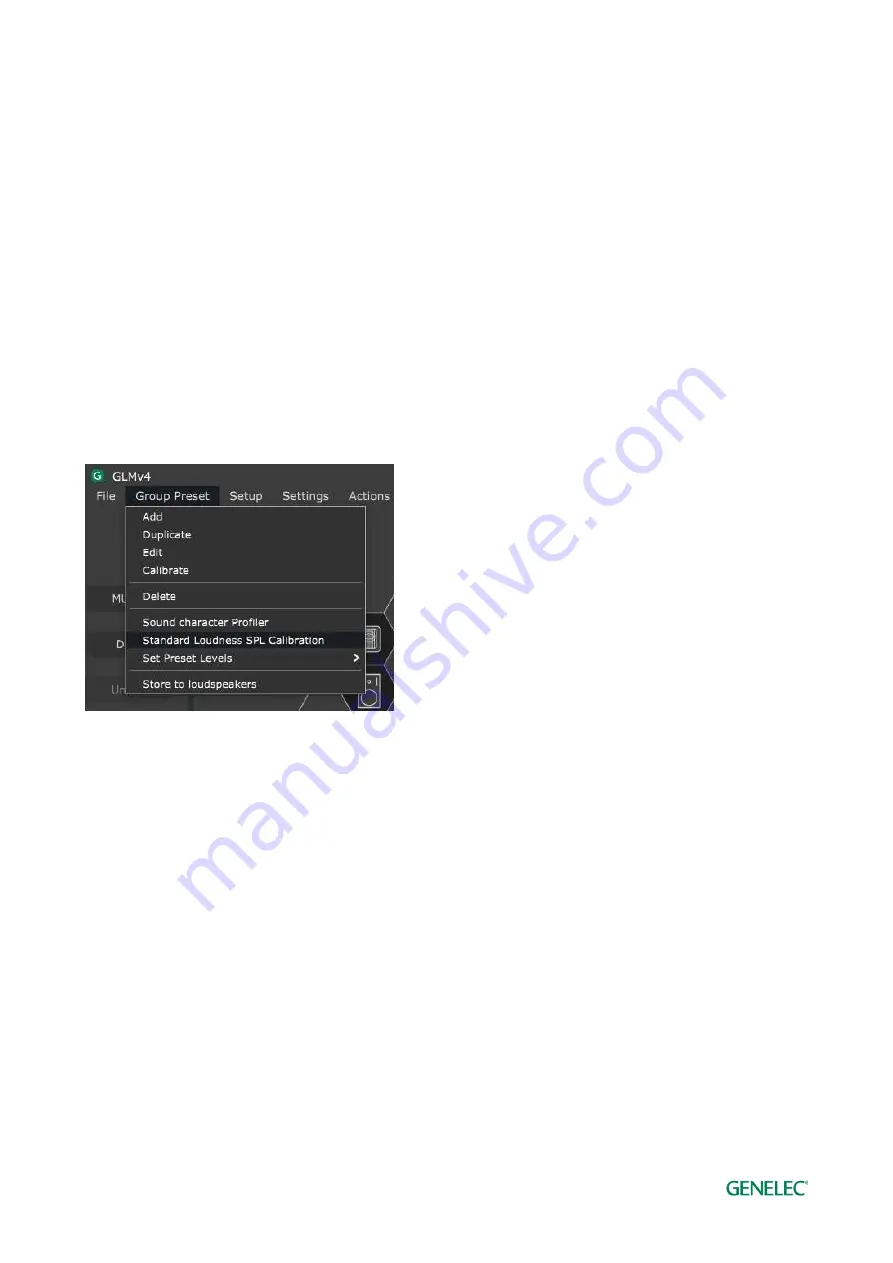
SPL calibration should be the final item: Click the ‘Group Preset’ menu item ‘Standard SPL
Calibration’ on the main page. The Standard Loudness SPL Calibration window opens.
Figure 25. Entering to the Standard Loudness SPL Calibration page.
Select in the dropdown list the loudness standard used for the level calibration.
Place the Genelec calibration microphone at the listening position.
Click the ‘Start Calibration’ to start the calibration process. Note that the test signal may be
loud. If the background noise in the room is higher than 65 dB SPL, the loudness preset
cannot be calibrated. Reduce the background noise and calibrate again.


