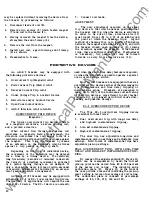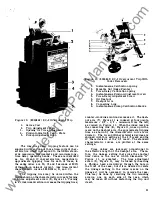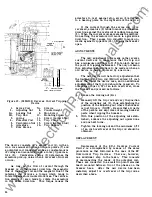
the breaker will not close. Use the maintenance
closing handle whenever closing or attempting
to close the breaker during this entire opera
tion.
3 . Withdraw the adjusting screw from the locknut
1 /4 turn at a time, attempting to close the
breaker after each 1 /4 turn, and observing
whether the contacts move toward closing
before tripping occurs .
If
the contacts move
toward closing before tripping occurs, you have
established the position of the adjusting screw
4
5
6
7
8
where the latch and latch roller begin to engage.
In some cases, it may be necessary to turn
the adjusting screw less than 1 /4 turn to
establish the position where the contacts move
before tripping occurs. When this position is
established, note the position of the slot in
the head of the adjusting screw.
4. Withdraw the adjusting screw three and one
half
turns from the position noted in step 3 .
This sets the proper amount of latch engage
ment.
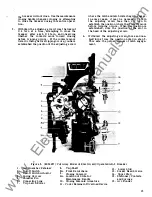
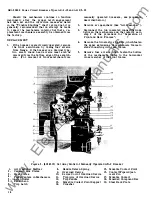
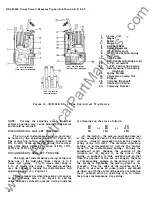
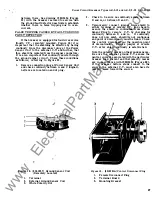
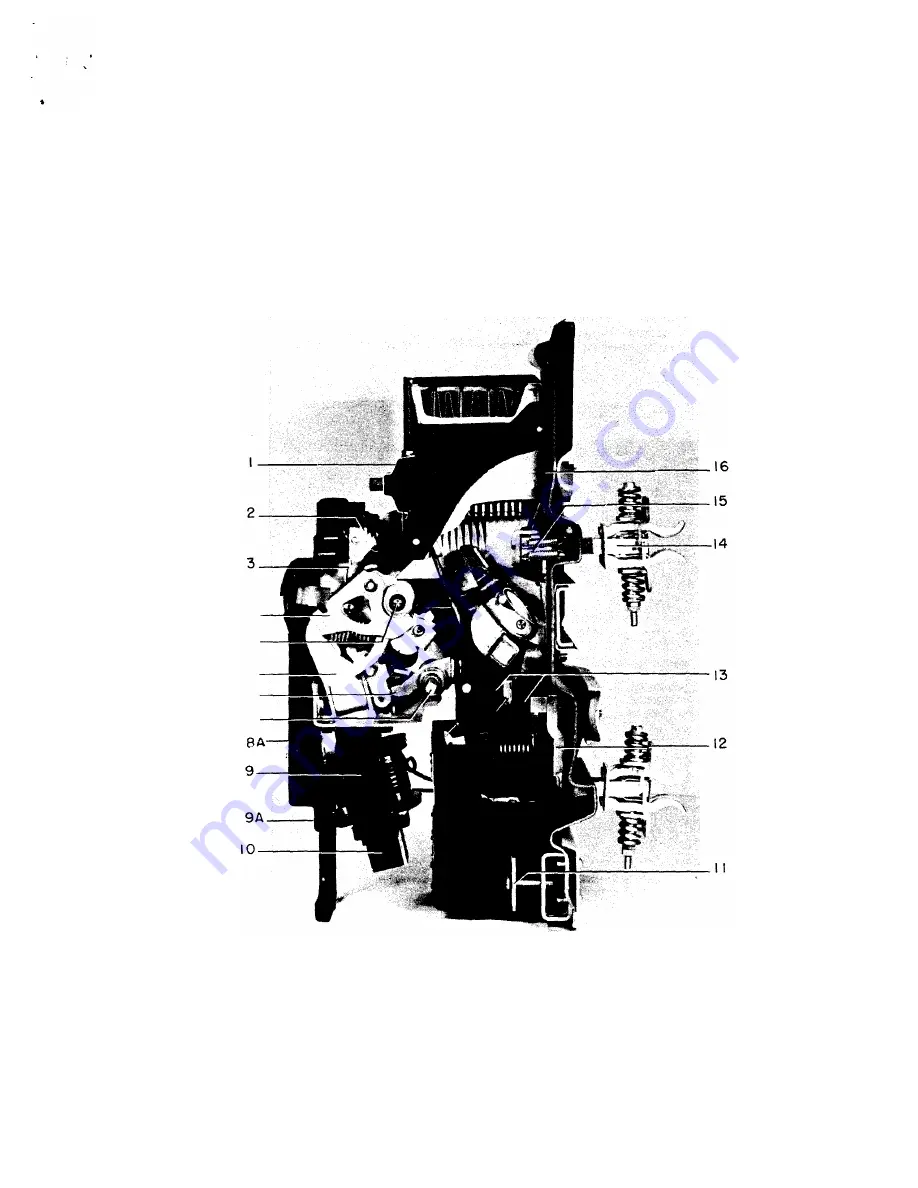
Figure 5. (8024457) Cut Away Model of Electrically Operated AK-2 Breaker
1 .
2 .
3.
4.
5 .
6 .
7 .
Arc Quencher Retainer
Cut off Switch
Cut off Switch Actuator
Spring Carrier
Shoulder Pin
Connecting Link
Trip Latch Roller
8.
T rip Shaft
SA. Front Escutcheon
9 . Closing Solenoid
9A. Location of Slots for
Maintenance Handle
10. Closing Solenoid Armature
1 1 . Cover Re tainer of Overload Device
12 .
13.
14.
15.
16.
Lower Stud
Socket Head Screws
Upper Stud
Stationary Contacts
and Springs
Arc Runner
1 3
www
. ElectricalPartManuals
. com


