ANITA ©
27
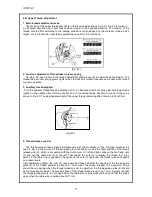
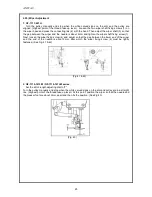
the side of the needle plate (4), tighten the fixing screw (7),
C. If the knife (3) is too close to the needle plate (4), there may be an overload on the knife when in
operation; on the other hand, if the adhesion is too weak, there may be problems when cutting the
material. Therefore, the lever (1) must always be operated after adjustment to check whether the knife
(2) movement is smooth.
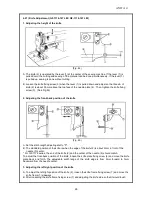
4.22) Use of Chip Discharge Guide and Auxiliary Needle Plate (GF-1116/GF-1118 series)
1. When Cutting and Sewing Simultaneously
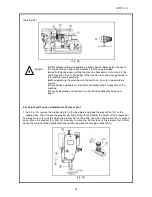
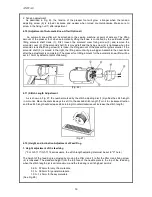
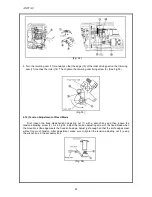
When cutting and sewing are done at the same time, attach the chip discharge guide (2), which is
provided in the accessory box, to the auxiliary needle plate (1) with fixing screws (3). (See Fig.46)
(Fig. 46)
(Fig. 47)
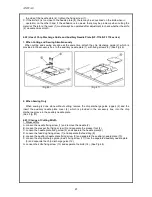
2. When Sewing Only
When sewing is done alone without cutting, remove the chip discharge guide (upper) (2) and the
insert the auxiliary needle plate cover (4), which is provided in the accessory box, into the chip
discharge groove in the auxiliary needle plate.
(See Fig. 47)
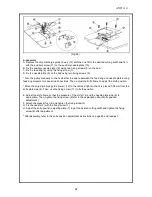
4.23) Change of Cutting Width
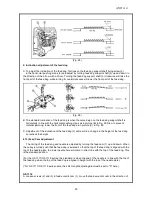
1. Disassembly
A. Loosen the needle fixing screw (1) and remove the needle (2).
B. Loosen the presser foot fixing screw (3) and separate the presser foot (4).
C. Loosen the needle plate fixing screw (5) and separate the needle plate (6).
D. Loosen the feed dog fixing screw (7) and separate the feed dog (8).
E. Loosen the auxiliary needle plate fixing screw (9) and separate the auxiliary needle plate (10).
F. Loosen the chip discharge guide (lower) fixing screw (11) from the separated auxiliary needle plate
(9) and separate the chip discharge guide (12).
G. Loosen the knife fixing screw (13) and separate the knife (14). (See Fig.48)
Summary of Contents for GF-1116 Series
Page 30: ...ANITA 30...

