13–10–613 SP Page 15
GROUNDING – Equipment must be grounded in ac-
cordance with Section 250–95 of the National Electrical
Code.
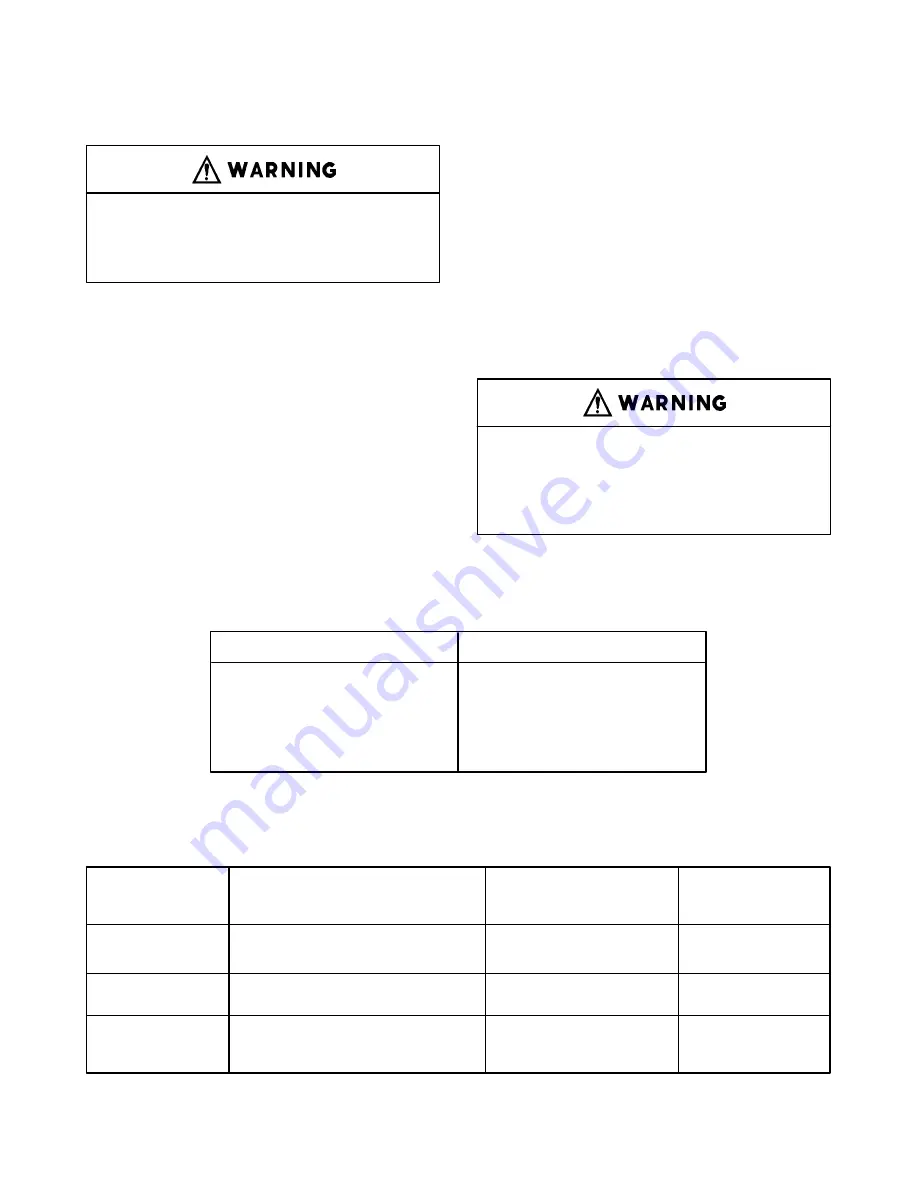
Failure to properly ground the com-
pressor package could result in con-
troller malfunction.
MOTOR LUBRICATION – Long time satisfactory op-
eration of an electric motor depends in large measure
on proper lubrication of the bearings. The following
charts show recommended grease qualities and re-
greasing intervals for motors supplied with ball bear-
ings. For additional information refer to the motor
manufacturer’s instructions. The following procedure
should be used in regreasing:
1.
Stop the unit.
2.
Disconnect, tag and lockout the unit from the pow-
er supply.
3.
Remove the relief plug and free hole of hardened
grease.
4.
Wipe lubrication fitting clean and add grease with
a hand–operated grease gun.
The amount and type of grease added is very im-
portant. Only enough grease should be added to
replace the grease used by the bearing. Too much
grease can be as harmful as insufficient grease.
The grease cavity should be filled 1/3 to 1/2 full.
5.
Leave the relief plug temporarily off. Reconnect
the unit and run for about 20 minutes to expel the
excess grease.
6.
Stop the unit. Replace the relief plug.
7.
Restart the unit.
Rotating machinery can cause injury
or death. Open main disconnect, tag
and lockout power supply to the starter
before working on the electric motor.
ELECTRIC MOTOR GREASE RECOMMENDATIONS (–30
_
to 50
_
C)
MANUFACTURER
TRADE NAME
CHEVRON
SRI #2
SHELL
DOLIUM R
EXXON
UNIREX #2
EXXON
POLYREX
Relubrication
Type of Service
Typical Examples
Rating
Interval
Standard
One– or Two–Shift Operation
Above 150 HP
12 Months
Severe
Continuous Operation
Above 150 HP
6 Months
Very Severe
Dirty Locations, High
Above 150 HP
2 Months
Ambient Temperature
ELECTRIC MOTOR REGREASING INTERVAL
Summary of Contents for ELECTRA-SAVER EAYQ E
Page 15: ...13 10 613 SP Page 6 DECALS 206EAQ077 212EAQ077 218EAQ077 211EAQ077 207EAQ077 ...
Page 16: ...13 10 613 SP Page 7 DECALS 216EAQ077 217EAQ077 222EAQ077 221EAQ077 208EAQ077 ...
Page 31: ...13 10 613 SP Page 22 FIGURE 4 2 FLOW CHART FOR SET UP PROGRAMMING ...
Page 48: ...13 10 613 SP Page 39 FIGURE 4 13 WIRING DIAGRAM 202EAY546 Ref Drawing ...
Page 75: ......


