2. PLOTTER DISPLAY OVERVIEW
2-5
2.2
How to Use the Cursor
The cursor functions to select position for marks and waypoints, find position of an ob-
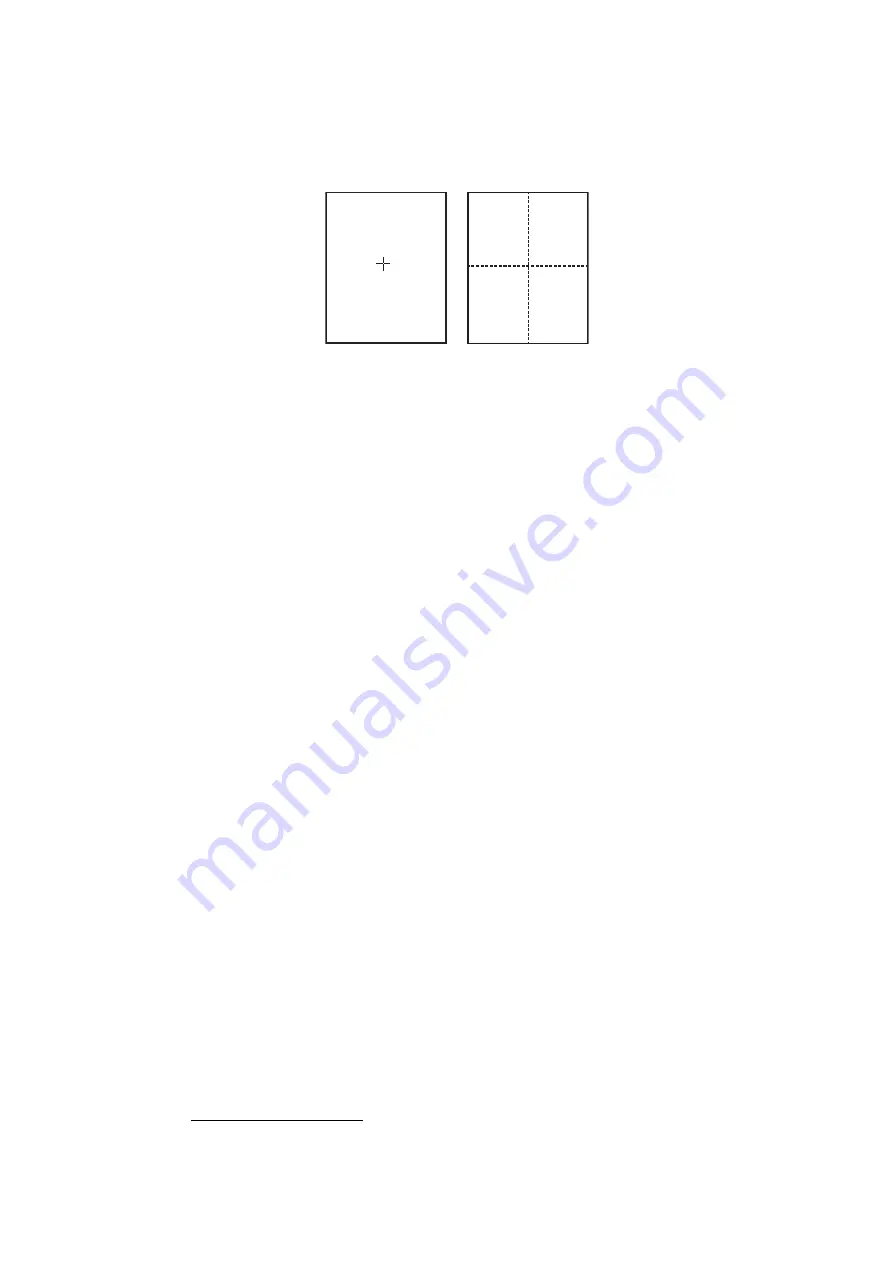
ject, etc. You can select the cursor shape from crossing line and cross-hair.
To use the cursor, do the following:
1. Press the
CURSOR ON/OFF
key to turn on the cursor. Each press of this key
turns the cursor on and off.
Note:
You can change the shape or color for the cursor in the [DISPLAY FOR-
MAT] - [CURSOR SHAPE] or [CURSOR COLOR] menus (see page 9-13).
2. Do one of the following to move the cursor.
• Rotate the trackball. The cursor moves in the direction of trackball rotation.
• Press
,
,
, or
(CursorPad). The cursor moves in the direction of the ar-
row operated. You can hold down an arrow pad to move the cursor faster. To
move the cursor at a slant angle, press the appropriate arrow pads together. For
example, to move the cursor in the left-up direction (approx. 315°), press
and
together.
The procedures in this manual, for sake of brevity, replace the “rotate” and “press”
actions with “move the cursor”.
When the cursor reaches an edge of the screen, the display is scrolled in the op-
posite direction. When the cursor is turned on, the cursor position is displayed in
the NAV information box when [CURSOR LATITUDE, LONGITUDE] is set as the
navigation/destination information (see section 1.4.4).
3. To put the cursor at the center of the screen, press the
CENTER
key.
2.3
How to Change the Chart Scale (Zoom In, Zoom
Out)
It can be useful to change the chart scale to
• show destination on the display (when it is currently off the screen)
• find how close you are to your destination
• view ship’s tracks around a fishing ground
Press the
ZOOM IN
key to increase the chart scale, or the
ZOOM OUT
key to de-
crease the chart scale.
When the cursor is OFF: The range scale is enlarged or shrunk with own ship position
as center. When own ship mark is not displayed on the screen, the range scale is en-
larged or shrunk with the middle of the screen as center.
Crossing line
Cross-hair
Summary of Contents for GP-3700F
Page 14: ...SYSTEM CONFIGURATION xii This page is intentionally left blank...
Page 30: ...1 OPERATIONAL OVERVIEW 1 16 This page is intentionally left blank...
Page 42: ...2 PLOTTER DISPLAY OVERVIEW 2 12 This page is intentionally left blank...
Page 74: ...4 MARKS LINES 4 14 This page is intentionally left blank...
Page 92: ...6 ROUTES 6 8 This page is intentionally left blank...
Page 134: ...9 OTHER FUNCTIONS 9 26 This page is intentionally left blank...
Page 212: ...AP 12 APPENDIX 3 TIME DIFFERENCES...


