10
EN
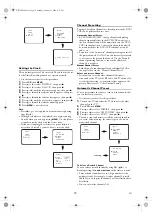
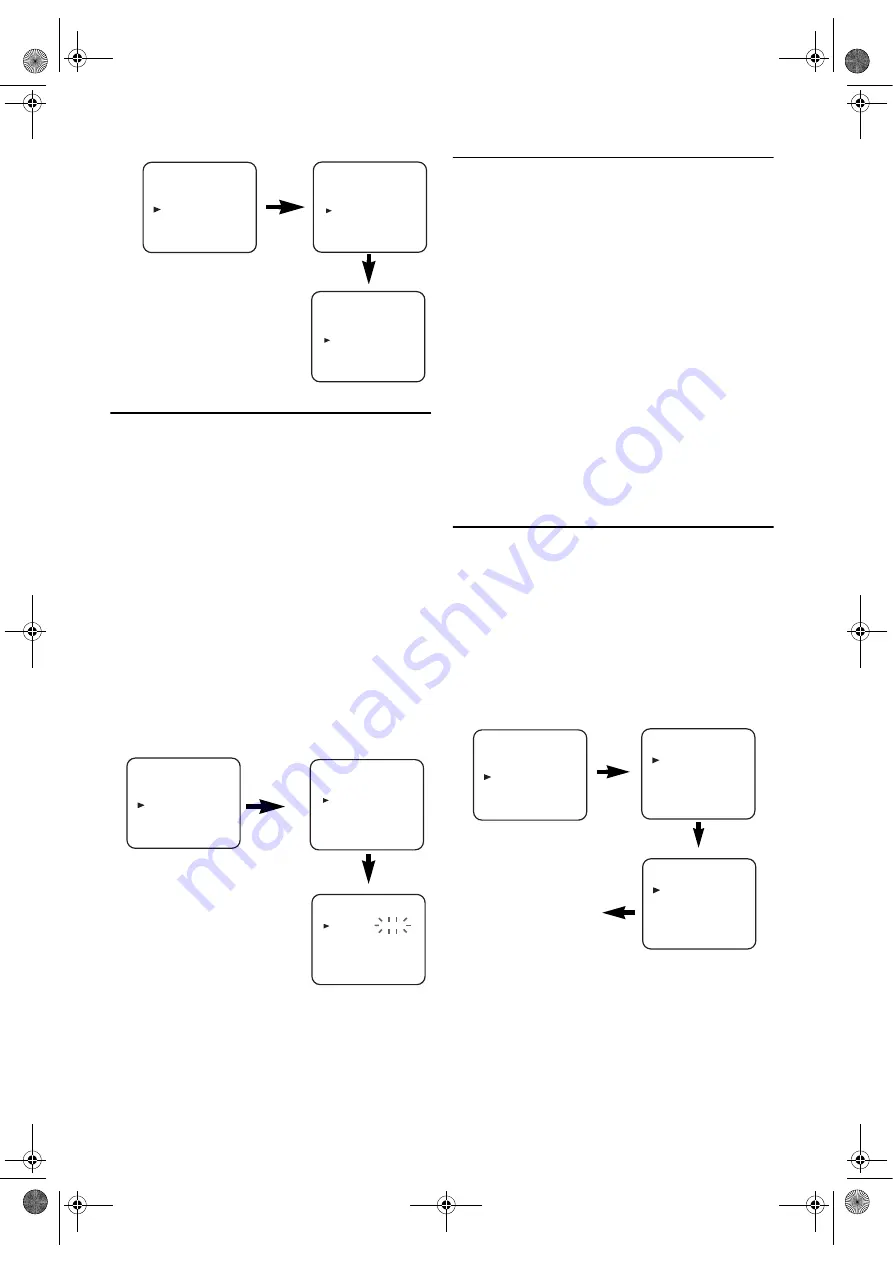
Setting the Clock
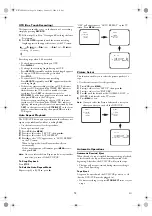
This unit incorporates a 24-hour clock. The clock must be set
for the Timer Recording function to operate correctly.
• Use the remote control for this procedure.
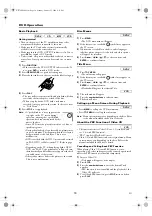
1)
Press
VCR
, then
MENU
.
2)
Press
K
or
L
to select “INITIAL”, then press
B
.
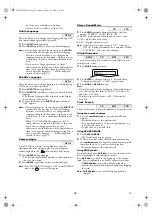
3)
Press
K
or
L
to select “CLOCK”, then press
B
.
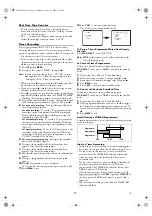
4)
Press
K
or
L
until the relevant year appears, then press
B
.
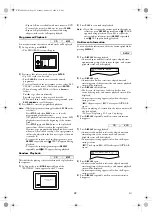
5)
Press
K
or
L
until the relevant month appears, then press
B
.
6)
Press
K
or
L
until the relevant day appears, then press
B
.
7)
Press
K
or
L
until the relevant hour appears, then press
B
.
8)
Press
K
or
L
until the relevant minute appears.
9)
Press
MENU
to start the clock.
Note:
• Press
s
to go one step back from the current step during
steps
5)
to
8)
.
• Although seconds are not displayed, they begin counting
from 00 when you exit by pressing
MENU
. Use this feature
to synchronize the clock with the correct time.
• If this unit is unplugged or if there is a power failure for
more than 30 seconds, you may have to reset the clock.
Channel Presetting
Tuning of broadcast channels not already preset in the DVD/
VCR can be performed in two ways.
Automatic Channel Preset
• By “AUTOMATICALLY” tuning channels and placing
them in sequential order in the DVD/VCR’s memory i.e.
the first channel found will be memorized into the DVD/
VCR’s channel position 1, the second channel found will
be memorized into the DVD/VCR’s channel position 2
and so on.
• Execution of the “Automatic” channel presetting cancels all
the preset channels. DO NOT use this feature if you intend
to use some of the pre-tuned channels. Use the “Manual”
channel presetting function to tune in the additional
channels you require.
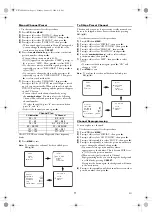
Manual Channel Preset
• Each channel is tuned manually and individually. Follow
the steps laid out in the “Manual Channel Preset”.
Before you preset Channel...
• It is necessary to set the video channel if this unit is
connected to the TV via the RF cable, and TV channel 36
is set for broadcasting, or interference lines appear on the
picture. Please refer to “Video Channel Setting”.
Automatic Channel Preset
You can programme the tuner to scan only the channels that
you can receive in your area.
• Use the remote control for this procedure.
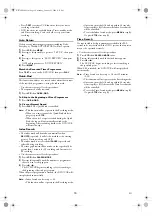
1)
Turn on the TV and select the TV channel to the video
channel on the TV.
2)
Press
VCR
, then
MENU
.
3)
Press
K
or
L
to select “INITIAL”, then press
B
.
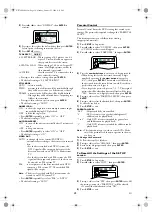
4)
Press
K
or
L
to select “CH TUNING”, then press
B
.
5)
Press
K
or
L
to select “AUTO”, then press
B
.
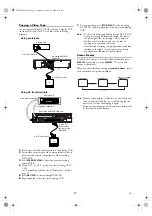
• The tuner scans and memorizes all the active channels in
your area. After scanning, the tuner stops on the lowest
memorized channel.
To Select a Desired Channel
You can select a desired channel by using
CH.
(
K
/
L
), or
directly pressing the
number buttons
on the remote control.
• Enter a channel numbers as a two-digit number for the
quickest results. For example, to select channel 6, press
0
and
6
. If you only press
6
, channel 6 will be selected after a
brief delay.
• You can only select channels 1–99.
MENU
TIMER
SET UP
INITIAL
RF OUT CH 36K
INITIAL
CH TUNING
CLOCK
RF OUT
LANGUAGE
MENU
TIMER
SET UP
INITIAL
INITIAL
CH TUNING
CLOCK
RF OUT
LANGUAGE
CLOCK
YEAR
2 0 0 4
MONTH
0 1
DAY
0 7 WE
HOUR
_ _
MINUTE
_ _
INITIAL
CH TUNING
CLOCK
RF OUT
LANGUAGE
CH TUNING
AUTO
MANUAL
MOVE
scanning
MENU
TIMER
SET UP
INITIAL
H9779ED(EN).fm Page 10 Monday, October 25, 2004 4:21 PM


