4.2 Administrator Login
88
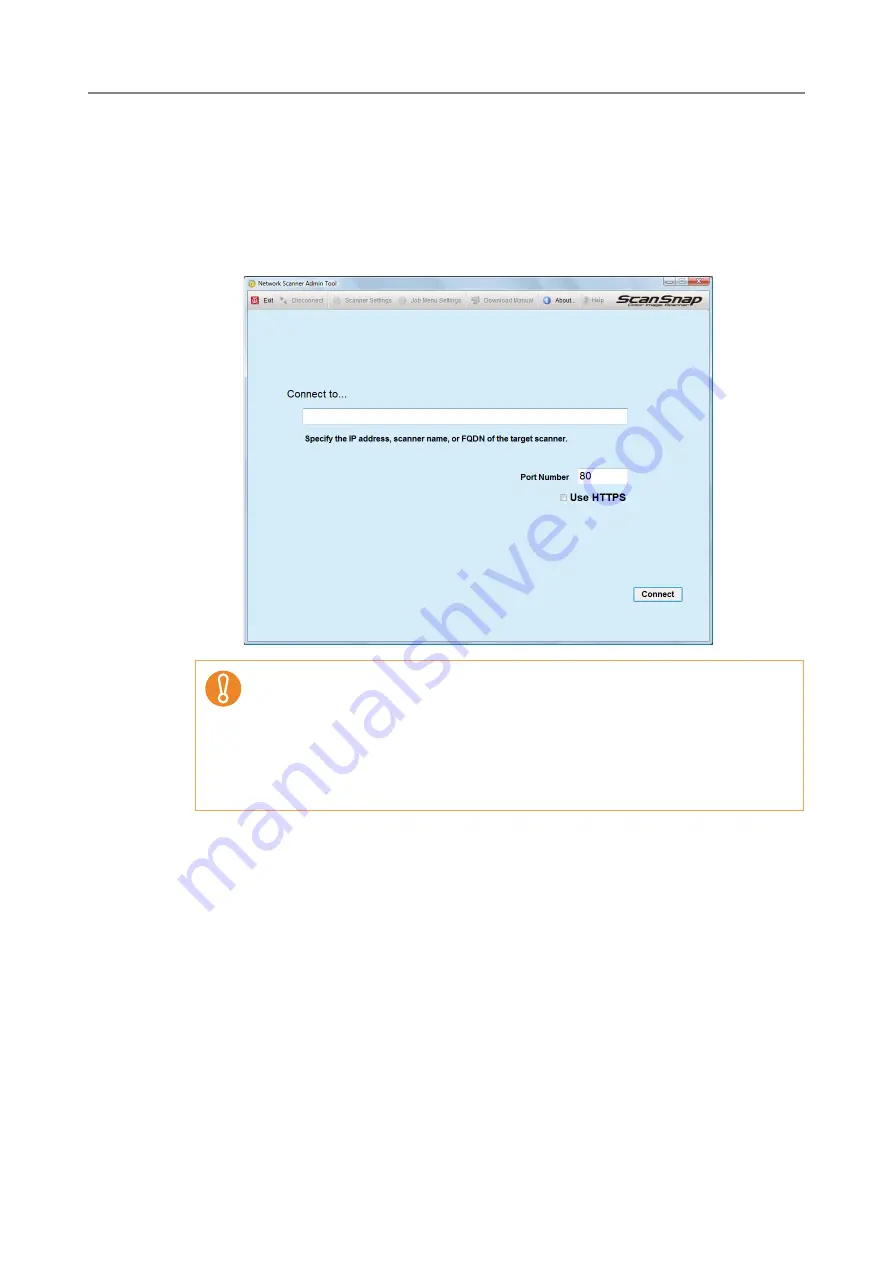
1. Select the [Start] menu
J
[All Programs]
J
[Network Scanner]
J
[Network Scanner Admin Tool].
D
The Admin Tool is started.
2. Specify the [Connect to] (of the scanner).
Enter the IP address, scanner name, or FQDN for the scanner to be setup or
managed.
3. Press the [Connect] button.
D
The [Login] window appears.
z
If the port number was changed in
"4.8.8 Setting the Admin Connection"
, enter the port number changed in [Port Number].
z
When trying to connect with a port number other than the specified number, it
takes up to 20 seconds before a connection error occurs.
z
To use SSL, select the [Use HTTPS] check box.
z
If the Admin Tool is started while there is insufficient free memory, a script
error may occur. Try again after ensuring that there is enough free memory.
Summary of Contents for ScanSnap N1800
Page 1: ...ScanSnap N1800 Network Scanner Operator s Guide P3PC 3182 01ENZ0 ...
Page 17: ...17 ...
Page 29: ...29 ...
Page 55: ...55 ...
Page 65: ...65 ...
Page 73: ...73 ...
Page 271: ...271 7 Press the Back button D The Central Admin Console main window appears again ...
Page 355: ...355 D The Main Menu window is shown again ...
Page 415: ...415 ...
Page 441: ...441 ...
Page 481: ...481 ...
Page 492: ...492 Appendix D Scanner Specifications This appendix gives specifications for the scanner ...
Page 527: ...527 ...
Page 528: ...528 Appendix G Glossary ...
Page 533: ...533 ...
Page 535: ...535 ...


