


7-33
7.3 Setup Mode Details
7
O
P
E
R
AT
O
R
PA
N
E
L M
E
N
U
S
3) At <Screen8-1>, press
(Left arrow button) or
(Right arrow button) to
select consumable error process.
By pressing
(Enter button), <Screen8-2> appears on the LCD.
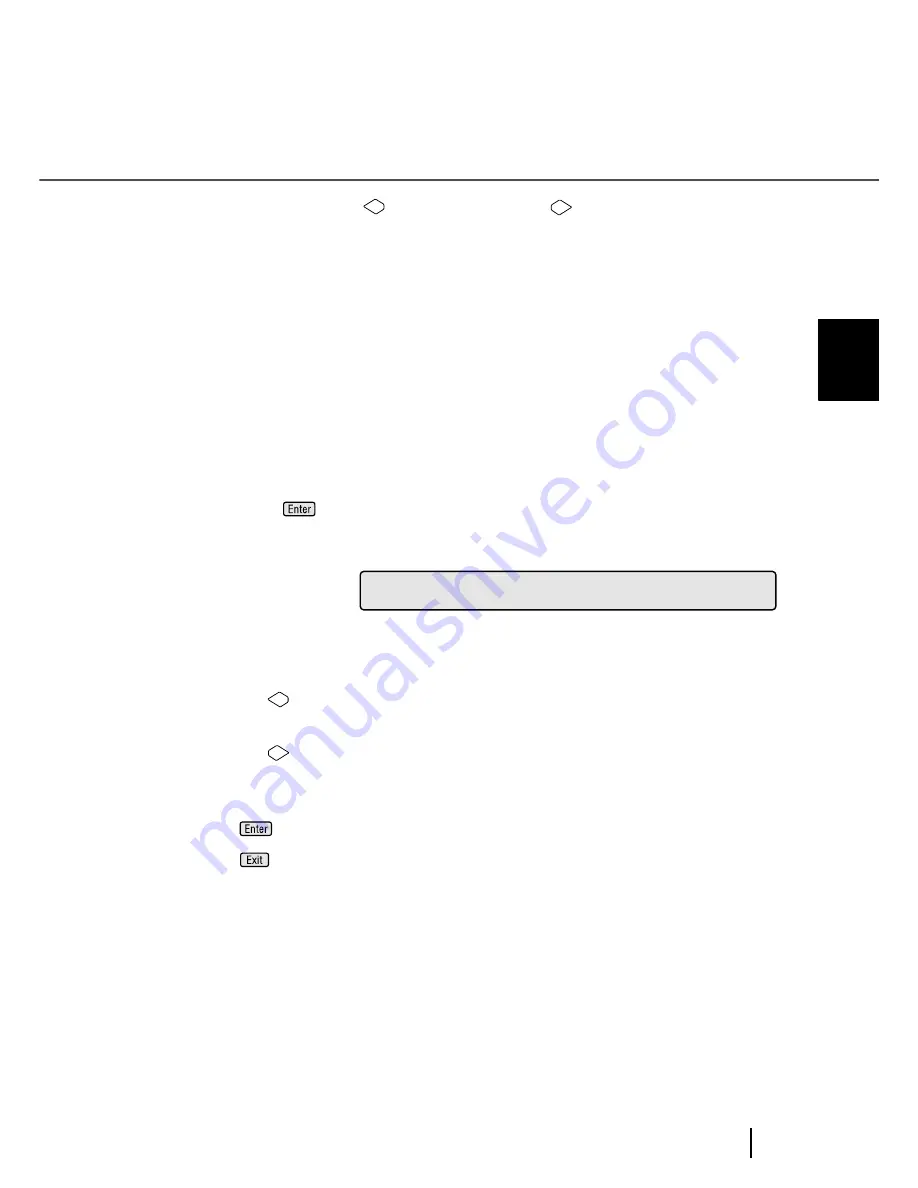
<Screen8-2>
4) At <Screen8-2>, specify the number of scans to get Consumables replacement
message.
Each time
(Left arrow button) is pressed, the counter value decrements by
10,000.
Each time
(Right arrow button) is pressed, the counter value increments by
10,000.
5) Press
(Enter button) to confirm the setting.
Press
(Exit button) , and the LCD display goes back to [Ready] screen.
(1) [Stop] is blinking: When
the
consumables
replacement limit is
reached, the Consumables replacement mes-
sage (Abrasion alarm) is shown on the LCD and
scanning stops.
(2) [Message] is blinking: When the consumables replacement limit is
reached, the Consumables replacement mes-
sage (Abrasion alarm) is shown on the LCD but
the scanning continues.
0
8
N
C
s
!
0
T
0
m
=
A
r
l
a
0
e
t
h
0
0
e
3
-
2
Summary of Contents for fi-4860C
Page 1: ...Operator s Guide fi 4860C Image Scanner P3PC E167 04EN ...
Page 2: ......
Page 133: ...3 43 3 8 Cleaning the Lamps 3 DAILY CARE Glass sheet guide ...
Page 140: ...3 50 3 8 Cleaning the Lamps ...
Page 146: ...4 6 4 3 Replacing the Pad ASSY Pad cleaning area Pad ASSY Guide plate ...
Page 164: ...4 24 4 7 Replacing the Back side Lamp ...
Page 292: ...8 6 8 4 fi 486TRK Thinner paper Roller Kit ...
Page 297: ...9 5 9 3 Dimensions 9 3 Dimensions unit mm 20 5 in 20 6 in 17in 520 20 5 in 523 20 6 in ...
Page 298: ...9 6 9 3 Dimensions ...
Page 316: ... AP 18 ...
Page 320: ... IN 4 ...


