Section 2 Installation Information
2-2
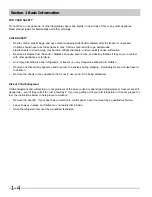
Destroy carton, plastic bags, and any exterior wrapping material immediately after the refrigerator/freezer is
unpacked. Children should never use these items for play. Cartons covered with rugs, bedspreads, plastic sheets
or stretch wrap may become air tight chambers and can quickly cause suffocation.
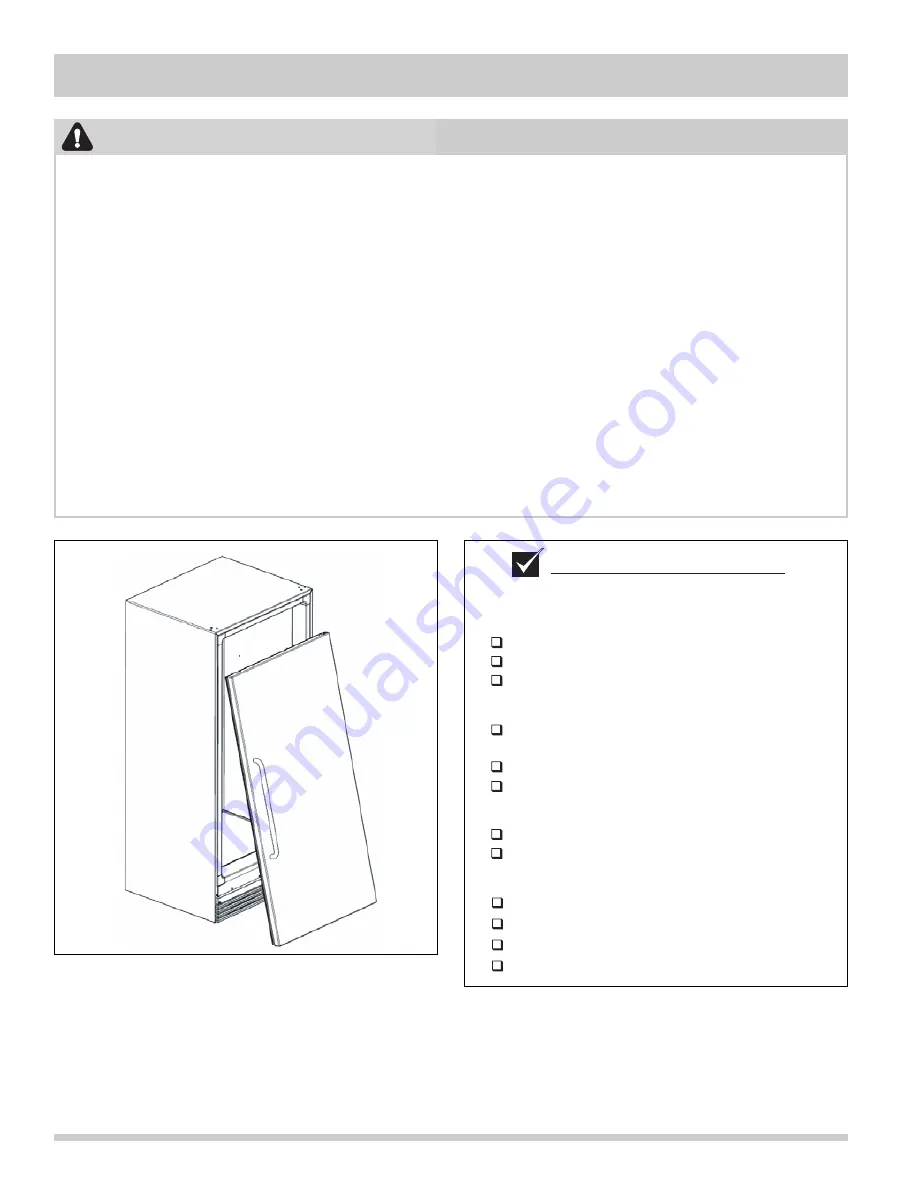
A child might suffocate if he crawls into the freezer to hide or play. Remove the door/lid of the
refrigerator/freezer when not in use, even if you plan to discard the freezer. Many communities have laws
requiring you to take this safety precaution.
Remove or discard any spacers used to secure the shelves during shipping. Small objects are a choke hazard to
children.
Child entrapment and suffocation are not problems of the past. Junked or abandoned refrigerators or freezers are
still dangerous– even if they will sit for “just a few days”. If you are getting rid of your old refrigerator or freezer,
please follow the instructions below to help prevent accidents:
•Remove the door/lid.
•Leave shelves in place so children may not easily climb inside.
•Have the refrigerant removed by a qualified technician.
WARNING
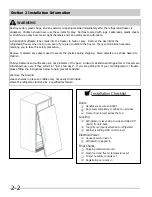
Doors
Handles are secure and tight
Door seals completely to cabinet on all sides
Freezer door is level across the top
Leveling
Refrigerator is level, side-to-side and tilted 1/4”
(6mm) front-to-back
Toe grille is properly attached to refrigerator
Cabinet is setting solid on all corners
Electrical Power
House power turned on
Refrigerator plugged in
Final Checks
Shipping material removed
Fresh food and freezer temperatures set
Crisper humidity controls set
Registration card sent in
Installation Checklist
Summary of Contents for FFH17F8HW0
Page 2: ......
Page 14: ...Section 2 Installation Information 2 6 Notes ...
Page 18: ...Section 3 Electronic Control 3 4 Notes ...
Page 33: ...Section 4 Refrigeration 4 15 HFC 134a CFC 12 Pressure Temperature Chart ...
Page 36: ...Section 4 Refrigeration 4 18 Notes ...
Page 48: ...Section 5 Component Teardown 5 12 Notes ...
Page 53: ...Section 7 Wiring Diagram 7 1 ...


