Model D2424LV Reference Manual (Editing Tracks)
69
<Notes>
• The data on the clipboard will be replaced by new
data each time you execute the COPY or MOVE.
• If pasted data overlaps the source data, the content
of the source data will be altered.
Perform Copy & Paste and Move & Paste in the
following order.
The explanation here is on Copy & Paste or Move &
Paste methods in the currently active program.
For Copy & Paste between programs, read page “71”.
Store the copy (or move) start point (CLIPBOARD
IN point), end point (CLIPBOARD OUT point), and
the paste start point (AUTO PUNCH IN point).
Check the stored edit points using the Preview
function and make adjustments if necessary.
Specify the copy (or move) source track, and copy
(or move) the data to the clipboard.
Specify the destination track and the number of
times for the paste operation (repeated paste),
and execute the paste operation.
• Storing the edit points
1. Refer to the “Storing and editing the locate points to
the memory keys” section for information on storing
the copy (or move) start and end points, and the paste
start point.
Store the copy (or move) start point to the [
CLIPBOARD
IN
] key, the end point to the [
CLIPBOARD OUT
] key, and
store the paste start point to the [
AUTO PUNCH IN
] key.
• See “Storing and editing the locate points to the
memory keys” on page “
51
.”
• Checking and adjusting the edit points
After you store the edit points, you can check them
on the display by pressing the corresponding keys.
You may also adjust the points. This section explains
how to preview and fine-tune the edit points using
the Preview function.
1. While the recorder section is stopped, press and hold
down the [SHIFT] key and press the memory key for
which you wish to check the edit point.
You can preview “
fade in
” at the CLIPBOARD IN point,
“
fade out
” at the CLIPBOARD OUT point, and “
fade out
”
at AUTO PUNCH IN point.
2. Trim the edit point while previewing.
• Refer to “Preview Function” on page “
64
” for more
information.
• Executing Copy (or Move)
1. Press the RECORD TRACK select key of the copy (or
move) source track to set it READY.
Select from mono tracks or adjacent odd-even tracks (1-
2, 3-4, 5-6 etc.).
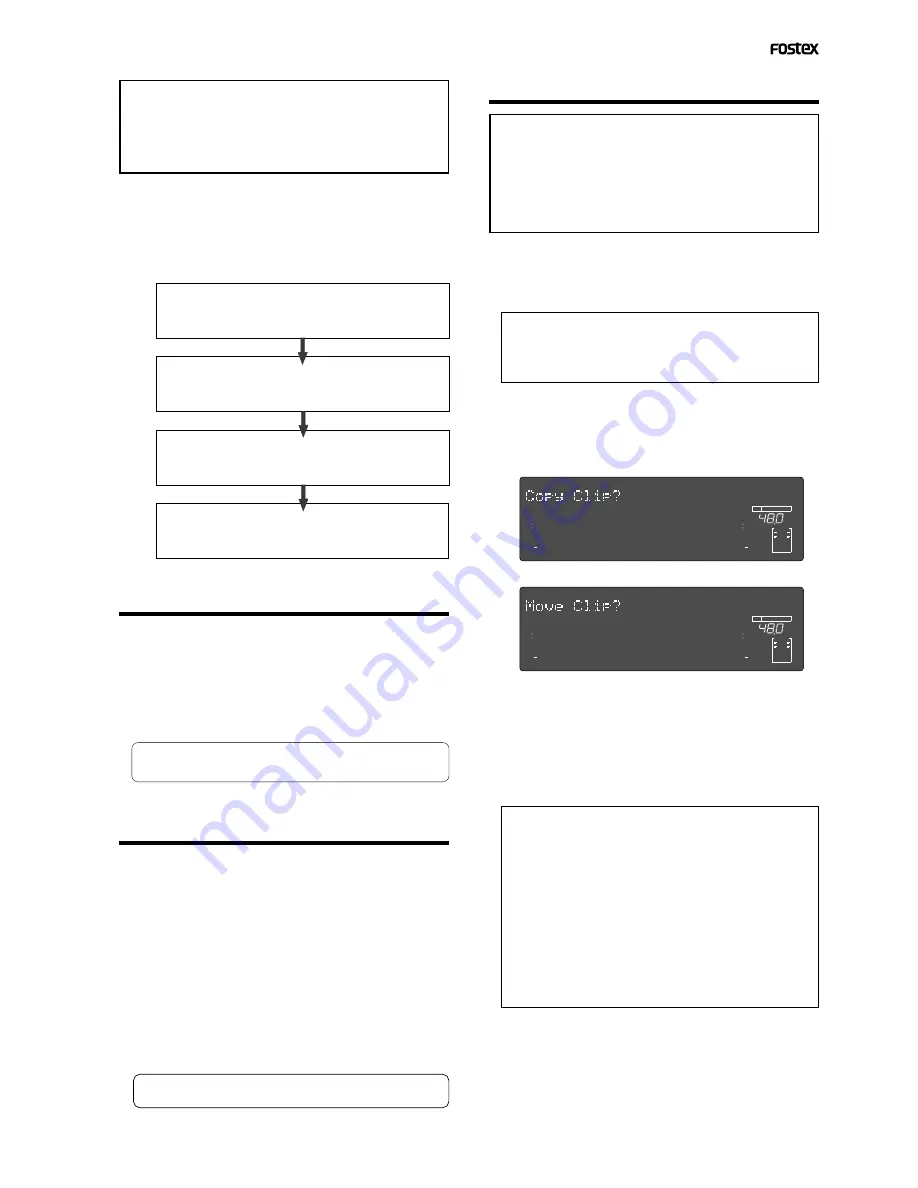
2. Press the [EDIT] key repeatedly until “Copy Clip?” (or
“Move Clip?”) flashes on the display.
Select “
Copy Clip?
” to execute Copy & Paste.
Select “
Move Clip?
” to execute Move & Paste.
<Note>
If you select non-adjacent tracks, such as track 1 and
3, or tracks 1 and 4, the copied (or moved) data will
be pasted back to the copy (or move) source tracks.
3. Press the [EXECUTE/YES] key.
The copy (or move) operation will complete immediately.
The display briefly indicates “
COMPLETED !
”, then flashes
the “
Copy Paste ?
” (or “
Move Paste ?
”) message.
The recorder enters standby mode for the paste
operation. The indicates (small square) of the selected
[
RECORD TRACK
] select keys continue to flash.
<Notes>
• Pressing the
[EXECUTE/YES]
key without selecting
track in Step 1 will cause the display to indicate an
alarm message “
Select TRK !”
. Select a track, then
press the
[EXECUTE/YES]
key.
• If an Output point has been specified before the In
point (the In point value is the same or large than
the Out point value), the display will show the error
message “
Void In Point!
” or “
Void Out Point!
” and the
return to the previous screen. In this case, set the
correct In/Out points and try again to copy (or
move) the data.
Now the sound data to be pasted has been copied (or
moved) to the clipboard, you can check the data on the
clipboard by following the steps below. If there is no
problem with the data, you can proceed to the paste
operation.
1.
2.
3.
4.
∞
42
OL
0
30
24
18
12
9
6
3
kHz
24
FS
BIT
24
∞
42
OL
0
30
24
18
12
9
6
3
23
22
21
20
19
18
17
16
15
14
13
12
11
10
9
8
7
6
5
4
3
2
1
CLOCK
INT
∞
42
OL
0
30
24
18
12
9
6
3
kHz
24
FS
BIT
24
∞
42
OL
0
30
24
18
12
9
6
3
23
22
21
20
19
18
17
16
15
14
13
12
11
10
9
8
7
6
5
4
3
2
1
CLOCK
INT
<Note>
You can carry out the copy (or move) function only
when the “
Chain Play?
” menu in the Setup mode is set
to “
Off
.” If you press the
[EDIT]
key when this menu is
not set to “
Off
,” “
Void Chain Play!
” is shown and the
operation is ignored. If “
Void Chain Play!
” is shown, set
the “
Chain Play?
” menu to “
Off
.”


