


Remote Operation
Setting up the RS-232 Host Port for Remote Control
5
5-15
The characters REMOTE should have appeared on the terminal screen as they were
entered. If they did not appear on the screen, but the Control Display changed to
REMOTE CONTROL, then refer to step 4 of the “RS-232 Host Port Setup
Procedure” and change the REMOTE I/F setting from comp to term.
If nonsense characters appeared on the screen, then you have a mismatch is RS-232
parameters. Refer to step 4 of the “RS-232 Host Port Setup Procedure” procedure for
the correct RS-232 settings and then repeat this procedure starting at Step 5.
If no characters appeared on the screen, then refer to step 3 of the “RS-232 Host Port
Setup Procedure” procedure to verify serial was selected for the Host port. Check that
you used the correct RS-232 cable. It must be in a null-modem configuration where
the RX and TX lines are reversed (see Appendix D). Also verify you have connected
to the correct COM port on the PC.
8.
Type the command LOCAL and press
b
. Observe the 5820A Calibrator
Control Display changes back to the reset condition (below).
CHANGE
to DC
SCOPE Z
1 M
Ω
V/DIV
MENU
TRIG
off
MODE
volt
f
f
f
f
f
If you want to experiment with other commands in the command set, see Chapter 6.
When finished, select the Exit command from the File menu to close the Terminal
accessory.
Hint: To save the communication parameters in Terminal for future operations, first
select Save from the File menu and then assign a name, for example,
host.trm
.
5-9.
Testing RS-232 Host Port Operation using Visual Basic
Complete the following procedure to test RS-232 (Host) operation using the Windows-
based programming language Visual Basic. This procedure assumes you have completed
Appendix E to create the group RS-232 Test.
Complete the following procedure to test RS-232 operation using Visual Basic.
1.
Complete the “RS-232 Host Port Setup Procedure” earlier in this chapter to set up the
5820A for RS-232 Host port operation. Note the RS-232 Host port parameters that
you selected in this procedure.
2.
Connect the selected COM port on the PC to the 5820A SERIAL 1 FROM HOST
port using a standard null-modem RS-232 cable. (See Appendix D for information on
RS-232 cables and connectors.)
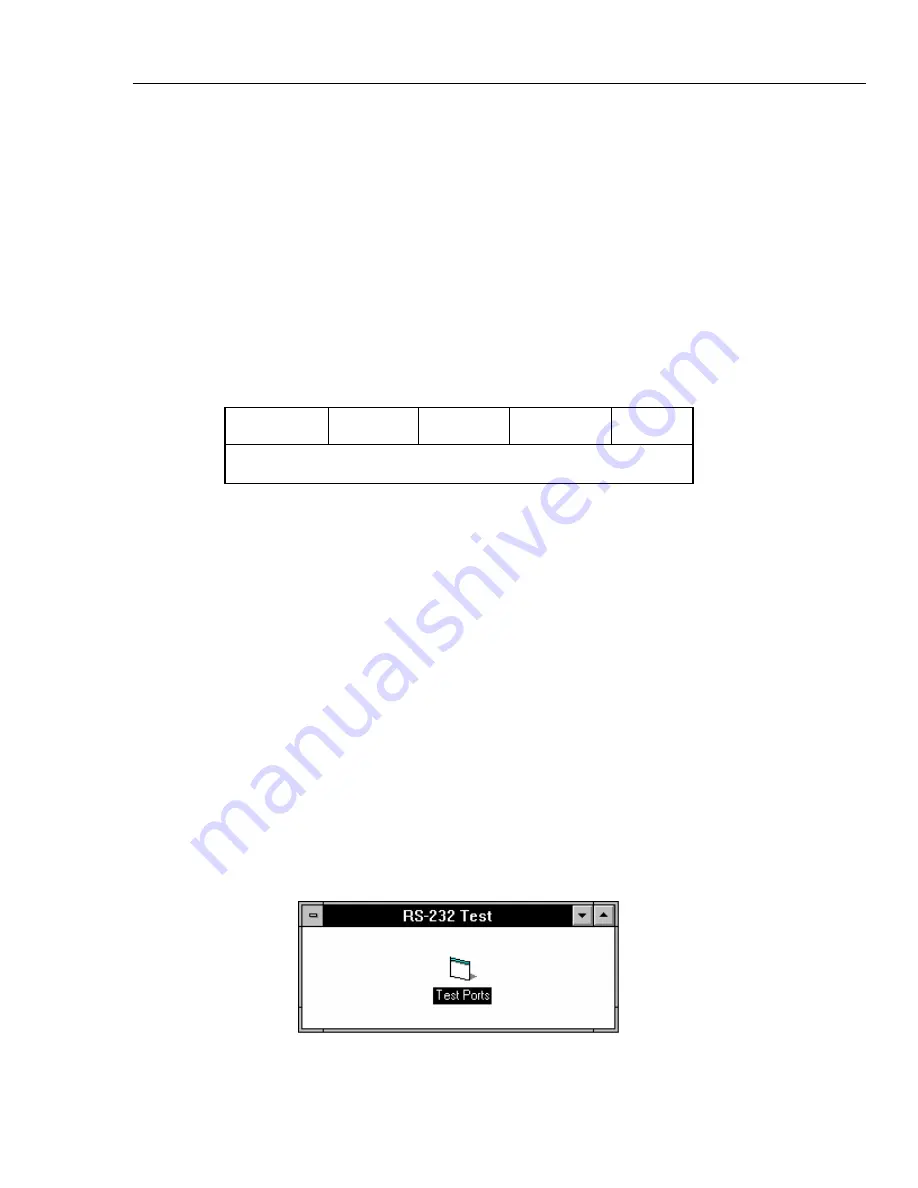
3.
To start the program, open the Test Ports icon from the RS-232 Test group (below).
oq024f.bmp
Summary of Contents for 5820A
Page 10: ...5820A Operators Manual vi ...
Page 14: ...5820A Operators Manual x ...
Page 16: ...5820A Operators Manual 1 2 ...
Page 32: ...5820A Operators Manual 2 2 ...
Page 40: ......
Page 144: ...5820A Operators Manual 6 2 ...
Page 190: ......
Page 212: ...5820A Operators Manual 7 24 ...
Page 214: ...5820A Operators Manual 8 2 ...
Page 230: ...5820A Operators Manual 9 2 ...
Page 234: ...5820A Operators Manual ...
Page 244: ...5820A Operators Manual A 10 ...
Page 245: ...B 1 Appendix B ASCII and IEEE 488 Bus Codes ...
Page 246: ...5820A Operators Manual B 2 ...
Page 248: ...5820A Operators Manual B 4 ...
Page 250: ...5820A Operators Manual C 2 ...
Page 258: ...5820A Operators Manual E 4 ...
Page 264: ...5820A Operators Manual F 6 ...
Page 272: ...5820A Operators Manual 8 ...


