


Farlink IP Camera – FL301 / FL501
17
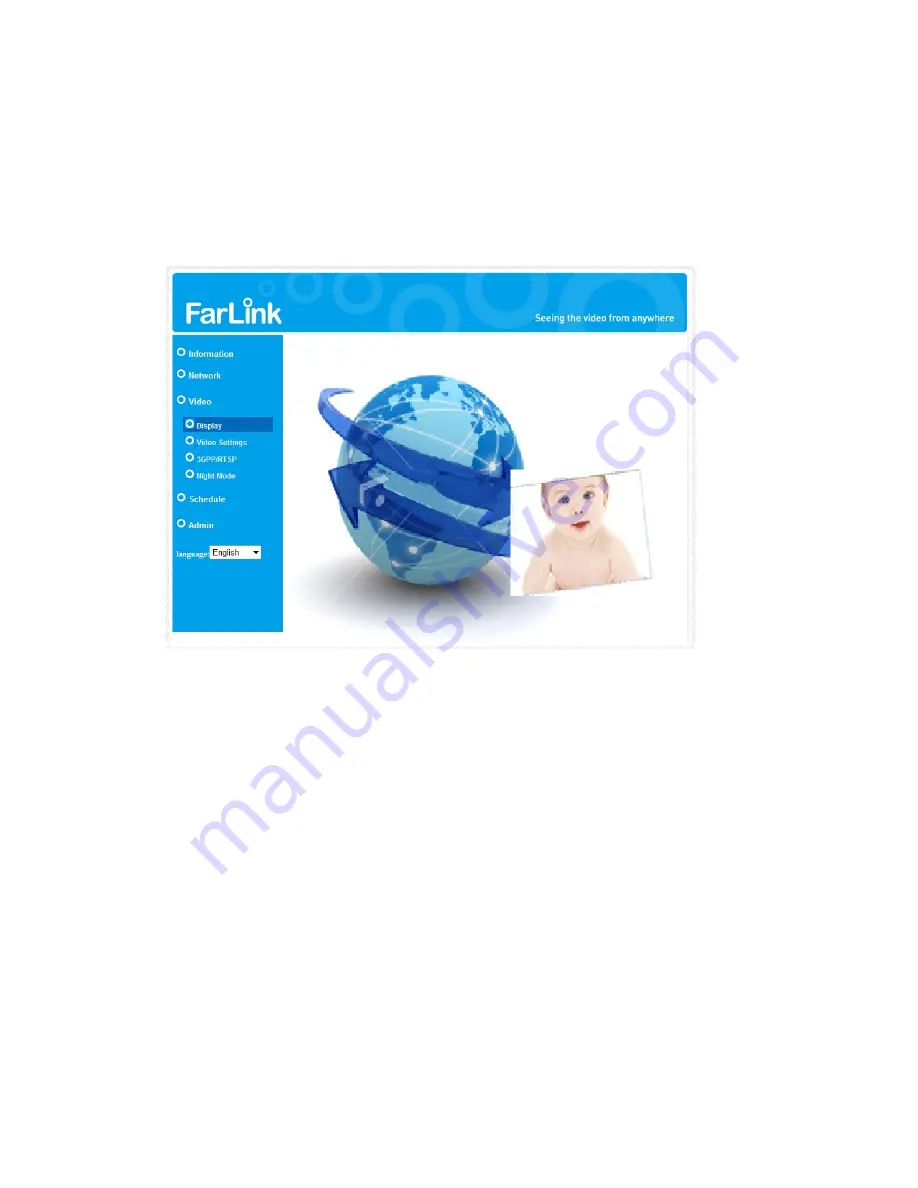
3.2. Video Display
This display page allows you to view the video display and control the pan/tilt
movement of the Farlink IP Camera. An ActiveX component will be automatically
downloaded into the browser on the first activation. This could take some time
depending on the internet speed. The component is downloaded from a public
domain; therefore the computer must have an Internet access.
Figure 3-4: Video display page
Pan/tilt control (For FL502w Model Only)
1. Control by FarlinkView – this is to enable/disable the pan/tilt control function by
FarlinkView software.
2. Speed – this is to control the pan/tilt moving step distance for each pan or tilt
movement, fast means larger step movement.
3. Pan – click this button to do one horizontal pan scan movement.
4. Tilt – click this button to do one vertical tilt scan movement.
5. Patrol control – you can set up to 5 patrol points. To set the patrol points, first
move the Farlink IP Camera to the desired view position by clicking the different
arrow buttons, and then press the “position” button of the specific patrol point. The
(x,y) axis values will be updated accordingly. You can click the (x,y) axis of the
patrol point to direct the view to this specific patrol point directly. After the patrol
points are set, you can click the “Patrol” button to start the patrol through these
points one time.
6. Stay xx secs – this is the time for each patrol point to stay before going to next
Summary of Contents for FL301
Page 20: ...Farlink IP Camera FL301 FL501 20 Figure 3 6 Network settings page for fixed IP address ...
Page 23: ...Farlink IP Camera FL301 FL501 23 Figure 3 9 WiFi testing page ...
Page 34: ...Farlink IP Camera FL301 FL501 34 Figure 3 17 SD Card information page ...
Page 41: ...Farlink IP Camera FL301 FL501 41 Figure 3 23 Firmware upgrade status page ...


