31
ENGLISH
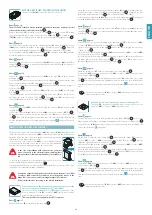
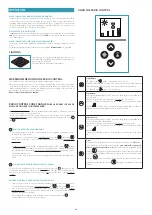
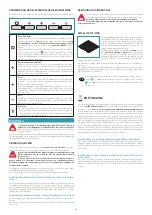
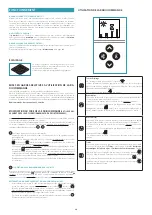
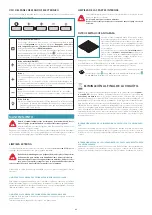
USE OF THE ELECTRONIC PUSH BUTTON CONTROL PANEL
If required, the hood can be manually controlled by using the keyboard on the hood struc-
ture.
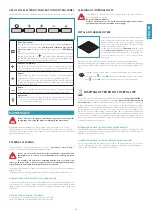
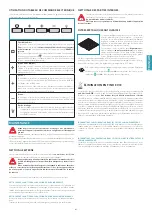
Timer/Filters alarm
Pressing the key with the motor active at any speed activates the
Timer
func-
tion: this function determines the
auto switch-of of the hood after 15 min-
utes of operation
. Activation of the function is signalled by a
RED lashing
light.
With the Timer function active, the hood can still be switched of by the user at
any time by pressing the key
: the function will be automatically disabled
and the RED light will turn of. Should the speed be changed with the Timer
function active, the latter will be automatically disabled.
Mode button (ON/OFF)
Pressing the key switches on (or of ) the hood motor: it starts at the previously
selected speed prior to switching it of (desired speed function). Should you
wish to use a diferent speed, set if by using the + and - keys.
By pressing the key, the motor speed increases. Speeds 1, 2 and 3 are displayed
by the number of LEDs switched on, excluding the light and timer LEDs.
The + key in the version with 4 speeds has an intermittent light: the 4th speed
or intensity is timed and after approximately 7 minutes the motor automati-
cally switches to 3rd speed.
Button -
By pressing the key, the motor speed reduces. Speeds 1, 2 and 3 are displayed
by the number of LEDs switched on, excluding the light and timer LEDs.
Light button
ON: light on (lit button) OFF: light of. With the light switched on, long press
the key to access the light intensity adjustment mode; release the key once
you reach the desired intensity.
MAINTENANCE
Before cleaning or carrying out maintenance operations, disconnect the
equipment by removing the plug or switching of the main switch.
Regular maintenance guarantees proper operation and good performance over time.
Special attention is to be paid to the metal anti-grease ilters. In fact, frequent cleaning of
the ilters and their supports helps ensure that no grease accumulates on the hood, which is
dangerous and can cause ires.
EXTERNAL CLEANING
You are advised to clean the external surfaces of the hood
at least once every 15 days
to
prevent oily substances and grease from sticking to them.
Do not use too much water next to the push button control panel and
lighting devices in order to prevent humidity from reaching electronic
parts.
You must not use detergents containing abrasive, acid or corrosive sub-
stances or abrasive cloths: a direct consequence of not complying with these warn-
ings will result in irreversible deterioration of the hood's surface.
The glass panels can only be cleaned with speciic, non-corrosive or non-abrasive detergents
using a soft cloth.
The Manufacturer declines all responsibility for failure to comply with these instructions.
CLEANING THE BRUSHED STAINLESS STEEL HOOD VERSION
To clean the brushed stainless steel hood, the Manufacturer recommends using "Magic Steel"
wipes. Alternatively, it can be cleaned using a damp cloth, slightly moistened with neutral,
liquid detergent or denatured alcohol. Finish of cleaning by rinsing well and drying with
soft cloths.
CLEANING THE WHITE FINISH STEEL HOOD
To clean the hood, use water and neutral soap and a soft cloth.
Finish of cleaning by rinsing well and drying with soft cloths.
CLEANING OF INTERNAL PARTS
It is forbidden to clean electrical parts, or parts related to the motor inside the
hood, with liquids or solvents.
Do not use abrasive products.
All these operations are to be carried out after having disconnected the
equipment from the electrical mains power supply.
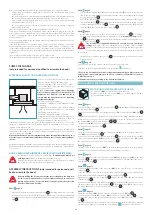
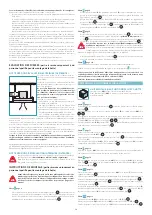
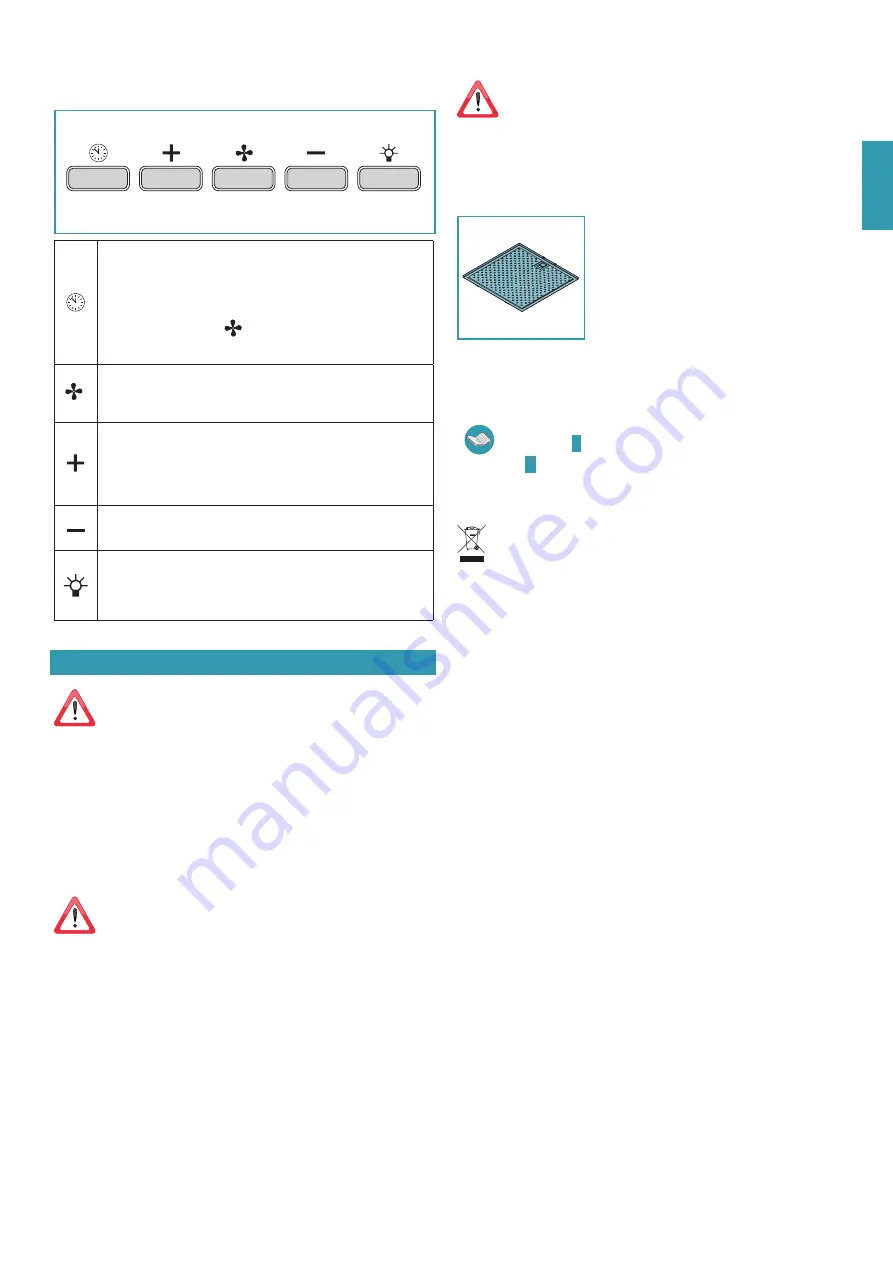
METAL ANTI-GREASE FILTERS
The metal anti-grease ilters are there to contain suspended
grease particles: deposited on the ilters, these feed on any
lames released when cooking, generate unpleasant
odours, and compromise the passage of air, thus reducing
suction performance of the hood.
For this reason, it is advised to
frequently
wash the metal
ilters (
at least
once a month)
leaving them to soak in boil-
ing water and dish washing liquid for 1 hour, taking care
not to bend them. Do not use corrosive, acid or alkaline
detergents.
Rinse them well and wait for them to be completely dry before reassembling them.
Washing in a dishwasher is permitted, however, it may cause the ilter material to darken: to
reduce the possibility of this problem from happening, use low-temperature washes (55°C
max.).
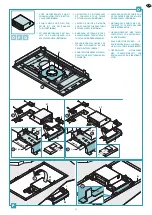
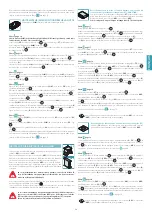
Open the external suction panel to remove the metal anti-grease ilters (refer to
the instructions
on page
), then operate the handle (refer to the instruc-
tions
). Carry out operations in reverse order to insert them.
DISPOSAL AFTER END OF USEFUL LIFE
The crossed-out wheeled bin symbol on the appliance means that
the product is WEEE
, i.e.
"
waste electrical and electronic equipment", accordingly
it must not be thrown out with
unsorted waste
(i.e. with "mixed household waste"), but it must be disposed of separately
so that it can undergo speciic operations for its re-use, or a speciic treatment, to remove
and safely dispose of any substances that may be harmful to the environment and remove
the raw materials that can be recycled. Correct disposal of this product contributes to sav-
ing precious resources and avoiding potential negative efects on human health and the
environment, which could be caused by inappropriate waste disposal. You are kindly asked
to contact your local authorities for further information regarding the designated waste col-
lection points nearest to you. Penalties for improper disposal of such waste can be applied in
compliance with national regulations.
INFORMATION ON DISPOSAL IN EUROPEAN UNION COUNTRIES
The EU WEEE Directive was implemented diferently in each country, accordingly, if you wish
to dispose of this appliance we suggest contacting your local authorities or dealer to ind out
what the correct method of disposal is.
INFORMATION ON DISPOSAL IN NON-EUROPEAN UNION COUNTRIES
The crossed-out wheeled bin symbol is only valid in the European Union: if you wish to
dispose of this appliance in other countries, we suggest contacting your local authorities or
dealer to ind out what the correct method of disposal is.
Summary of Contents for stella
Page 7: ...7 800 m3 h 950 m3 h 9 mm...
Page 9: ...9 X Y X 1 2 Y 4 3 9 mm C...
Page 16: ...16 3 V4 1 V5 x4 V6 x4 CM CE 2 N2...
Page 20: ...20 CUE CE 1 V4 2 S2 T MAGNETE MAGNET 3 1 2 U...
Page 47: ...47 8 47 110 43 3 150 59 65 25 5 EN60335 2 31 11 07 2002 TC61 7 12 1 15 10 11...
Page 50: ...50 15 30 51 Stella 4 5 433 92 1 2 1 4 5 5 2 2 10 5 2 ON OFF 1 1 2 3 4 4 7 3 1 1 2 3 4 1 15...
Page 51: ...51 15 1 2 3 4 4 7 3 1 2 3 15 Magic Steel 1 55 C T 20 U 20 RAEE RAEE...
Page 87: ...NOTE NOTES...

