30
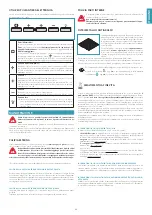
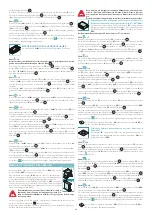
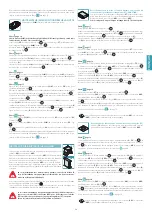
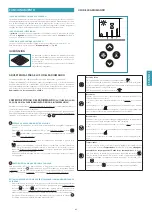
Light Button
ON: light on (the
symbol is displayed on the screen).
With the light switched on, long press the key to access the light intensity
adjustment mode; release the key once you reach the desired intensity.
OFF: light of (the
symbol is not displayed) .
Plus button
Press this key with the motor of (no symbol on the display) to switch the hood
on with speed 1.
If the motor is running, pressing this key increases the motor speed.
Speed 1, 2, 3, and 4 are displayed on the screen by their equivalent symbol
number
. The 4th speed or intensive setting is timed and after about 7
minutes the motor automatically switches to the 3rd speed.
Minus button
Press this key with the motor of (no symbol on the display) to switch the hood
motor on with speed 1 (minimum).
If the motor is running, pressing this key decreases the motor speed.
Speed 1, 2, 3, and 4 are displayed on the screen by their equivalent symbol
number
.
If the motor is running at speed 1, pressing the key switches the hood motor
of.
Timer
Pressing the key with the motor active at any speed switches the
Timer
func-
tion on and of: this function determines the
auto switch-of of the hood
after 15 minutes of operation.
Activation of this function is signalled by the
symbol
(Hourglass) on the display. With the Timer function active, the
hood can still be switched of by the user at any time by reducing the speed
with the
key until the motor switches of: the function will be auto-
matically disabled and the symbol
(Hourglass) will disappear from the
display.
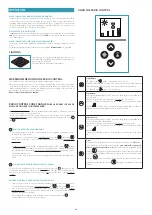
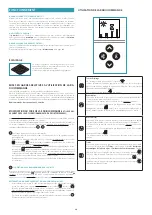
OPERATION
WHEN SHOULD THE HOOD BE SWITCHED ON AND OFF?
Switch on the hood at least one minute before starting to cook: this enhances the airlow
to convey fumes and vapours towards the suction surface. After cooking, leave the hood
operating until complete extraction of all vapours and odours. If required, for versions with
electronic push button control panel, by means of the Timer function, it is possible to set
hood auto switch-of after 15 minutes of operation.
WHICH SPEED IS TO BE SELECTED?
The
irst
speed is a low consumption energy-saving way of keeping the air clean, the
sec-
ond
speed is used in normal conditions, and the
third
speed is used when there are strong
odours and vapours.
WHEN SHOULD THE FILTERS BE WASHED OR REPLACED?
The hood has metal ilters (washable), which must be cleaned after approximately 30 hours
of use.
For further information, please read the chapter regarding ''
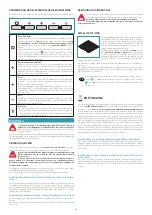
LIGHTING
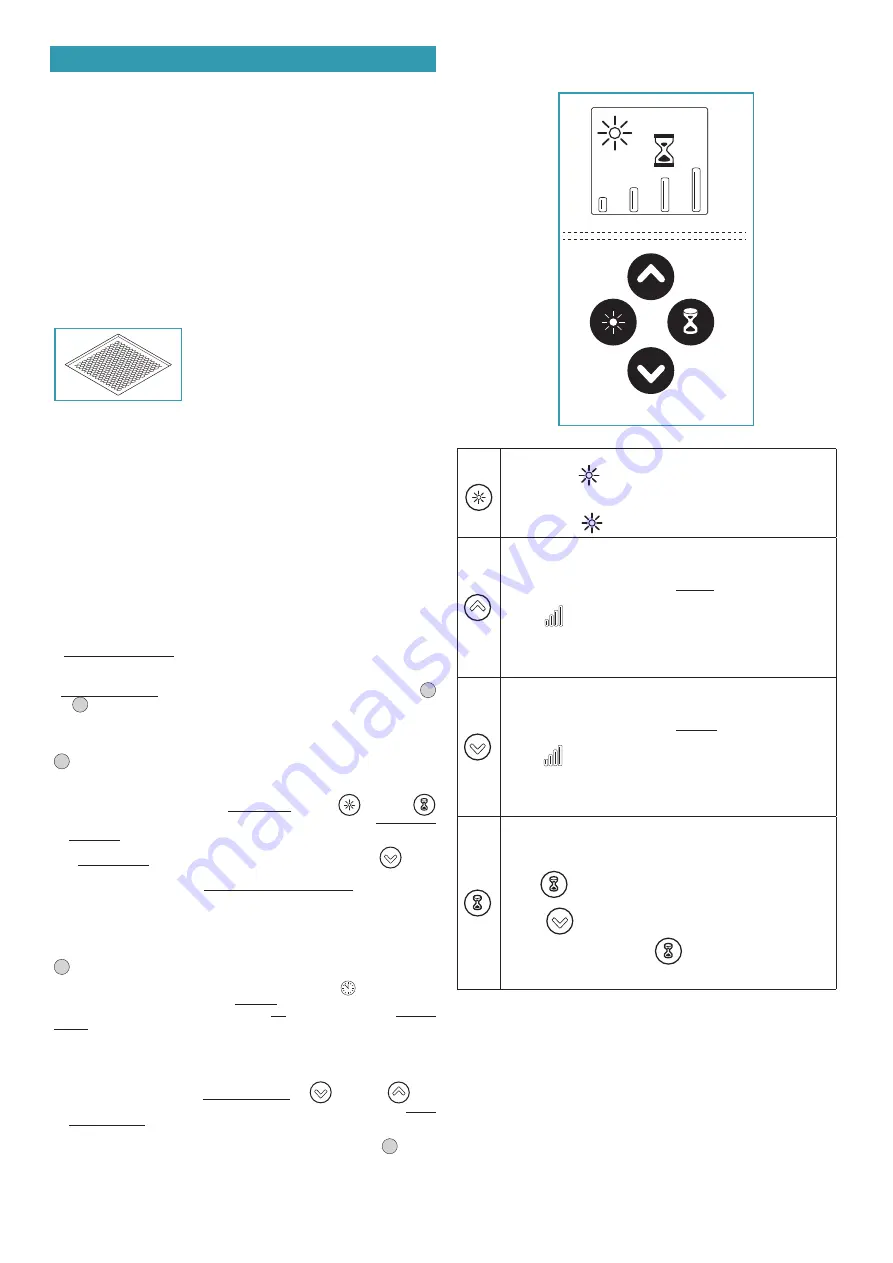
The range hood is equipped with high eiciency, low con-
sumption LED spotlights with extremely long duration un-
der normal use conditions.
The light intensity is adjustable via trimmer.
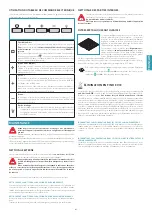
WARNINGS WHEN USING THE RADIO CONTROL
The Stella hood is, by default, equipped with a 4-channel radio control.
Place the hood away from sources of electromagnetic waves (e.g. microwave ovens), which
could interfere with the radio control and, consequently, with the hood electronics. The max-
imum operating distance is 5 metres; the distance may vary according to the presence of
electromagnetic interference from other devices.
Radio control operated at 433.92MHz.
RADIO CONTROL CODE CHANGE
(TO BE USED ONLY IN CASE OF
MALFUNCTION DUE TO INTERFERENCE)
A default transmission code is factory installed and stored, which is required to transmit
controls from the radio control to the hood.
Should electromagnetic interference with other devices cause a radio control malfunction,
a new transmission code can be created by following the procedure indicated in points
1
and
2
.
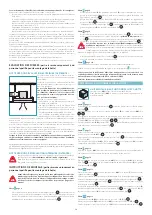
1
CREATING A NEW TRANSMISSION CODE
•
Disconnect the hood from the electrical mains power supply by unplugging it or by
turning of the main switch.
•
To access the "code change" mode, simultaneously press the
(light) and
(timer) keys on the radio control until the display starts lashing slowly (approximately
4/5 seconds).
•
If, within 5 seconds from when the display starts lashing the radio control
(minus)
key is pressed, a random transmission code is created and saved: saving is conirmed by
three brief lashes of the display. The new code cancels and replaces the previous factory
default transmission code.
•
Reconnect the hood to the electric power supply, making sure that the lights and motor
are of.
2
ASSOCIATING THE RADIO CONTROL WITH THE HOOD
To save the new transmission code created in the hood, press the
(timer) key on the
push-button control panel of the hood for 2 seconds and, after the corresponding red LED
has lit up on the push-button control panel, press any key on the radio control within 10
seconds.
RESTORE THE DEFAULT CODE (FACTORY DEFAULT CODE)
•
Should it be necessary to restore the default transmission code, disconnect the hood
from electric power supply and simultaneously press the
(minus) and
(plus)
keys on the radio control for more than 5 seconds. This restores the radio control default
transmission code factory setting: three brief lashes on the display are issued as a con-
irmation that it has been saved.
•
Proceed with associating the hood and radio control, as described in point
2
.
•
Connect the hood to the electric power supply.
USING THE RADIO CONTROL
Summary of Contents for stella
Page 7: ...7 800 m3 h 950 m3 h 9 mm...
Page 9: ...9 X Y X 1 2 Y 4 3 9 mm C...
Page 16: ...16 3 V4 1 V5 x4 V6 x4 CM CE 2 N2...
Page 20: ...20 CUE CE 1 V4 2 S2 T MAGNETE MAGNET 3 1 2 U...
Page 47: ...47 8 47 110 43 3 150 59 65 25 5 EN60335 2 31 11 07 2002 TC61 7 12 1 15 10 11...
Page 50: ...50 15 30 51 Stella 4 5 433 92 1 2 1 4 5 5 2 2 10 5 2 ON OFF 1 1 2 3 4 4 7 3 1 1 2 3 4 1 15...
Page 51: ...51 15 1 2 3 4 4 7 3 1 2 3 15 Magic Steel 1 55 C T 20 U 20 RAEE RAEE...
Page 87: ...NOTE NOTES...

