Using the Falcon Configuration Utility
Advanced User’s Guide
2-23
2.
A
Save As
dialog box will open.
3.
Use the dialog box to specify the location and name of the new file-list
file.
No
Select this option to discard the changes.
Cancel
Select this option to return to the
File Transfer
window without saving or
discarding the changes.
Files to Transfer:
This field shows the files that will be included in the transfer
between the Falcon and the PC.
Add
Select
Add
to include additional data files in the transfer. The
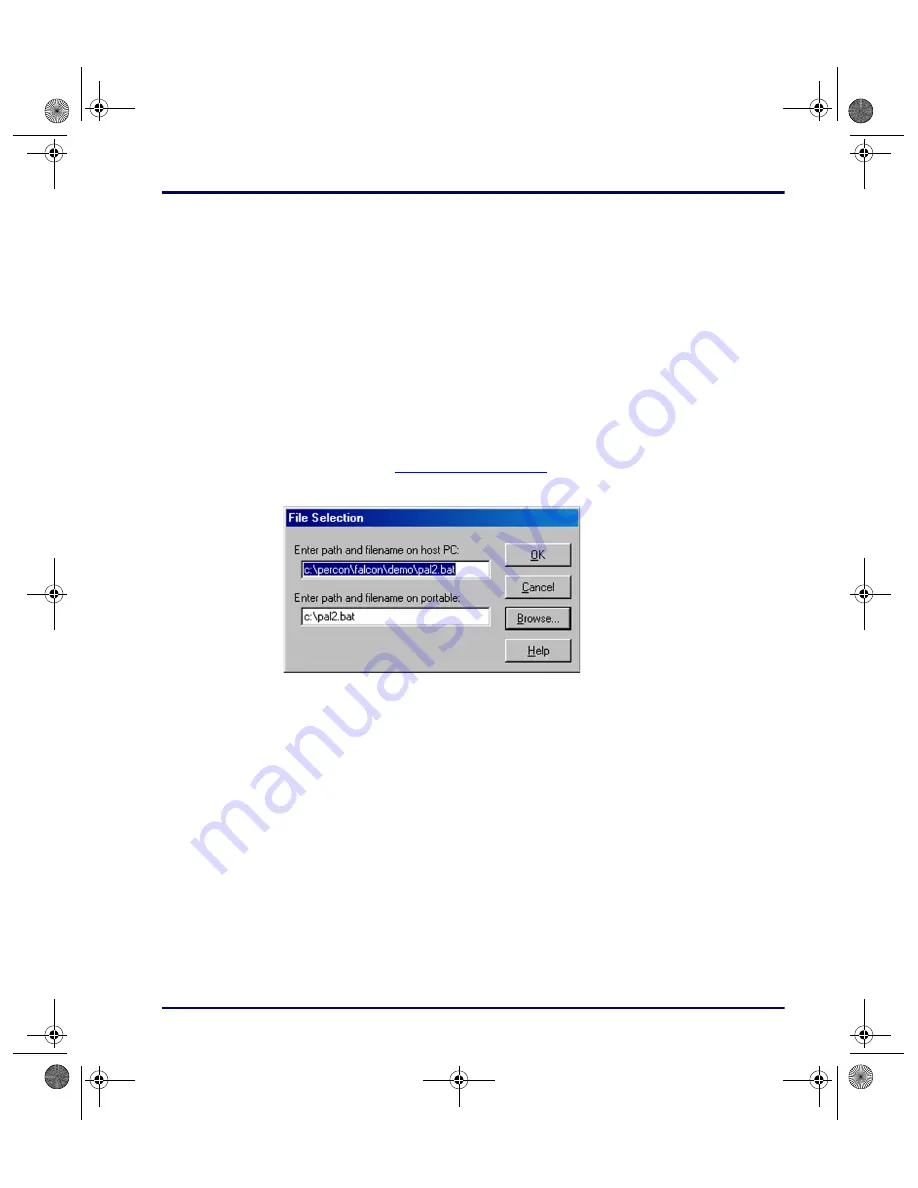
File Selection
dialog box open (
Figure 2-19: The File Selection Dialog Box for Adding a Data File
Enter path and filename on host PC:
Use this field to specify the location of
the file on the PC.
Enter path and filename on portable:
Use this field to specify the location
and name for the transferred file on the Falcon.
OK
Select
OK
to return to the
File Transfer
window. The specified data file will
appear in the
Files to Transfer
list.
Cancel
Select
Cancel
to return to the
File Transfer
window without adding a file to
the
Files to Transfer
list.
Browse
1.
Select
Browse
to view the files on the computer.
2.
The
Open
dialog box appears.
3.
Use the dialog box to choose a a data file to be included in the transfer.
advuser.book Page 23 Friday, September 27, 2002 4:22 PM


