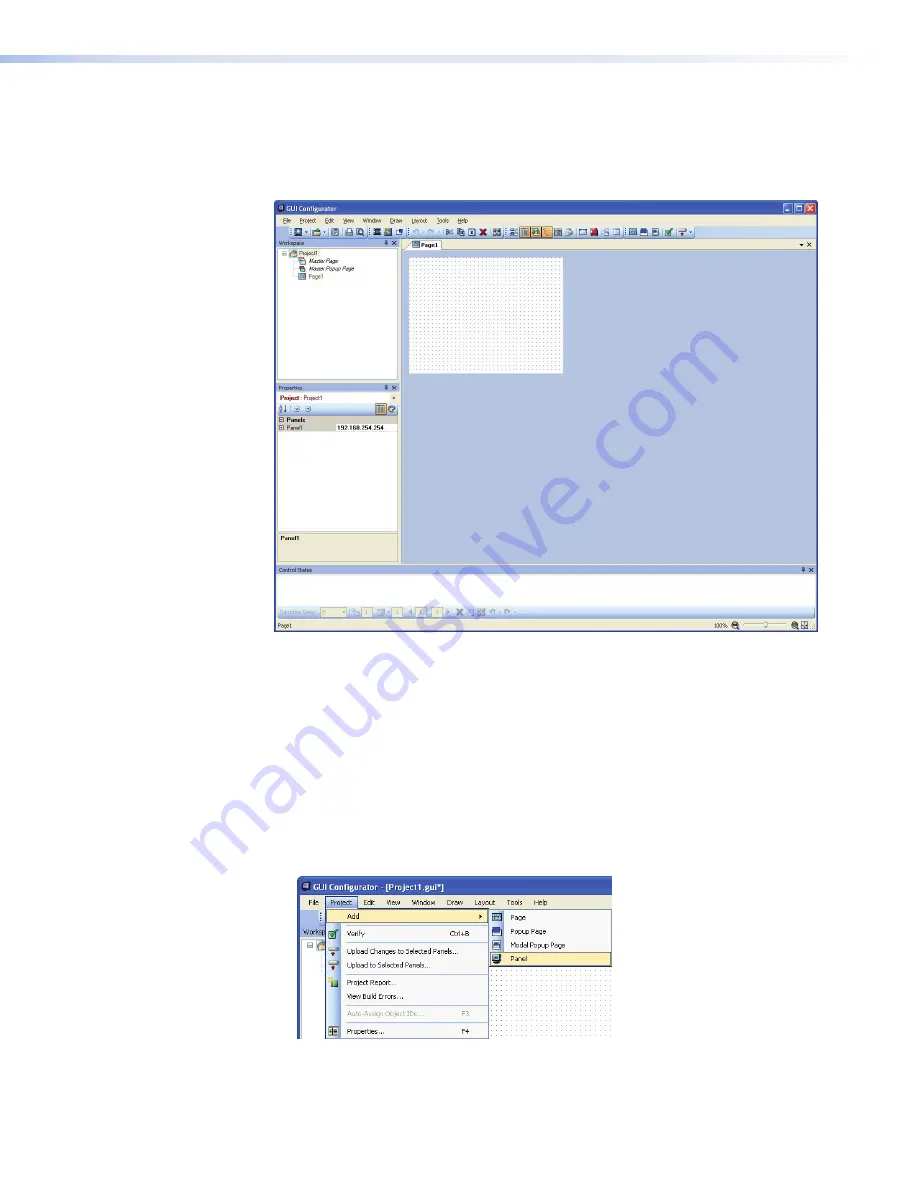
3.
Depending on which option was selected in step
2
, GUI Configurator opens to a new
or an existing project. The initial screen is divided into a series of panes offering a range
of tools that can be used to design or modify the project. For full details on how to use
these tools, consult the help file (in the Help menu click on
Contents
or press the F1 key
while within the program).
Figure 16.
GUI Configurator Main Screen
4.
To save the project, select
Save Project
from the File menu. The project file is saved.
If this is the first time saving the project file, the “Save As” dialog box appears. If the
“Save As” dialog box appears:
a.
browse for the location where the project file is to be saved.
b.
enter a file name for the project.
c.
Click
Save
.
5.
The project can be uploaded to one or more TouchLink panels. To add a panel, to which
the project can be uploaded:
a.
From the Project menu, select
Add
>
Panel
:
Figure 17.
Add a TouchLink panel (5a)
TLP 350CV • Configuration Software
25


