NAV Series TCP/IP Standalone Network Access Controller
102
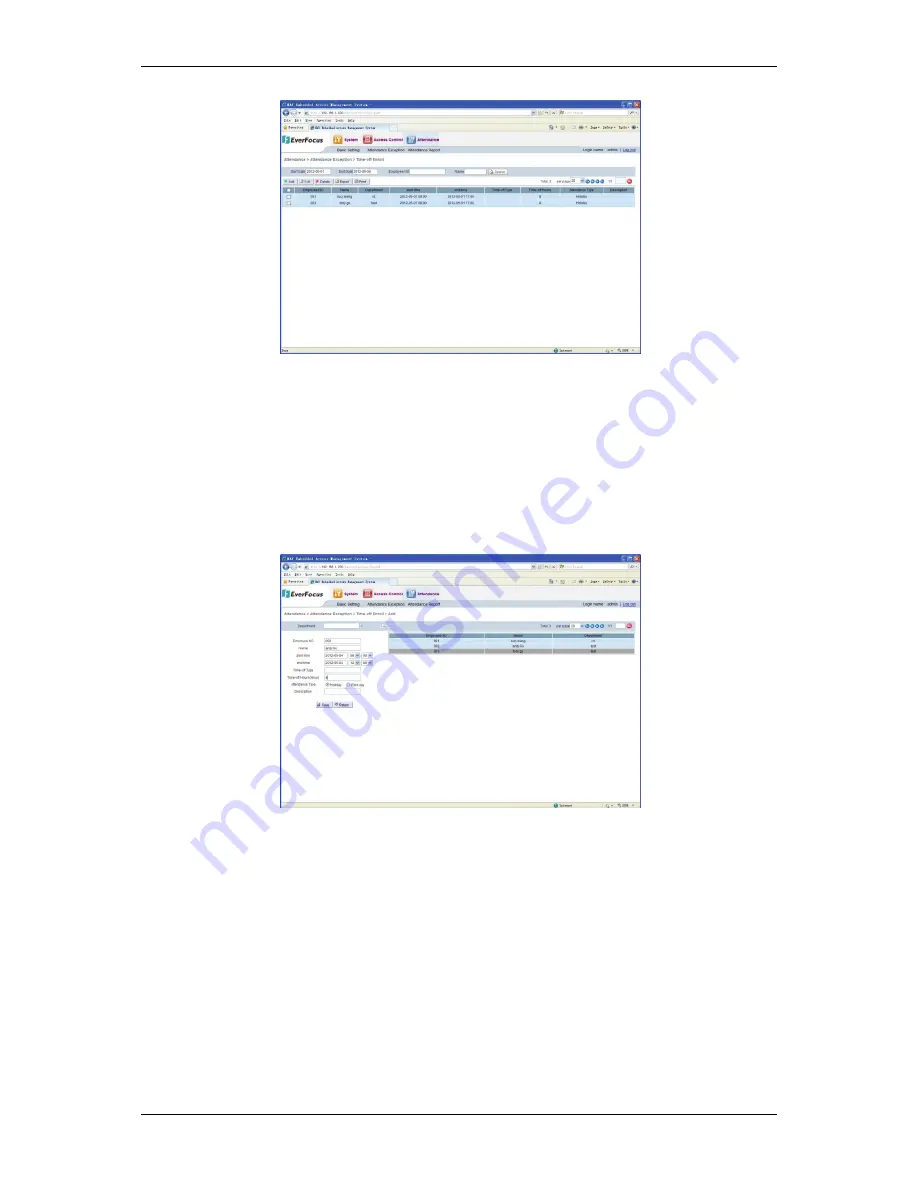
Figure 16-5 Time-off Enroll
16.2.1 Add Time-off Enroll
Click
the
“Add”
button
to
enter
the
Time
‐
off
Enroll
page,
select
one
record
in
the
Cardholder
list,
set
card
swiping
time
and
comment
information,
click
the
“Save”
button
and
a
new
leave
record
is
added
(see
Figure
16
‐
6).
If
the
system
shows
a
prompt
reading
“Added
successfully,”
it
indicates
the
setting
of
leave
record
is
finished.
Click
the
“Return”
button
to
return
to
the
Time
‐
off
Enroll
list.
You
can
see
the
new
leave
record
has
been
added
successfully.
Figure 16-6 Add Time-off Enroll
If
it
is
not
convenient
to
search
in
the
user,
you
can
directly
input
the
employee
number
or
name.
The
system
can
automatically
match
the
name
or
employee
number
of
the
Cardholder.
16.2.2 Query Time-off Enroll
The
user
can
query
the
Time
‐
off
Enroll
records.
By
default,
the
system
returns
all
the
Time
‐
off
Enroll
records
in
the
current
month.
The
user
can
set
the
query
time
range
and
input
the
employee
number
or
name
of
the
Cardholder
to
be
queried
to
realize
a
precise
query.
Click
the
“Query”
button
and
the
system
displays
the
leave
records
meeting
the
conditions.


