EDA 2530 Commissioning Procedure for Cable and Wireless Access
1/153 22-FGC 101 0239/2 Uen Rev J 2010-04-01
©
Ericsson AB 2010
Commercial in confidence
73 (200)
e.
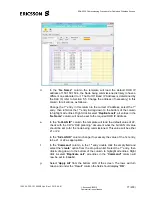
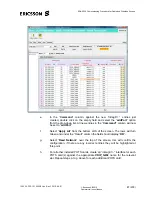
In the “MAU AUTO NEGOTIATION” area of the window change the “
Admin
Status
” field from enabled to
disabled
. Now select the “
Apply
” button then
select “
Refresh
”.
f.
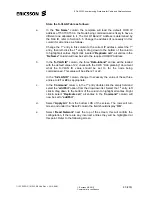
Select another folder, & check that Port 1 interface changes colour from
Yellow to Green.
Note:
The port status will only turn to Green if there is a signal on the fibre
and it is connected to the port.
7.2.2
Configure CP Port 2
Note: CP SFP Port 2 interface is used to subtend Child#1 (EDA 2510)
a.
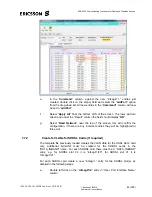
Select Port 2 and follow steps d. to f. of Section 7.2.1 above to configure CP
Port 2. Do
NOT
select the “Local In-Band Mng” option, this is required for CP
Port 1 only.
b. Select
“
Close
” to return to the main LCT screen.
7.2.3
Configure CP Port 3 (If required)
Note: CP SFP Port 3 interface is used to subtend Child#2 (EDA 2530)
a.
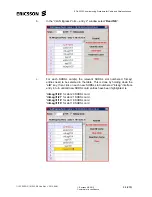
Select Port 3 and follow steps d. to f. of Section 7.2.1 above to configure CP
Port 3. Do
NOT
select the “Local In-Band Mng” option, this is required for CP
Port 1 only.
b. Select
“
Close
” to return to the main LCT screen.
7.2.4
Configure CP Port 4 (If required)
Note: CP SFP Port 4 interface is used to subtend Child#3 (EDA 2530)
a.
Select Port 4 and follow steps d. to f. of Section 7.2.1 above to configure CP
Port 4. Do
NOT
select the “Local In-Band Mng” option, this is required for CP
Port 1 only.
b. Select
“
Close
” to return to the main LCT screen.


