QuadroFXO Manual II: Administrator's Guide
Quadro's Graphical Interface
QuadroFXO; SW Version 5.1.x
51
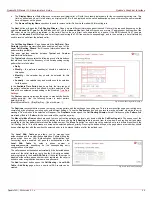
IP address requires the IP address that is placed behind NAT
within the local network.
Subnet Mask requires the subnet mask corresponding to the
specified IP address.
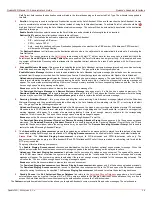
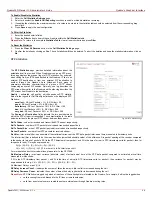
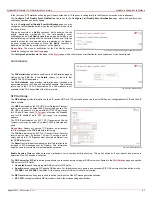
Fig. II-92: NAT Exclusion Table - Add Entry page
To Configure the NAT Exclusion Table
1.
Press
the
Add button on the NAT Exclusion Table page. The Add Entry page will appear in the browser window.
2.
Specify
an
IP Address and its Subnet Mask in the corresponding text fields.
3.
Press
Save on the Add Entry page to add the selected IP range to the NAT Exclusion Table list.
To Delete an IP Range from the NAT Exclusion Table
1.
Select the checkboxes of the corresponding IP range(s) that should to be deleted from the NAT Exclusion Table. Press Select all if all IP
ranges should to be deleted.
2.
Press
the
Delete button on the NAT Exclusion Table page.
3.
Confirm the deletion by pressing Yes. The IP range will then be deleted. To abort the deletion and keep the IP range in the list, press No.
FXO Settings
The FXO Settings are used to configure the FXO support that allows Quadro to connect to other PBXs or analog telephone lines. The FXO Settings
also gives you the option to limit incoming or outgoing calls for the selected FXO line if required. Depending on the Quadro model, several FXO ports
will be available on the board, thus giving you the option connect several PSTN lines to the Quadro and to use them simultaneously.
The administrator may assign a default recipient for each FXO line where calls from the Central Office (PSTN) will be routed. The assigned recipients
become the Quadro “default users”. If the Quadro Auto Attendant has been selected as a “default user”, a caller from the PSTN needs to go through
the attendant menu to reach the desired extension.
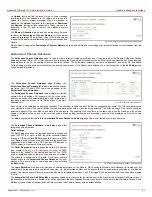
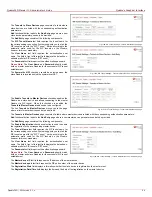
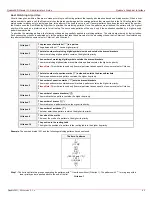
The FXO Settings page lists the available local FXO lines,
shared FXO lines on the remote devices (if any) and their
settings. If the FXO service has been disabled, the Allowed Call
Type, Route Incoming Call to and PSTN number columns are
set to N/A.
Clicking on the FXO line number will open the FXO Settings -
FXO# page where the FXO line settings may be modified.
Fig. II-93: FXO Settings page
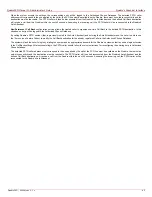
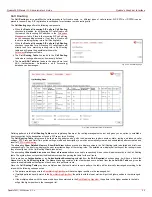
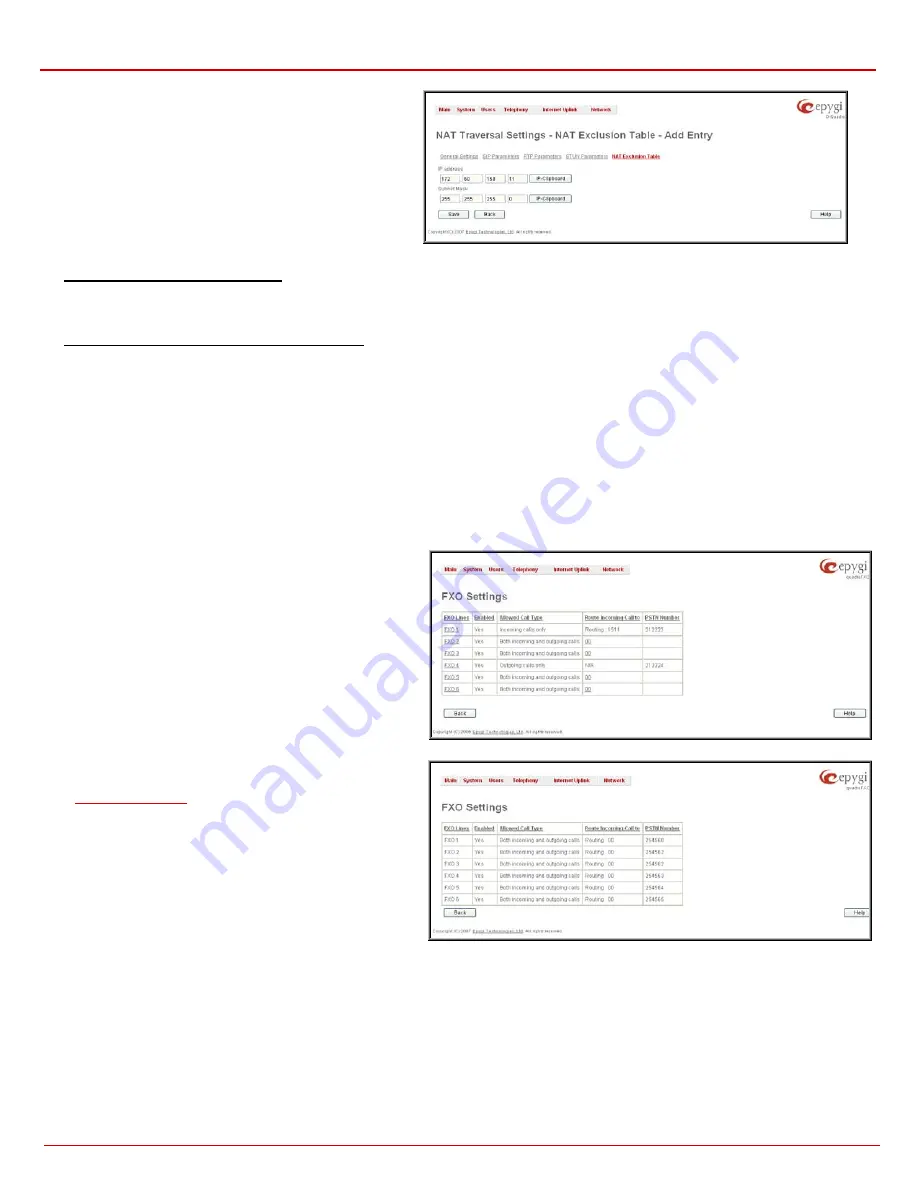
If
is enabled and QuadroFXO acts as an
FXO line expansion device, i.e. provides its FXO lines to the
remote Quadro IP PBX, the FXO Settings page becomes read-
only. Any modifications in the shared FXO line’s settings on the
master Quadro will be immediately reflected in the FXO Settings
table on the slave Quadro.
Routing:smth will be seen in the Route Incoming Calls To
column once the Sharing Mode is enabled, where smth is the
destination the call is routed to on the Quadro IP PBX.
Exceptions are cases when Outgoing Calls Only is selected for
Allowed Call Type, in this case N/A will be displayed in the
Route Incoming Calls To column.
Fig. II-94: FXO Settings page when QuadroFXO shares its FXO lines to the master IP PBX
The Enable FXO checkbox selection activates FXO support for the selected FXO line.
The Allowed Call Type is used to choose the allowed call directions for the corresponding FXO line. The administrator may choose between:
•
Enabling incoming calls (prohibiting outgoing calls) for the selected FXO line.
•
Enabling outgoing calls (prohibiting incoming calls) for the selected FXO line.
•
Enabling both incoming and outgoing calls for the selected FXO line.


