


Best Quality
For the best print quality, but the slowest print speed.
Parent topic:
Selecting Basic Print Settings - Mac OS X 10.5/10.6/10.7
Print Options - Mac OS X 10.5/10.6/10.7
You can select any of the print options to customize your print. Some options may be unavailable,
depending on other settings you have chosen.
Expansion
If you selected a borderless paper size setting, adjusts the image expansion settings to control
printing at the edges of borderless prints.
Grayscale
Prints text and graphics in black or shades of gray.
Mirror Image
Flips the printed image left to right.
Note:
If you select the
Min
option for the Expansion setting, you may see white borders on your printed
photo.
Parent topic:
Selecting Basic Print Settings - Mac OS X 10.5/10.6/10.7
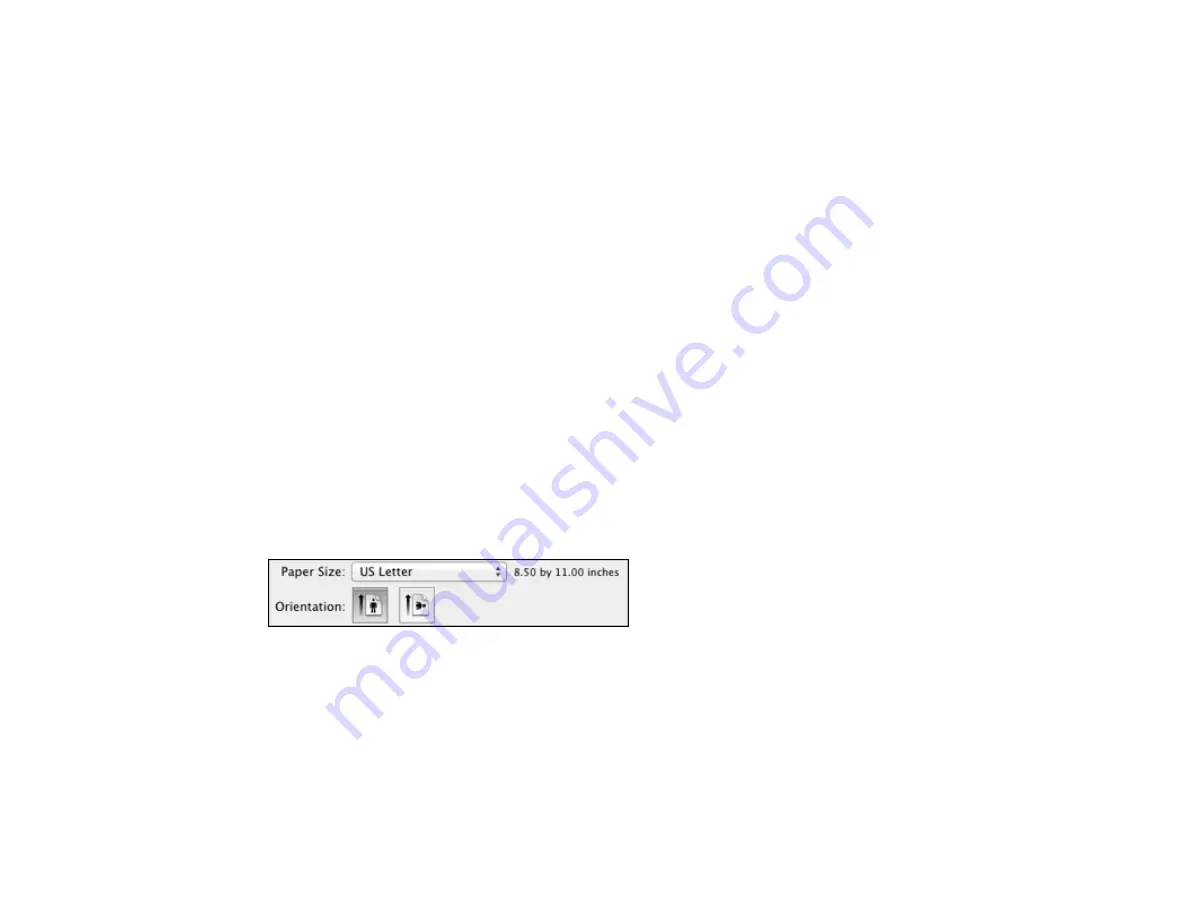
Selecting Page Setup Settings - Mac OS X 10.5/10.6/10.7
Depending on your application, you may be able to select the paper size and orientation settings from
the print window.
Note:
If you do not see these settings in the print window, check for them in your application before
printing. They may be accessible by selecting
Page Setup
from the File menu.
86
Summary of Contents for WorkForce WF-7510
Page 1: ...WorkForce WF 7510 WF 7520 User s Guide ...
Page 2: ......
Page 29: ...4 Slide the edge guide shown below to your paper size 29 ...
Page 34: ...3 Slide the edge guides outward 4 Slide the edge guide shown below to your paper size 34 ...
Page 39: ...3 Slide the edge guides outward 4 Slide the edge guide shown below to your envelope size 39 ...
Page 57: ...Related topics Copying Scanning 57 ...
Page 131: ...131 ...
Page 171: ...You see this window 5 Select Fax Settings for Printer You see this window 171 ...
Page 237: ...Related topics Loading Paper 237 ...
Page 256: ...256 ...
Page 261: ...261 ...
Page 287: ...Caution Do not touch the flat white cable inside the printer 4 Lower the scanner unit 287 ...
Page 289: ...7 Open the rear cover and remove any additional jammed paper 289 ...
Page 296: ...5 Remove any jammed paper 296 ...
Page 297: ...6 Lower the document cover and close the ADF cover 7 Carefully remove the jammed paper 297 ...


