


1.
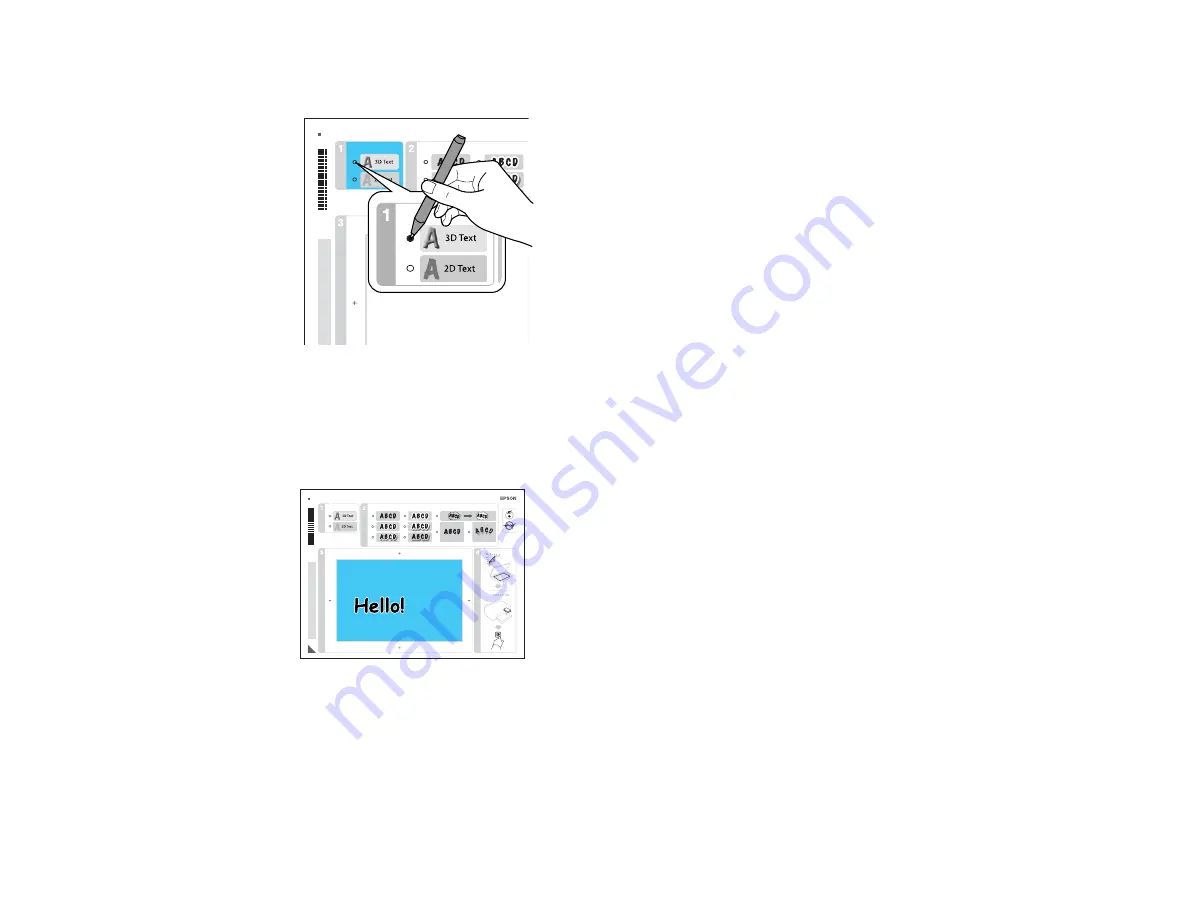
Use a dark pen or pencil to fill in the circles and select the Text Style and Text Effects.
2.
Add your greeting card message. You can write it in by hand, print a message and paste it into the
box, or draw a picture.
Tip:
When adding text, place it in the direction that your photo faces.
3.
Load EPSON photo paper in the paper cassette.
4.
Select
Print Greeting Cards from Template
and press the
OK
button.
5.
Follow the instructions on the LCD screen to place the template facedown on the scanner glass, with
the blue triangle facing into the back left corner.
6.
Close the document cover.
219
Summary of Contents for WorkForce WF-7510
Page 1: ...WorkForce WF 7510 WF 7520 User s Guide ...
Page 2: ......
Page 29: ...4 Slide the edge guide shown below to your paper size 29 ...
Page 34: ...3 Slide the edge guides outward 4 Slide the edge guide shown below to your paper size 34 ...
Page 39: ...3 Slide the edge guides outward 4 Slide the edge guide shown below to your envelope size 39 ...
Page 57: ...Related topics Copying Scanning 57 ...
Page 131: ...131 ...
Page 171: ...You see this window 5 Select Fax Settings for Printer You see this window 171 ...
Page 237: ...Related topics Loading Paper 237 ...
Page 256: ...256 ...
Page 261: ...261 ...
Page 287: ...Caution Do not touch the flat white cable inside the printer 4 Lower the scanner unit 287 ...
Page 289: ...7 Open the rear cover and remove any additional jammed paper 289 ...
Page 296: ...5 Remove any jammed paper 296 ...
Page 297: ...6 Lower the document cover and close the ADF cover 7 Carefully remove the jammed paper 297 ...


