


7.
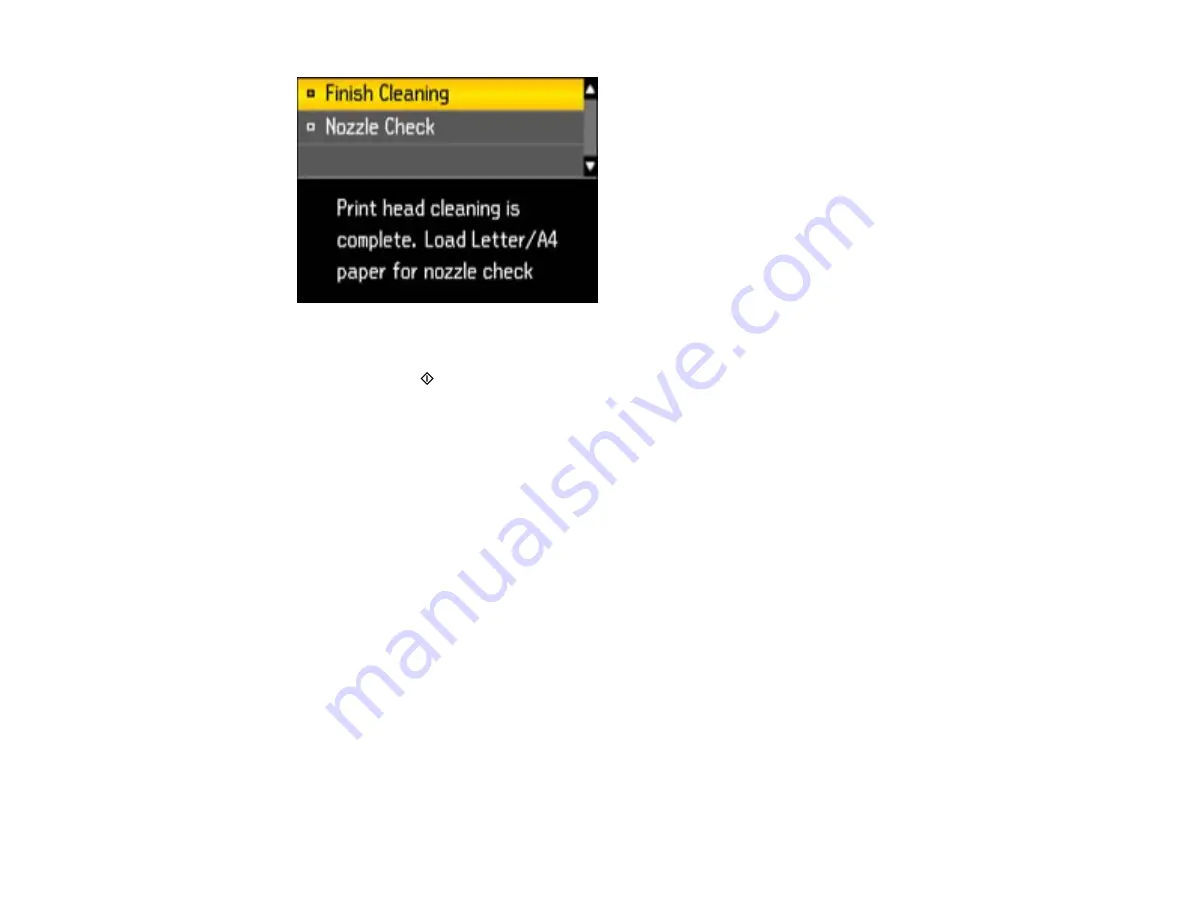
Select
Nozzle Check
and press the
OK
button.
8.
Press one of the
Start
buttons to confirm that the print head is clean.
If you don’t see any improvement after cleaning the print head up to 4 times, leave the product turned on
and wait at least 6 hours. Then try cleaning the print head again. If quality still does not improve, one of
the ink cartridges may be old or damaged and needs to be replaced.
Parent topic:
Related topics
Cleaning the Print Head Using a Computer Utility
You can clean the print head using a utility on your Windows computer or Mac.
1.
Load a few sheets of plain paper in the product.
2.
Do one of the following:
•
Windows:
Right-click the product icon in the Windows taskbar.
•
Mac OS X 10.6/10.7
: In the Apple menu or the Dock, select
System Preferences
. Select
Print &
Fax
or
Print & Scan
, select your product, and select
Options & Supplies
. Select
Utility
and
select
Open Printer Utility
.
•
Mac OS X 10.4/10.5
: In the Apple menu or the Dock, select
System Preferences
. Select
Print &
Fax
, select your product, and select
Open Print Queue
or
Print Queue
. Select
Utility
.
3.
Select
Head Cleaning
.
You see one of these windows:
260
Summary of Contents for WorkForce WF-7510
Page 1: ...WorkForce WF 7510 WF 7520 User s Guide ...
Page 2: ......
Page 29: ...4 Slide the edge guide shown below to your paper size 29 ...
Page 34: ...3 Slide the edge guides outward 4 Slide the edge guide shown below to your paper size 34 ...
Page 39: ...3 Slide the edge guides outward 4 Slide the edge guide shown below to your envelope size 39 ...
Page 57: ...Related topics Copying Scanning 57 ...
Page 131: ...131 ...
Page 171: ...You see this window 5 Select Fax Settings for Printer You see this window 171 ...
Page 237: ...Related topics Loading Paper 237 ...
Page 256: ...256 ...
Page 261: ...261 ...
Page 287: ...Caution Do not touch the flat white cable inside the printer 4 Lower the scanner unit 287 ...
Page 289: ...7 Open the rear cover and remove any additional jammed paper 289 ...
Page 296: ...5 Remove any jammed paper 296 ...
Page 297: ...6 Lower the document cover and close the ADF cover 7 Carefully remove the jammed paper 297 ...


