


2.
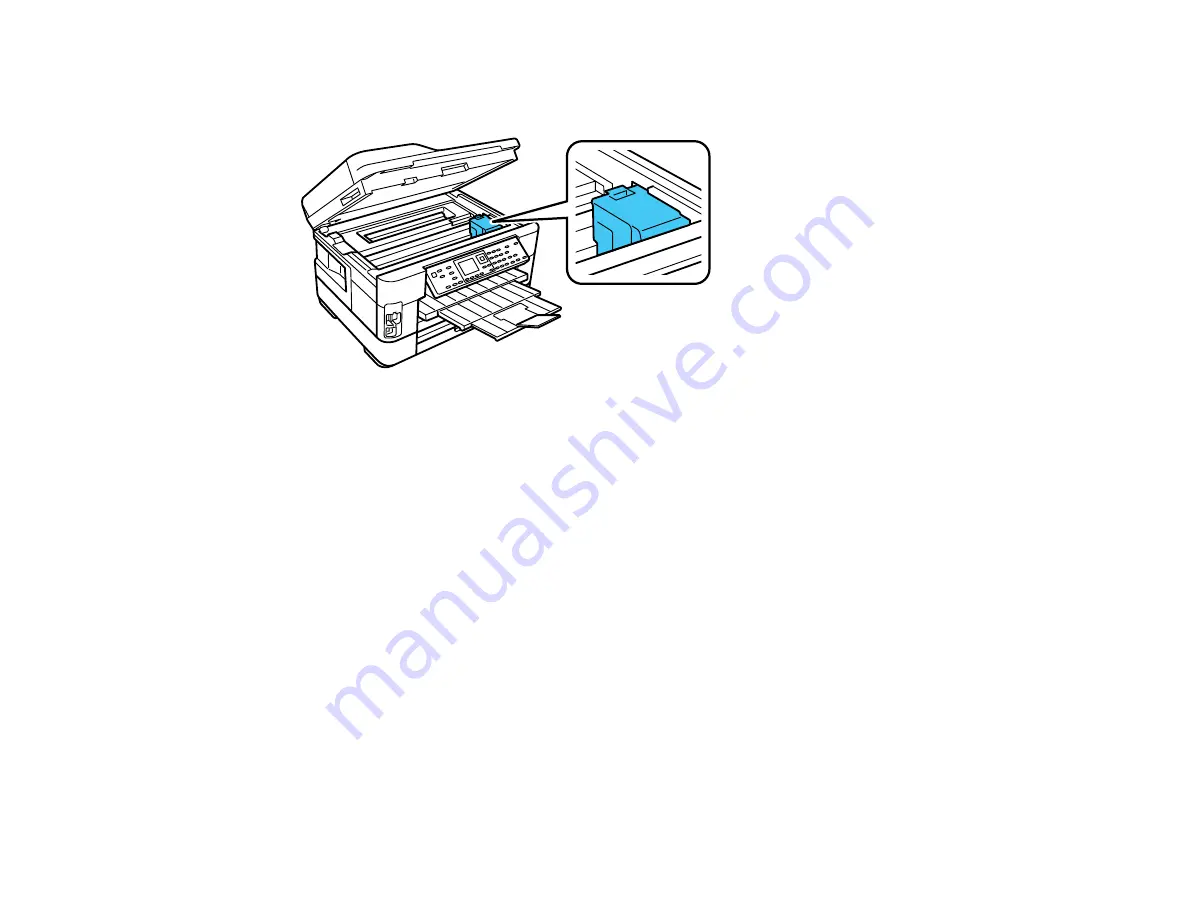
Lift up the scanner unit and check to see if the print head is in the far right position (the home
position). If not, turn on the product, wait for the print head to move, then turn the product off again.
3.
Lower the scanner unit.
4.
Unplug the power cable.
5.
Disconnect any connected cables.
6.
Close the output tray.
7.
Remove all the paper from the product.
272
Summary of Contents for WorkForce WF-7510
Page 1: ...WorkForce WF 7510 WF 7520 User s Guide ...
Page 2: ......
Page 29: ...4 Slide the edge guide shown below to your paper size 29 ...
Page 34: ...3 Slide the edge guides outward 4 Slide the edge guide shown below to your paper size 34 ...
Page 39: ...3 Slide the edge guides outward 4 Slide the edge guide shown below to your envelope size 39 ...
Page 57: ...Related topics Copying Scanning 57 ...
Page 131: ...131 ...
Page 171: ...You see this window 5 Select Fax Settings for Printer You see this window 171 ...
Page 237: ...Related topics Loading Paper 237 ...
Page 256: ...256 ...
Page 261: ...261 ...
Page 287: ...Caution Do not touch the flat white cable inside the printer 4 Lower the scanner unit 287 ...
Page 289: ...7 Open the rear cover and remove any additional jammed paper 289 ...
Page 296: ...5 Remove any jammed paper 296 ...
Page 297: ...6 Lower the document cover and close the ADF cover 7 Carefully remove the jammed paper 297 ...


