167
Product Status Messages
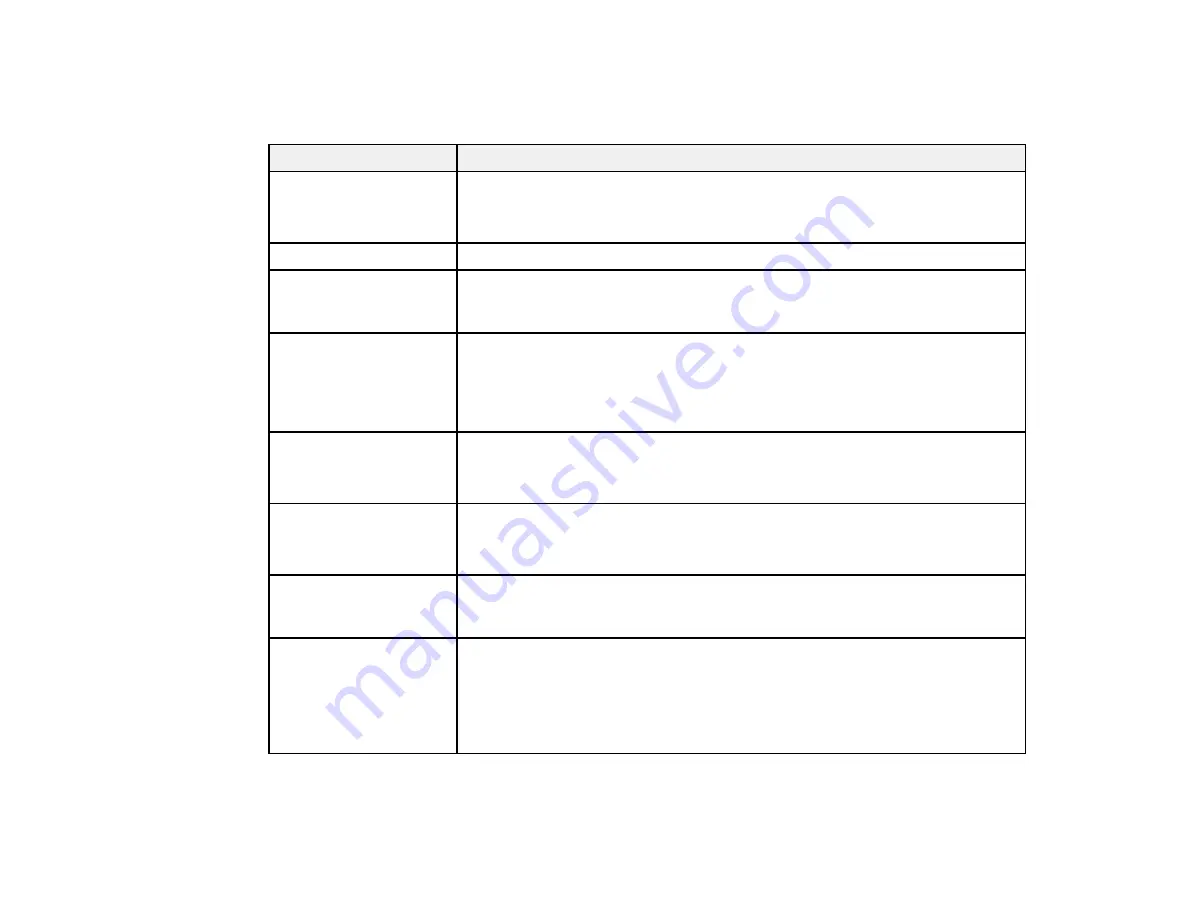
You can often diagnose problems with your product by checking the messages on the LCD screen.
LCD screen message
Condition/solution
Cannot recognize ink
cartridges.
Try installing again.
Remove and reinsert the ink cartridge. If the message persists, insert a new
ink cartridge. Make sure the ink cartridges are at room temperature.
Ink is low.
The ink is low. Make sure you have a replacement ink cartridge handy.
The maintenance box is
not recognized. Install it
correctly.
Remove and reinsert the maintenance box. If the message persists, insert a
new maintenance box.
The Maintenance Box is
nearing the end of its
service life. You can
continue printing until
replacement is required.
The maintenance box does not have enough capacity to store ink discharged
in print head cleaning. Do not perform head cleaning until you replace the
maintenance box with a new one. The used maintenance box may be
reinstalled after cleaning is completed.
Command Error
Check the printer driver
setting.
Select
Cancel
to stop printing. Make sure that the printer driver you are using
supports your product.
Scanner Error
Refer to manual for
details.
Release the scanner transportation lock as described in your scanner's
User's Guide
. Turn the printer and scanner off and on. If the message
persists, contact Epson for support.
Recovery Mode
The printer restarted in recovery mode because the firmware update failed.
Make sure the computer and printer are connected via USB and try updating
the firmware again.
Maintenance Request
Replace Parts Soon/End
of Parts Service Life
(maintenance request
code)
A part used in the printer is nearing or at the end of its service life. Contact
Epson for support and provide them with the displayed maintenance request
code. The error persists until you replace the requested part.
Summary of Contents for SureColor T2170
Page 1: ...Epson SureColor T2170 T3170 T5170 User s Guide ...
Page 2: ......
Page 23: ...23 1 Make sure you have all of these items for assembly 1 Left mounting bracket ...
Page 60: ...60 5 Slide the edge guides out 6 Load paper printable side up into the auto sheet feeder ...
Page 62: ...62 1 Slide out the edge guides and remove the paper from the auto sheet feeder ...
Page 63: ...63 2 Fold down and push in the paper support extensions and close the auto sheet feeder ...
Page 78: ...78 You can also place the same print data multiple times as shown here ...
Page 148: ...148 You see a window like this 4 Click Print The nozzle pattern prints ...


