161
5.
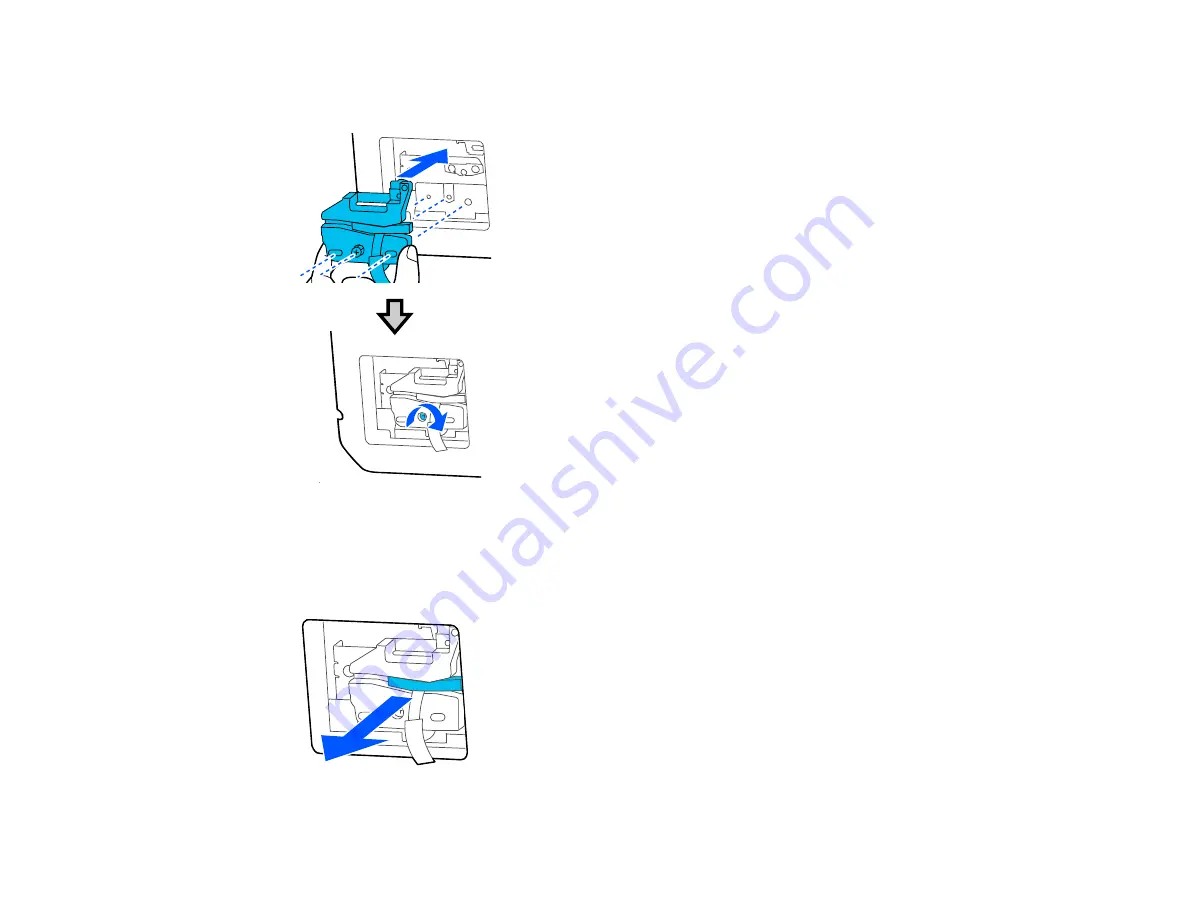
Align the pins on the new cutter with the holes in the product and insert the cutter. Tighten the cutter
screw securely.
Note:
Make sure the screw is tightened securely, otherwise the cut position may be slightly shifted or
skewed.
6.
Remove only the protective material from the cutter shown here.
Summary of Contents for SureColor T2170
Page 1: ...Epson SureColor T2170 T3170 T5170 User s Guide ...
Page 2: ......
Page 23: ...23 1 Make sure you have all of these items for assembly 1 Left mounting bracket ...
Page 60: ...60 5 Slide the edge guides out 6 Load paper printable side up into the auto sheet feeder ...
Page 62: ...62 1 Slide out the edge guides and remove the paper from the auto sheet feeder ...
Page 63: ...63 2 Fold down and push in the paper support extensions and close the auto sheet feeder ...
Page 78: ...78 You can also place the same print data multiple times as shown here ...
Page 148: ...148 You see a window like this 4 Click Print The nozzle pattern prints ...


