106
4.
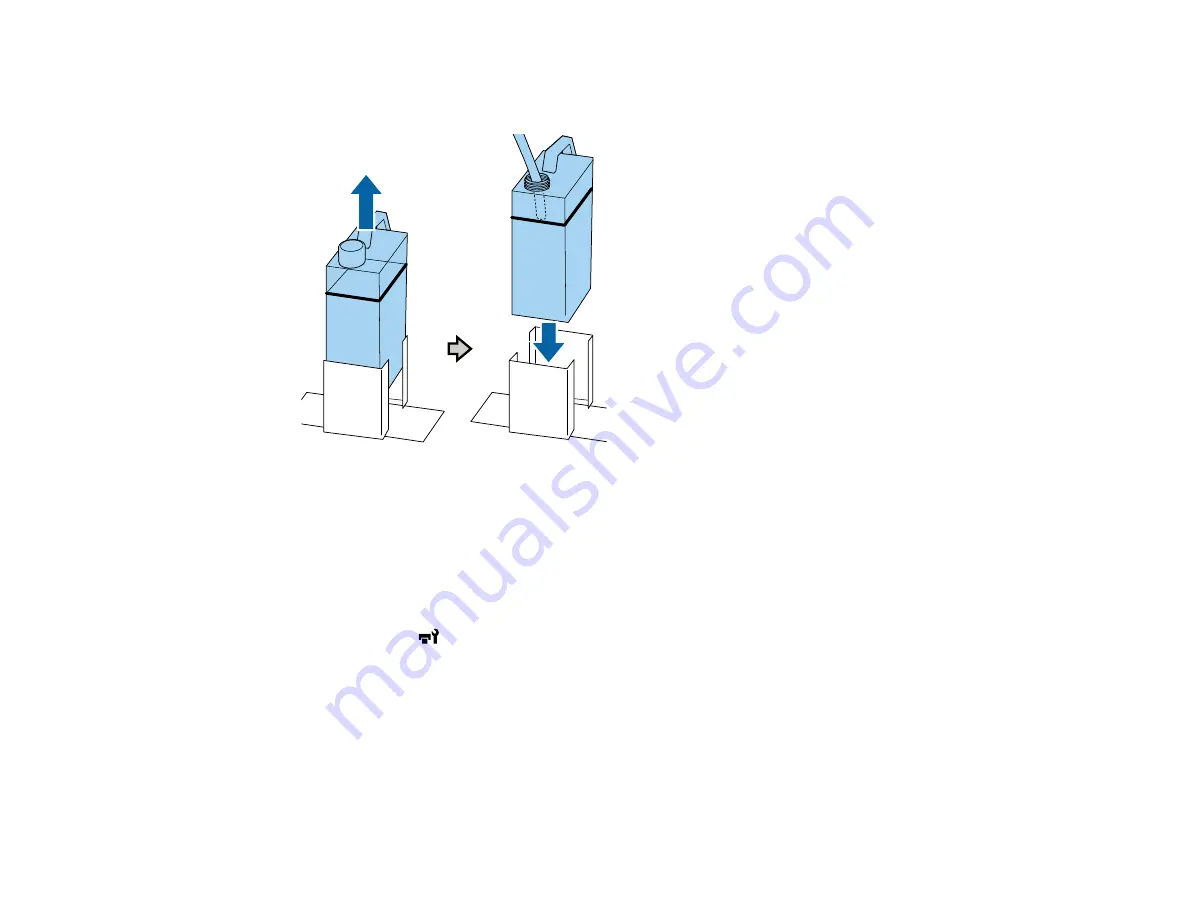
Remove the used waste ink bottle from the waste ink bottle holder and insert the new bottle. Make
sure the new waste ink bottle is seated correctly in the waste ink holder.
Caution:
Verify that the waste ink tube is still inserted into the neck of the bottle. If the waste ink tube
comes out of the bottle, waste ink will spill out.
5.
Press the
OK
button.
6.
Press the
OK
button to clear the waste ink counter.
Note:
If you replaced the waste ink bottle before the replacement message appeared on the control
panel, press the
maintenance button and select
Waste Ink Counter
to clear the waste ink
counter.
Parent topic:
Related references
Waste Ink Disposal Guidelines
Optional Equipment and Replacement Parts
Summary of Contents for SureColor F2100 Series
Page 1: ...Epson SureColor F2100 Series User s Guide ...
Page 2: ......
Page 8: ......
Page 36: ...36 Sleeve platen 1 0 47 inch 12 mm margins 2 Platen frame 3 Printable area ...
Page 44: ...44 2 Peel off the edges of the grip pad 3 Flip the platen over and hold it down with one hand ...
Page 55: ...55 If you are installing a sleeve platen install it as shown Then go to step 2 ...
Page 58: ...58 1 Insert the ends of each hook into the holes in the front of the printer as shown ...
Page 108: ...108 5 Open the printer cover ...
Page 136: ...136 8 Grasp the tab on the air filter and lift it up to remove it ...
Page 143: ...143 Note Do not apply force to the gears shown below when cleaning A malfunction may occur ...
Page 147: ...147 Parent topic Maintenance ...


