


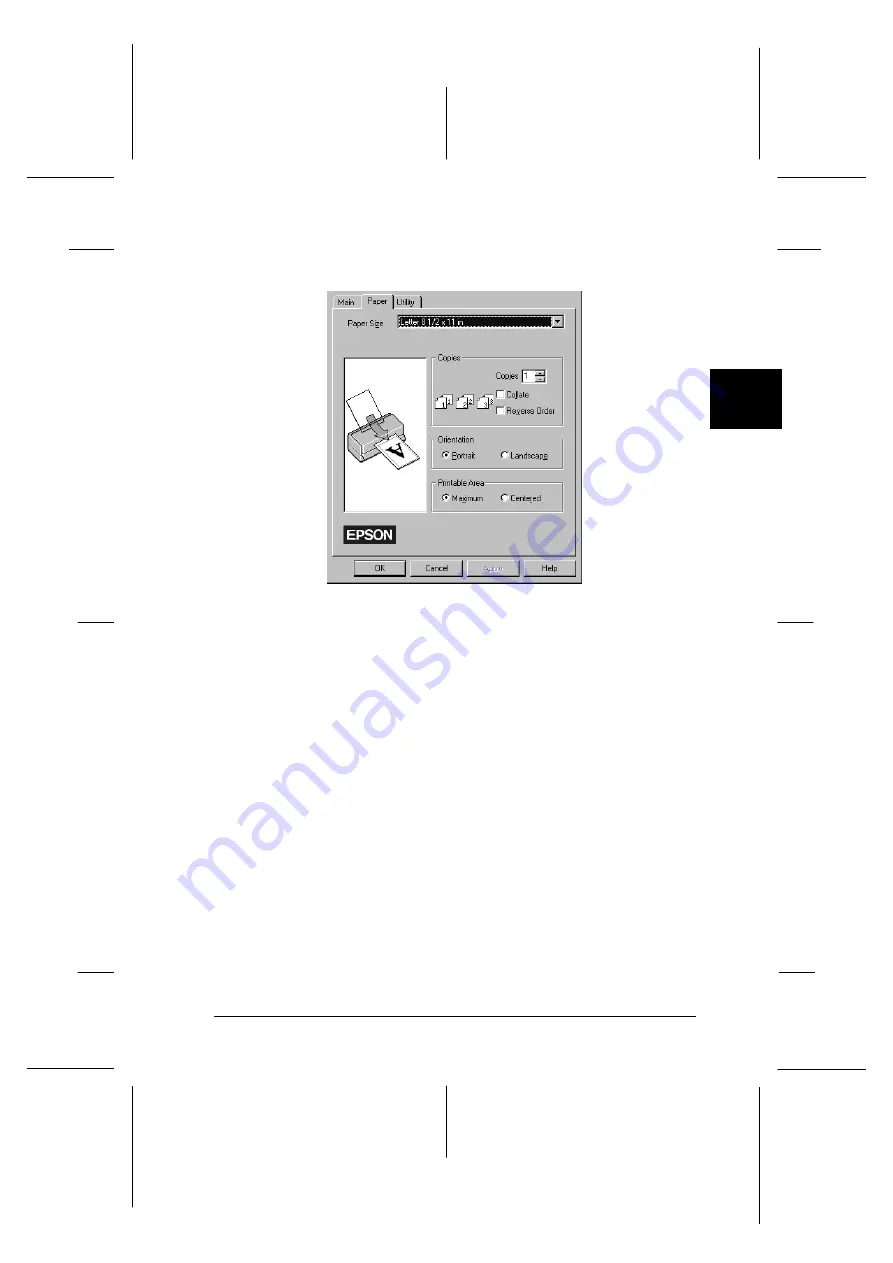
7. Click the
Paper
tab. The Paper menu appears.
8. Select the size of the paper you loaded in the printer from the
Paper Size list. If you don’t see your paper size in the list,
use the arrow on the right to scroll through the list.
Note:
If your paper size is not included in the list, select
User Defined
and enter the paper size in the dialog box that appears. For
information on the User Defined option, see online help.
9. Make the Orientation setting. The effect of your setting is
shown in the display to the left.
Note:
Always load paper into the sheet feeder short edge first. Load
envelopes flap edge first with the flap side down.
10. Click
OK
at the bottom of the window. You return to the
Print dialog box (or a similar dialog box).
paper
3
R
EPSON Stylus Photo
User’s Guide
A5 size
Chapter 3
12-28-96
Starting to Print
3-7
Summary of Contents for Stylus Color
Page 1: ......
Page 10: ...L EPSON Stylus Photo User s Guide A5 size Front 12 27 96 viii ...
Page 16: ...L EPSON Stylus Photo User s Guide A5 size Introduction 12 26 96 6 Safety Instructions ...
Page 24: ...L EPSON Stylus Photo User s Guide A5 size Chapter 1 01 14 97 1 8 Getting to Know Your Printer ...
Page 52: ...L EPSON Stylus Photo User s Guide A5 size Chapter 2 12 28 96 2 28 Getting Started ...
Page 118: ...L EPSON Stylus Photo User s Guide A5 size Chapter 6 01 14 97 6 12 Printing on Special Paper ...
Page 168: ...L EPSON Stylus Photo User s Guide A5 size Chapter 8 12 28 96 8 42 Troubleshooting ...
Page 188: ...L EPSON Stylus Photo User s Guide A5 size Appendix b 12 27 96 B 12 Specifications ...
Page 194: ...L EPSON Stylus Photo User s Guide A5 size Glossary 12 16 96 6 Glossary ...
Page 201: ......
Page 203: ......


