


Installing the software for Windows 3.1
Follow these steps to install the software using Windows 3.1:
1. Make sure Windows 3.1 is running and the Program Manager
window is open.
2. Insert the EPSON printer software CD shipped with your
printer in the CD-ROM drive. (If you use the floppy disk
version, insert it in a disk drive.)
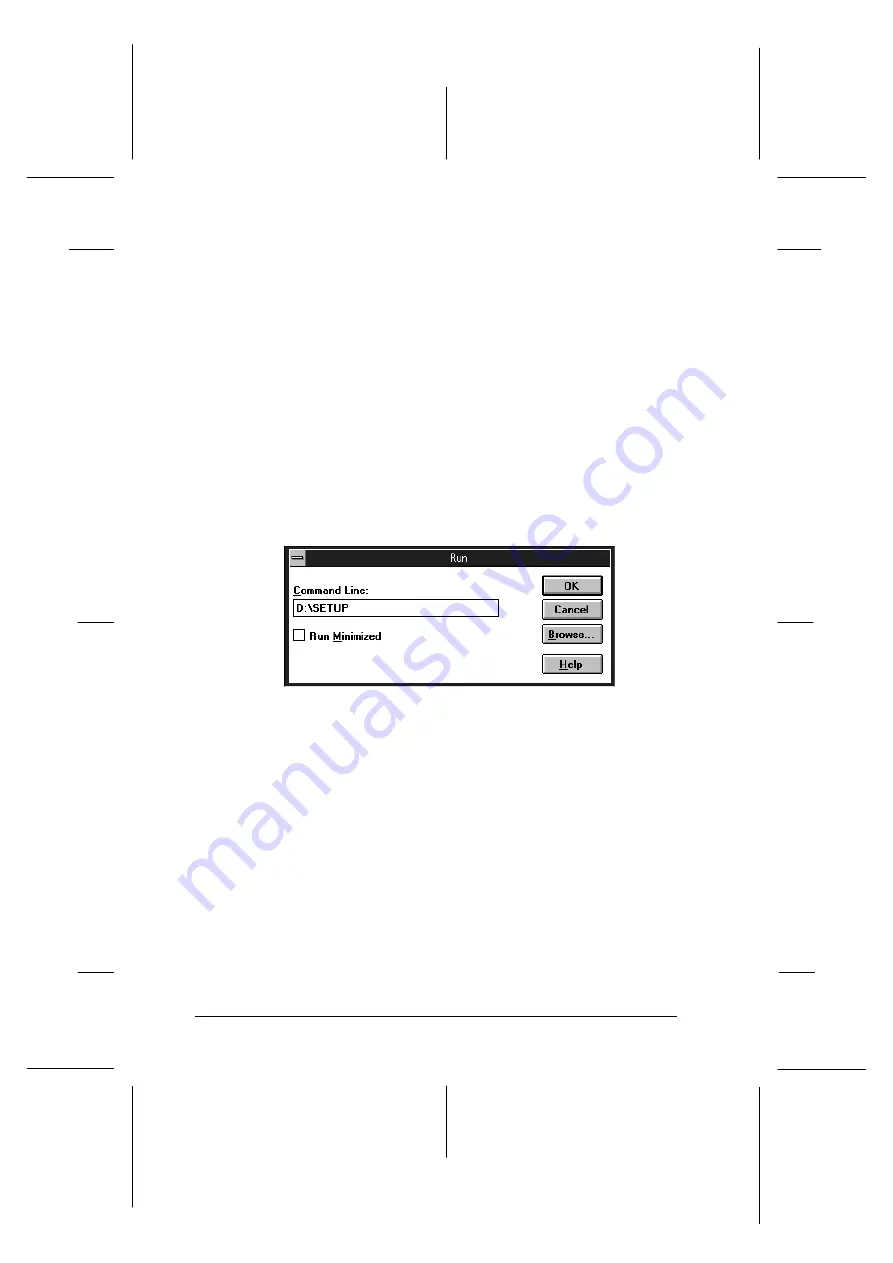
3. From the File menu, choose
Run
. You see the Run dialog box.
In the Command Line box, type
D:\SETUP
(If your
CD-ROM drive has a drive letter other than ‘‘D’’ or you are
using the floppy version, substitute the appropriate letter.)
Note:
If you wish to make a floppy disk version of the essential printer
software (printer driver, utilities, and online help) on your
CD-ROM, type
EPSETUP
instead of
SETUP
. In the dialog box
that appears, click the
Driver disk creation utility
button and
follow the on-screen instructions.
3101
L
EPSON Stylus Photo
User’s Guide
A5 size
Chapter 2
12-28-96
2-18
Getting Started
Summary of Contents for Stylus Color
Page 1: ......
Page 10: ...L EPSON Stylus Photo User s Guide A5 size Front 12 27 96 viii ...
Page 16: ...L EPSON Stylus Photo User s Guide A5 size Introduction 12 26 96 6 Safety Instructions ...
Page 24: ...L EPSON Stylus Photo User s Guide A5 size Chapter 1 01 14 97 1 8 Getting to Know Your Printer ...
Page 52: ...L EPSON Stylus Photo User s Guide A5 size Chapter 2 12 28 96 2 28 Getting Started ...
Page 118: ...L EPSON Stylus Photo User s Guide A5 size Chapter 6 01 14 97 6 12 Printing on Special Paper ...
Page 168: ...L EPSON Stylus Photo User s Guide A5 size Chapter 8 12 28 96 8 42 Troubleshooting ...
Page 188: ...L EPSON Stylus Photo User s Guide A5 size Appendix b 12 27 96 B 12 Specifications ...
Page 194: ...L EPSON Stylus Photo User s Guide A5 size Glossary 12 16 96 6 Glossary ...
Page 201: ......
Page 203: ......


