c
Caution:
q
Once you remove an ink cartridge, it becomes unusable
and cannot be reinstalled even if ink remains.
q
Leave the old cartridge installed in the printer until you
are ready to replace it with a new one. Attempting to print
a document or store the printer without a cartridge
installed can damage the printer.
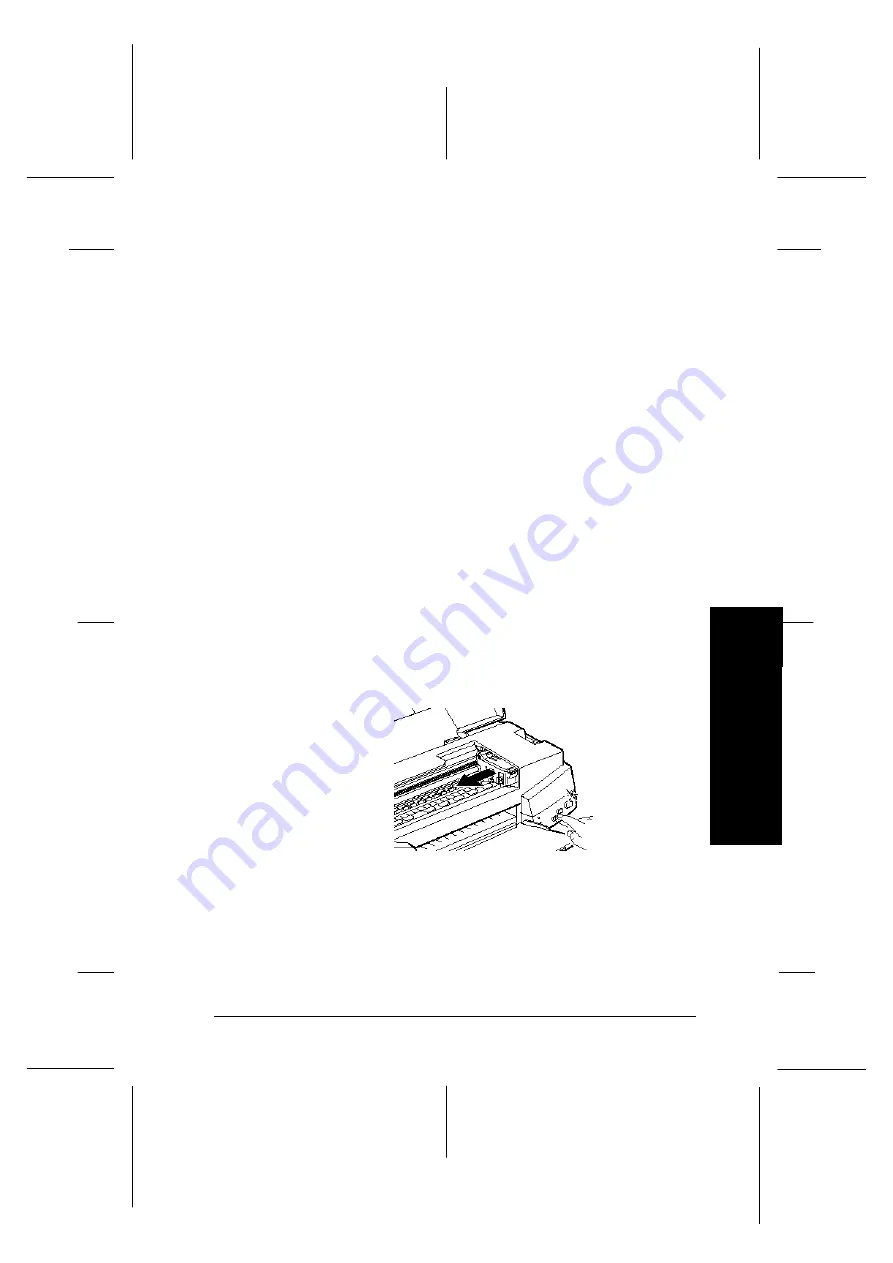
To replace an ink cartridge, follow these steps.
1. Make sure the printer is on. The
P
power light should be
on, but not flashing. Determine which cartridge
needs to be replaced as indicated by the
B
black and
A
color ink out lights.
2. Make sure the output tray at the front of the printer is
lowered; then open the printer cover.
3. Hold down the
R
cleaning button for three seconds until
the print head moves left slightly to the cartridge
replacement position. The
P
power light flashes when the
print head is in position.
c
Caution:
Do not move the print head by hand. Always use the
R
cleaning button to move it. Otherwise you may damage
the printer.
C-25
7
M
a
in
te
n
a
n
c
e
R
EPSON Stylus Photo
User’s Guide
A5 size
Chapter 7
12-28-96
Maintenance and Transportation
7-3
Summary of Contents for Stylus Color
Page 1: ......
Page 10: ...L EPSON Stylus Photo User s Guide A5 size Front 12 27 96 viii ...
Page 16: ...L EPSON Stylus Photo User s Guide A5 size Introduction 12 26 96 6 Safety Instructions ...
Page 24: ...L EPSON Stylus Photo User s Guide A5 size Chapter 1 01 14 97 1 8 Getting to Know Your Printer ...
Page 52: ...L EPSON Stylus Photo User s Guide A5 size Chapter 2 12 28 96 2 28 Getting Started ...
Page 118: ...L EPSON Stylus Photo User s Guide A5 size Chapter 6 01 14 97 6 12 Printing on Special Paper ...
Page 168: ...L EPSON Stylus Photo User s Guide A5 size Chapter 8 12 28 96 8 42 Troubleshooting ...
Page 188: ...L EPSON Stylus Photo User s Guide A5 size Appendix b 12 27 96 B 12 Specifications ...
Page 194: ...L EPSON Stylus Photo User s Guide A5 size Glossary 12 16 96 6 Glossary ...
Page 201: ......
Page 203: ......


