EPSON Perfection 4490 Photo
Revision B
APPENDIX
ADF; Disassembly
86
7.6.2.2 Gear Frame
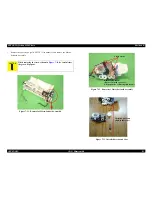
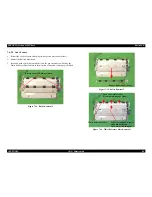
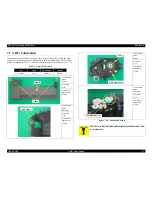
1. Release the Locks of the two Bushings (white plastic parts on both sides).
2. Remove the Roller Shaft (front).
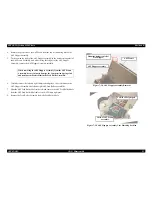
3. Insert and push a flat-blade screwdriver into the gap shown below. Push up the
White Reference Plate forcibly in the direction of an arrow to disengage the Hook.
Figure 7-14. Roller Removal 1
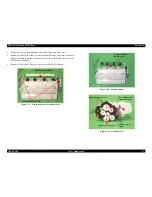
Figure 7-15. Roller Removal 2
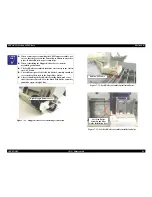
Figure 7-16. White Reference Plate Removal 1
Release Locks of Bushings (white).
Remove Roller Shaft (front).
Push up forcibly in this
direction to disengage Hook.
White Reference Plate
It is recommended to insert
and push flat-blade
screwdriver into this gap.
Summary of Contents for Perfection 4490 Photo
Page 8: ...C H A P T E R 1 PRODUCTDESCRIPTION ...
Page 18: ...C H A P T E R 2 OPERATINGPRINCIPLES ...
Page 25: ...C H A P T E R 3 TROUBLESHOOTING ...
Page 29: ...C H A P T E R 4 DISASSEMBLY ASSEMBLY ...
Page 57: ...C H A P T E R 5 ADJUSTMENT ...
Page 59: ...C H A P T E R 6 MAINTENANCE ...
Page 63: ...C H A P T E R 7 APPENDIX ...
Page 66: ...Model GT X750 Perfection 4490 Photo Board Main Board Rev A Sheet 1 1 ...
Page 68: ...Model GT X750 Perfection 4490 Photo Board DRV Board Assy Rev A Sheet 1 1 ...
Page 69: ...Model GT X750 Perfection 4490 Photo Board Image Sensor Board Rev B Sheet 1 1 ...
Page 70: ...Model GT X750 Perfection 4490 Photo Board SUB Board Rev A Sheet 1 1 ...
Page 71: ...Model GT X750 Perfection 4490 Photo Board SUB C Board Rev A Sheet 1 1 ...
Page 72: ...Model GT X750 Perfection 4490 Photo Board SUB D Board Rev A Sheet 1 1 ...
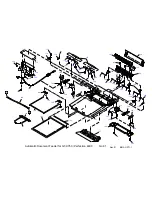
Page 74: ...GT X750 Perfection 4490 Photo NO 1 Rev 02 B176 ACCE 0012 10 20 30 40 400 401 ...
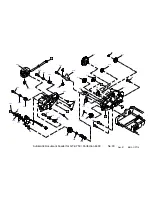
Page 76: ...R ev 01 B176 CAS E 002 GT X750 Perfection 4490 Photo NO 3 110 111 101 102 ...


