EPSON Perfection 4490 Photo
Revision B
Disassembly / Assembly
Disassembly Procedure
56
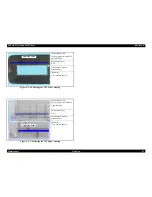
7. Remove the three TPU CR Motor Dampers.
8. Remove the flat washer and remove the Driven Pulley, TRU CR Drive Belt, and
the Idle Pulley in that order.
9. Remove the two C.B. M3 x 5 screws that secure the TPU CR Motor and remove it.
Figure 4-49. Removing the TPU CR Motor Dampers and TPU CR Motor
C A U T I O N
When performing the next step, be careful not to lose the flat
washer that secures the Driven Pulley and Idle Pulley.
Idle Pulley
Driven Pulley
Flat Washer
C.B. 3 x 5
(9±1kgf.cm)
TPU CR Motor Dampers
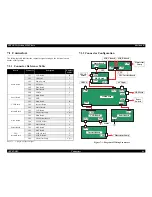
Route the TPU CR Motor Cables through the groove and
notches as shown in the figure below.
Figure 4-50. Routing the TPU CR Motor Cables
If the torsion springs come off, be sure to reattach them
correctly.
See Section 4.2.15 on page 49.
Groove and Notches
Summary of Contents for Perfection 4490 Photo
Page 8: ...C H A P T E R 1 PRODUCTDESCRIPTION ...
Page 18: ...C H A P T E R 2 OPERATINGPRINCIPLES ...
Page 25: ...C H A P T E R 3 TROUBLESHOOTING ...
Page 29: ...C H A P T E R 4 DISASSEMBLY ASSEMBLY ...
Page 57: ...C H A P T E R 5 ADJUSTMENT ...
Page 59: ...C H A P T E R 6 MAINTENANCE ...
Page 63: ...C H A P T E R 7 APPENDIX ...
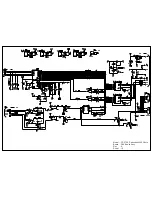
Page 66: ...Model GT X750 Perfection 4490 Photo Board Main Board Rev A Sheet 1 1 ...
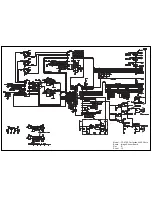
Page 68: ...Model GT X750 Perfection 4490 Photo Board DRV Board Assy Rev A Sheet 1 1 ...
Page 69: ...Model GT X750 Perfection 4490 Photo Board Image Sensor Board Rev B Sheet 1 1 ...
Page 70: ...Model GT X750 Perfection 4490 Photo Board SUB Board Rev A Sheet 1 1 ...
Page 71: ...Model GT X750 Perfection 4490 Photo Board SUB C Board Rev A Sheet 1 1 ...
Page 72: ...Model GT X750 Perfection 4490 Photo Board SUB D Board Rev A Sheet 1 1 ...
Page 74: ...GT X750 Perfection 4490 Photo NO 1 Rev 02 B176 ACCE 0012 10 20 30 40 400 401 ...
Page 76: ...R ev 01 B176 CAS E 002 GT X750 Perfection 4490 Photo NO 3 110 111 101 102 ...


